Dinner · Part 2 of 3: Instructions
Slow Cooker Cheesy Salsa Verde Chicken and Rice Step-by-step instructions
- Prep
- Cook
- Total
- Serves
- 4
Before you start
Before starting, ensure all ingredients are measured and ready. Clean your countertop and prepare the slow cooker by positioning it near an outlet. If using frozen chicken, thaw it completely in the refrigerator overnight before beginning.
Having the taco seasoning packet and the salsa verde jar opened and accessible will streamline the assembly process. Verify that the slow cooker insert is clean and free of any debris. Preparing your workspace in this manner minimizes mess and ensures that the assembly phase is quick and efficient, allowing you to set the cooking cycle without delay.
Ingredients at a glance (5)
- 1.5 lb boneless skinless chicken breasts
- 2 cups cooked white rice
- 1 packet taco seasoning
- 16 oz salsa verde
- 1 cup shredded cheese
Instructions
Assembly phase
- Prepare the slow cookerPlace the raw chicken breasts into the bottom of the slow cooker insert. Ensure the chicken is arranged in a single layer to promote even cooking throughout the process.Look for Chicken is arranged at the bottom of the vessel.Tip Ensure the slow cooker insert is clean and dry before adding the raw chicken.
The chicken is layered at the bottom, topped with rice, seasoning, and salsa. Everything is positioned correctly within the slow cooker, ready to be covered and set to the low heat setting for the duration of the cooking cycle.
Cooking phase
- Combine ingredientsScatter the cooked white rice over the chicken breasts. Sprinkle the taco seasoning evenly over the rice, then pour the salsa verde over the top, ensuring it covers the ingredients well.Look for Ingredients are layered and covered in salsa.Tip Do not stir the ingredients; layering allows the flavors to meld during the slow cooking cycle.
The kitchen should begin to smell savory and slightly tangy as the salsa verde and spices permeate the chicken and rice. The chicken is slowly poaching in the juices, ensuring it remains moist and tender while the rice absorbs the liquid.
Finishing phase
- Cook and finishCover and cook on low for 4 hours. Once the chicken reaches an internal temperature of 165°F (74°C), remove the lid, stir in the cheese, and let it rest for 5 minutes until melted.Look for Chicken is cooked through and cheese is melted and bubbly.Safe temperature 165°F (74°C) internal temperature (poultry)Tip Use a meat thermometer to check the thickest part of the chicken breast for accuracy.
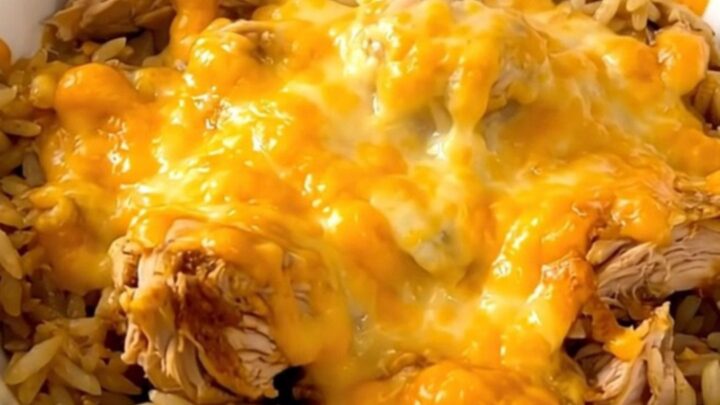
The chicken is fully cooked through and tender. The cheese is added and melts into the mixture, creating a glossy, cohesive texture. The dish is now ready to be portioned into bowls for serving while still warm.
Common mistakes
A common mistake is overcooking the chicken, which can lead to a dry texture despite the presence of liquid. Always monitor the cooking time and test the internal temperature as the cooking cycle nears completion.
Another error is stirring the ingredients too early; keeping them layered allows the chicken to cook properly at the bottom while the rice steams on top.
Additionally, ensure the lid remains closed during the majority of the cooking time to maintain the necessary internal temperature and moisture levels, which are critical for achieving the desired consistency in this slow-cooked meal.
How to tell it’s done
The chicken is considered done when it is opaque throughout and reaches a minimum internal temperature of 165°F (74°C) at its thickest point. Use a reliable food thermometer inserted into the center of the breast to confirm. At this stage, the chicken should be tender enough to pull apart easily with a fork.
The rice should be soft and fully hydrated, having absorbed the flavors of the salsa verde. Once the cheese is added and melted, the dish should be creamy and fragrant, signaling it is ready to be plated and served immediately.
- Poultry: 165°F (74°C) in the thickest part
Up next · Part 3 of 3
2 variations · storage & make-ahead · 3 answers · printable card
Tips, FAQ & printable recipe (Part 3)← Back to the ingredients (Part 1)