Dinner · Part 1 of 3: Ingredients
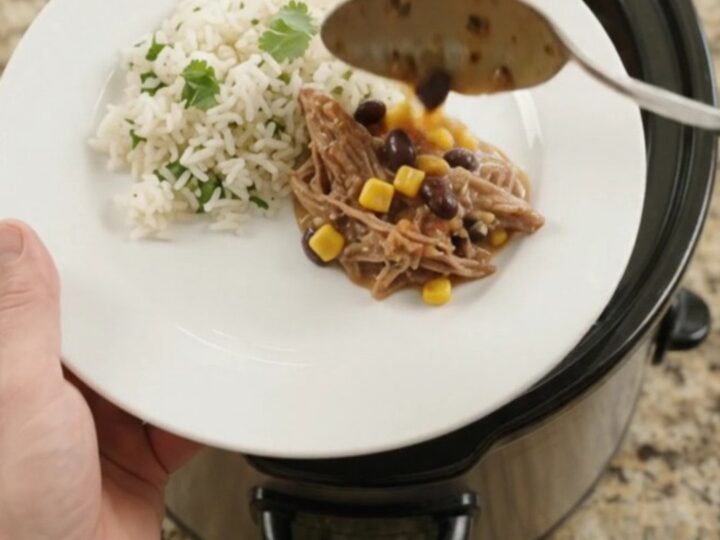
Slow Cooker Cheddar Black Bean Beef Barbacoa
- Prep
- Cook
- Total
- Serves
- 8
This slow cooker beef barbacoa is the ultimate set-it-and-forget-it dinner. Cubes of beef chuck simmer low and slow with black beans, fire-roasted corn, and a smoky red salsa until they’re fall-apart tender.
Then cream cheese and sharp cheddar melt into the juices, creating a rich, creamy sauce that coats every bite. Serve it over fluffy cilantro-lime rice for a complete, satisfying meal that feels like a fiesta any night of the week.
With just a few minutes of prep, this dump-and-go recipe delivers deeply flavorful, melt-in-your-mouth beef barbacoa. The slow cooker does all the work, transforming tough chuck into tender shreds while the beans and corn soak up the spicy, cheesy sauce.
It’s the kind of meal you can start in the morning and come home to—no stirring, no watching, just a delicious dinner waiting. Perfect for busy weeknights or casual gatherings, this dish is as comforting as it is effortless.
Ingredients
- 2 1/2 lb beef chuck, cut into 2-inch cubes
- 2 cans (15 oz each) black beans, rinsed and drained
- 1 1/2 cups frozen fire-roasted corn kernels
- 1 1/2 cups chunky roasted red tomato salsa
- 8 oz cream cheese, softened and cut into pieces
- 2 cups shredded sharp cheddar cheese
For serving
- cilantro-lime rice, cooked, for serving
Why this recipe works
The magic of this recipe lies in the slow cooking process. Beef chuck is a well-marbled cut that becomes incredibly tender when cooked low and slow.
As it simmers for hours, the collagen breaks down into gelatin, turning the meat into succulent shreds that melt in your mouth. The beans and corn absorb the flavorful salsa, while the cream cheese and cheddar slowly melt into a velvety sauce that clings to every ingredient.
The layering technique ensures even cooking and flavor distribution. Placing the beef on the bottom allows it to cook in its own juices and the salsa, while the cheese on top melts and blends into the sauce as it bubbles. This method requires no browning or pre-cooking, making it a truly hands-off meal. The result is a rich, complex dish that tastes like it simmered all day—because it did.
Notes and substitutions
For the best texture, choose beef chuck that is well-marbled and cut into uniform 2-inch cubes. If you prefer a leaner option, brisket or round roast also work well, but chuck gives the most tender shreds.
The salsa adds both flavor and liquid; use a medium or mild variety if you prefer less heat. Fire-roasted corn brings a subtle smoky sweetness that complements the beef and cheese beautifully.
A 6-quart slow cooker is ideal for this recipe, but any size that fits the ingredients will work. If your slow cooker runs hot, check the beef at the lower end of the cooking time to prevent it from becoming mushy. Leftovers can be stored in the refrigerator for up to 4 days or frozen for up to 3 months—just reheat gently on the stovetop or microwave.
- beef chuck: beef brisket or round roast—both become tender with long slow cooking.
- frozen fire-roasted corn: canned corn, drained, or fresh corn kernels cut from the cob.
- chunky roasted red tomato salsa: any medium or mild salsa, or use diced tomatoes with green chiles for a different flavor.
- sharp cheddar: Monterey Jack, pepper Jack, or a Mexican cheese blend for a milder or spicier kick.
Equipment
- 6-quart slow cooker
- Cutting board and knife
- Measuring cups and spoons
- Colander
- Two forks for shredding
- Serving spoon
Up next · Part 2 of 3
5 steps · 8 h of cooking · what to look for at each stage
Step-by-step instructions (Part 2)