Dinner · Part 1 of 3: Ingredients
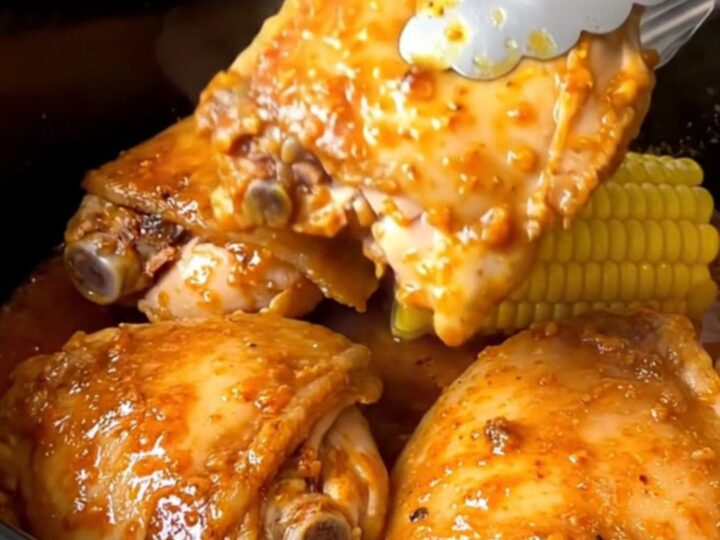
Slow Cooker Cajun Butter Chicken and Corn
- Prep
- Cook
- Total
- Serves
- 6
Transform simple ingredients into a restaurant-quality meal with this easy slow cooker recipe. By combining tender chicken thighs with sweet corn and a bold Cajun butter sauce, you create a dish that is both comforting and deeply flavorful. This method relies on the gentle, consistent heat of a slow cooker to infuse the chicken with spices while keeping it moist and succulent, perfect for a cozy dinner or a hassle-free meal for the whole family.
This Cajun butter chicken and corn recipe is the definition of convenience without sacrificing taste. The slow cooker does all the heavy lifting, allowing the flavors to meld together over several hours.
The resulting dish features soft, braised chicken that practically falls apart, paired with sweet corn cobs that have absorbed all the savory notes of the Cajun seasoning and butter. It is a straightforward, reliable way to prepare a satisfying meal that requires very little active time in the kitchen.
Ingredients
Main Ingredients
- 6 pieces boneless skinless chicken thighs
- 6 pieces corn cob halves
- 2 tbsp Cajun seasoning
- 1 cup buttery broth
Why this recipe works
The slow cooker method works by maintaining a steady, low temperature that breaks down the connective tissues in the chicken thighs, resulting in an exceptionally tender texture.
Because the chicken is cooked in a flavorful liquid, it stays moist throughout the entire duration, preventing the dryness often associated with other cooking methods. This technique allows the bold Cajun spices to penetrate deeply into the meat, ensuring that every single bite is packed with consistent flavor from the surface to the center.
Cooking the corn alongside the chicken creates a harmonious blend of flavors where the sweetness of the corn balances the heat of the Cajun seasoning. As the butter melts into the broth, it creates a rich, emulsified sauce that coats both the protein and the vegetables beautifully.
This one-pot approach simplifies the cooking process significantly, reducing the number of dishes to clean while maximizing the infusion of spices, making it an ideal method for flavorful, stress-free home cooking.
Notes and substitutions
For the best results, use boneless skinless chicken thighs, as they remain tender and juicy during the long cooking time. If you prefer a different cut, chicken breasts can be used, but keep in mind that they may dry out faster, so check for doneness earlier. The Cajun seasoning can vary in intensity depending on the brand, so adjust the amount according to your personal preference for heat. Always ensure the chicken is arranged in a single layer to allow for even cooking.
A standard slow cooker is the primary tool needed for this recipe. If you do not have a dedicated buttery broth, you can create a simple substitute by combining high-quality melted butter with chicken stock. For the corn, fresh or frozen cob halves work perfectly.
Ensure the corn is cut into manageable, consistent sizes so that all pieces cook at the same rate. Keep the lid closed during the cooking process to maintain the internal temperature and moisture levels required for the best texture.
- Cajun seasoning: A blend of paprika, garlic powder, onion powder, cayenne pepper, oregano, and thyme.
- Buttery broth: Melted salted butter mixed with chicken stock in a one-to-one ratio.
Equipment
- Slow cooker
- Small pitcher
- Small ramekin
- Tongs
Up next · Part 2 of 3
3 steps · 4 h of cooking · what to look for at each stage
Step-by-step instructions (Part 2)