Dinner · Part 2 of 3: Instructions
Slow Cooker Brown Sugar Ranch Chicken Thighs Step-by-step instructions
- Prep
- Cook
- Total
- Serves
- 6
Before you start
Before you begin, ensure your slow cooker insert is clean and dry. Gather all your ingredients—the chicken thighs, butter, ranch seasoning, brown sugar, and chicken broth—so you can assemble the dish quickly.
If you keep your chicken in the refrigerator, take it out about 15 minutes before you start to avoid adding ice-cold meat to the slow cooker, which can help ensure more consistent cooking times throughout the process.
Ingredients at a glance (5)
- 2 lb boneless skinless chicken thighs
- 4 tbsp butter, cut into pats
- 1 packet ranch seasoning mix
- 2 tbsp brown sugar
- 1/2 cup chicken broth
Instructions
Assembly and Preparation
- Prepare the slow cookerPlace the boneless skinless chicken thighs into the basin of your slow cooker, ensuring they are arranged in an even layer to allow for consistent cooking.Look for The chicken should be snug in the slow cooker insert.Tip Avoid overcrowding the slow cooker to ensure even heat distribution.
At this stage, your chicken is neatly arranged in the slow cooker with the butter, seasonings, and broth added. Everything is layered, not stirred, providing a clean start for the cooking process.
Ensure the lid is securely in place to begin the slow braising phase, which will transform these simple components into a cohesive, delicious meal over the next few hours of slow, steady cooking.
Slow Braising Process
- Add flavoringsDot the chicken with the pats of butter, then evenly sprinkle the ranch seasoning mix and brown sugar over the top. Pour the chicken broth carefully around the edges of the insert.Look for The seasonings should cover the chicken evenly.Tip Do not stir the ingredients; let the slow cooker do the work.
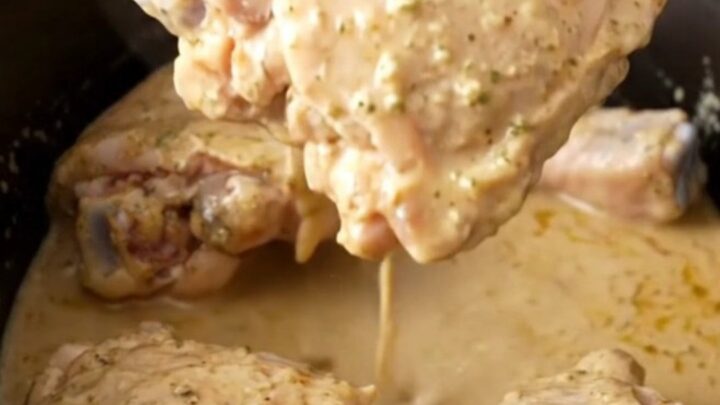
During this phase, the aroma of the ranch seasoning and melting butter will begin to fill your kitchen. The chicken is slowly poaching in the broth and seasoning mixture, absorbing the flavors while the brown sugar begins to meld with the fats. You should notice the liquid level staying consistent, keeping the chicken moist and tender as it slowly reaches the ideal temperature.
Final Glazing and Serving
- Slow cook and serveCover and cook on low for 4 hours until the chicken is tender and reaches an internal temperature of 165°F (74°C). Allow the chicken to rest for at least 5 minutes before serving with the sauce.Look for The sauce will be thick and the chicken will be fork-tender.Safe temperature 165°F (74°C) internal temperature (poultry)Tip Check the temperature with a meat thermometer.
The final result is a beautiful, aromatic dish with a rich, thickened sauce that clings to the perfectly cooked chicken. The thighs will be soft, tender, and ready to be served. Before plating, ensure the chicken has rested for at least 5 minutes, allowing the juices to redistribute, which results in a better texture and a more enjoyable eating experience for your guests.
Common mistakes
A common mistake is stirring the ingredients too early or too often, which can prevent the sauce from forming correctly. Another error is using chicken breasts instead of thighs; breasts tend to dry out much faster in a slow cooker, whereas thighs remain juicy and flavorful.
Finally, never leave the chicken out at room temperature for more than 30 minutes; always move it directly from the refrigerator to the slow cooker to maintain safety.
How to tell it’s done
The chicken is perfectly done when it reaches an internal temperature of 165°F (74°C) as measured with a meat thermometer inserted into the thickest part of the thigh. The meat should be fork-tender and pull apart easily when prodded with tongs.
The sauce should be thickened and glossy, coating the chicken thoroughly. Always ensure the chicken is cooked through before serving to maintain food safety standards.
- Poultry: 165°F (74°C) in the thickest part
Up next · Part 3 of 3
2 variations · storage & make-ahead · 3 answers · printable card
Tips, FAQ & printable recipe (Part 3)← Back to the ingredients (Part 1)