Dinner · Part 3 of 3: Tips & recipe card
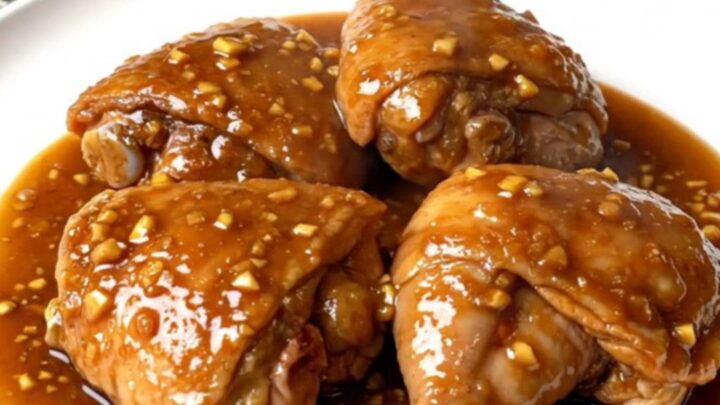
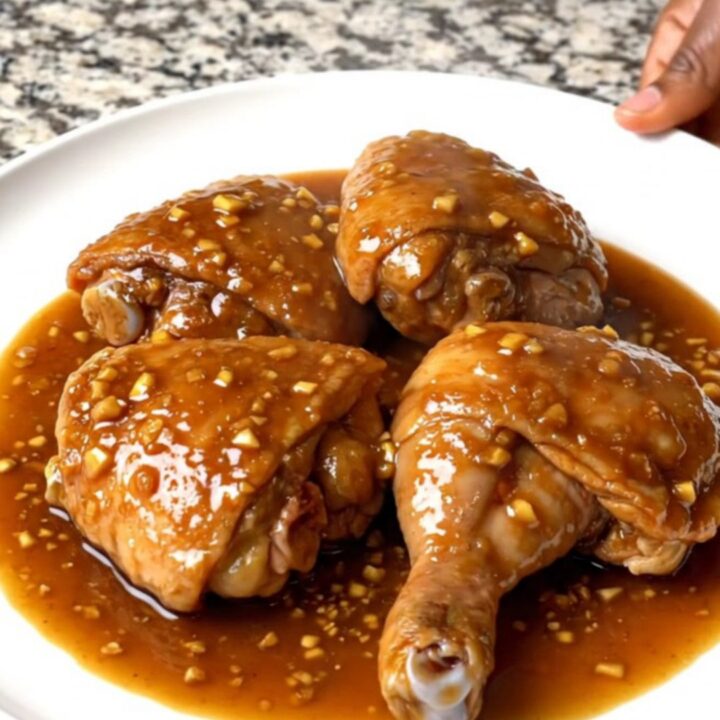
Slow Cooker Brown Sugar Garlic Chicken Thighs Tips, FAQ & printable recipe
- Prep
- Cook
- Total
- Serves
- 4
Tips for success
To achieve a more intense flavor, you can sear the chicken thighs in a hot skillet with a small amount of oil for 2 minutes per side before placing them in the slow cooker. This adds a layer of Maillard reaction, providing a deeper, more complex savory base to the final dish. While this is an extra step, it significantly enhances the texture and visual appeal of the chicken, giving it a more roasted finish despite the slow-cooking process.
If you prefer a spicy kick, add a teaspoon of red pepper flakes or a dash of hot sauce to the glaze mixture before pouring it over the chicken. The heat from the peppers balances the sweetness of the brown sugar beautifully. For a touch of acidity, a tablespoon of rice vinegar or apple cider vinegar can also be whisked into the sauce, which helps to brighten the overall flavor profile and cut through the richness of the chicken fat.
Variations
- Ginger Garlic Chicken: Add one tablespoon of freshly grated ginger to the sauce mixture. The ginger adds a bright, zesty heat that complements the garlic and brown sugar, giving the dish a more aromatic and slightly exotic flavor profile.
- Honey Soy Chicken: Replace the brown sugar with an equal amount of honey. Honey provides a slightly different, more floral sweetness and helps the sauce achieve a more syrupy, sticky consistency that coats the chicken beautifully.
Storage and make-ahead
- Fridge
- Keep in an airtight container for up to 3 days.
- Freezer
- Freeze in a freezer-safe container for up to 2 months.
- Reheat
- Reheat in a saucepan over medium-low heat or in the microwave until hot throughout.
Store any leftovers in an airtight container in the refrigerator. Ensure the chicken has cooled to room temperature for no more than 2 hours before placing it in the fridge to prevent bacterial growth. Properly stored, the chicken will maintain its quality for up to 3 days.
When reheating, ensure the chicken is heated thoroughly until steaming hot throughout. If the sauce has thickened too much in the fridge, add a small splash of water or chicken broth to loosen it during the reheating process.
This dish is an excellent candidate for making ahead, as the flavors often deepen and improve after sitting in the refrigerator overnight. You can prepare the entire dish, cook it as directed, and let it cool before storing it. Reheating is simple and effective.
Alternatively, you can prepare the sauce mixture in advance and store it in a sealed jar in the refrigerator for up to 2 days, then simply pour it over the chicken in the slow cooker when you are ready to start the cooking process.
Serving ideas
Serve this dish over a bed of fluffy steamed white rice or jasmine rice to soak up the excess sauce. The mild nature of the rice provides the perfect canvas for the bold, savory, and sweet flavors of the garlic chicken.
Steamed broccoli, snap peas, or bok choy also make excellent side dishes, adding a fresh, crisp contrast to the tender, braised chicken. A sprinkle of fresh green onions or toasted sesame seeds can provide a nice texture and a pop of color to the final presentation.
For a lighter serving option, consider pairing the chicken with a side of quinoa or cauliflower rice. If you prefer a more substantial meal, thin rice noodles or udon noodles can be tossed directly in the sauce.
The key is to ensure the side dish is relatively neutral in flavor to allow the brown sugar garlic glaze to remain the star of the meal. Plate the chicken with plenty of the reduced sauce spooned over the top to ensure every bite is packed with the signature flavor.
Frequently asked questions
Can this be made in a pressure cooker instead?
Why is the sauce too thin after cooking?
Can chicken breasts be used instead of thighs?
Slow Cooker Brown Sugar Garlic Chicken Thighs
Ingredients
- 4 lbs boneless skinless chicken thighs
- 1 cup brown sugar
- 1/2 cup soy sauce
- 4 cloves garlic, minced
Instructions
- Place the boneless skinless chicken thighs into the slow cooker insert, arranging them in an even layer to ensure they cook at a consistent rate throughout the process.
- In a medium bowl, whisk together the brown sugar, soy sauce, and minced garlic until the sugar has mostly dissolved. Pour the mixture evenly over the chicken thighs in the slow cooker, ensuring each piece is well coated.
- Cover the slow cooker and cook on low for 4 to 6 hours. Once finished, ensure the internal temperature of the chicken reaches 165°F (74°C). Let the chicken rest for 5 minutes before serving with the sauce pooled over the top.
Estimated nutrition per serving
- Calories
- 380
- Protein
- 32 g
- Carbohydrates
- 28 g
- Fat
- 15 g
- Fiber
- 0.5 g
- Sugar
- 25 g
- Sodium
- 850 mg
Next recipe

Cheeseburger Potato Tot Bake with Turkey
See the recipe → →This recipe is based on a short cooking video and is published under the pen name Clara Weller. It was checked before publication, but errors can slip through. Nutrition, when shown, is an estimate. Read more in our editorial policy and on our food safety page.
More recipes to try
Slow Cooker Hot Honey Chuck Roast
Total time: 8 h 20 min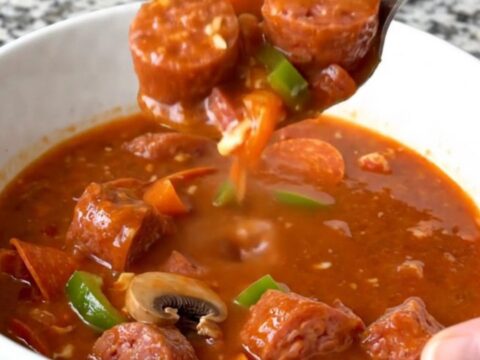
Slow Cooker Italian Sausage Pizza Soup
Total time: 4 h 15 min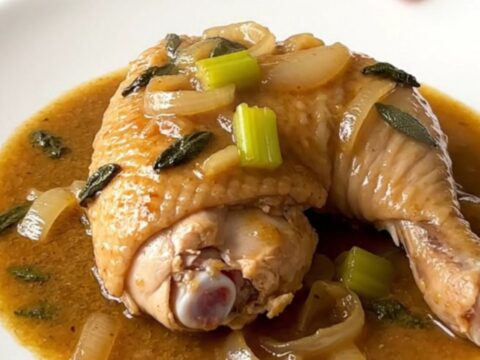
Slow Cooker Sage Gravy Chicken Leg Quarters
Total time: 4 h 15 min
Cheesy Beef Stroganoff Noodle Bake
Total time: 55 min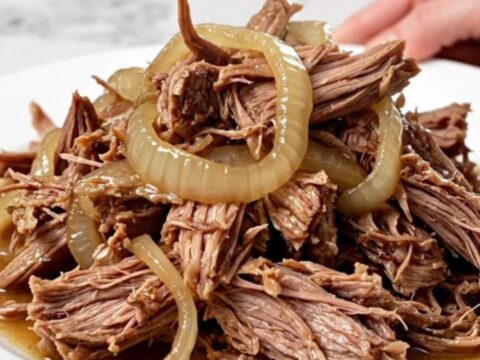
Easy Slow Cooker Lemon-Lime Pulled Pork
Total time: 8 h 20 min