Dinner · Part 2 of 3: Instructions
Slow Cooker Brown Sugar Dijon Baby Back Ribs Step-by-step instructions
- Prep
- Cook
- Total
- Serves
- 4
Before you start
Before starting, ensure your slow cooker insert is clean and dry. Remove the ribs from their packaging and pat them dry with paper towels.
If there is a membrane on the back of the ribs, you may choose to remove it, though it is not strictly required for this method. Prepare your ingredients by slicing the onion and measuring the liquids and sugar, keeping them ready for the assembly process.
Ingredients at a glance (5)
- 2 lb baby back ribs, cut into individual portions
- 1 medium yellow onion, sliced into half-moons
- 1/2 cup light brown sugar, packed
- 1/2 cup Dijon mustard
- 1/4 cup apple juice
Instructions
Assembly Phase
- Prepare the slow cookerArrange the raw baby back rib sections around the interior wall of the slow cooker insert, ensuring they are standing upright. Add the sliced yellow onion pieces into the center of the cooker, distributing them evenly among the ribs.Look for Ribs should be upright to allow even heat circulation around the meat.Tip If the racks are too long, trim them slightly to ensure they fit comfortably inside the slow cooker insert without crowding.
The ribs are arranged upright around the wall of the slow cooker, and the onions are placed in the center.
The environment looks organized and ready for the liquid ingredients to be added, ensuring that all pieces of meat are positioned to receive the maximum benefit of the braising liquid as it cooks.
Seasoning Phase
- Add the sauce componentsSprinkle the light brown sugar evenly over the ribs and onions. Pour the Dijon mustard and apple juice over the top, ensuring the liquid coats the ribs and begins to settle at the base of the cooker.Look for The sugar and liquids will melt and combine with the onion juices during cooking.Tip Pour the liquids slowly to avoid splashing the sides of the slow cooker insert.
The brown sugar, Dijon mustard, and apple juice have been added, creating a base of flavor at the bottom of the cooker. The ingredients are layered correctly, and the cooker is now sealed, ready for the slow cooking process to begin as the heat starts to melt the sugar and soften the aromatics.
Cooking Phase
- Cook and serveCover the slow cooker and cook on low for 8 hours or high for 4 hours until the meat is tender and easily pulls away from the bone. Ensure the pork reaches an internal temperature of at least 145°F (63°C). Allow the ribs to rest for 5 minutes before serving.Look for Meat should be very tender and the sauce thickened slightly.Safe temperature 145°F (63°C) internal temperature (steaks, chops and roasts)Tip Use a meat thermometer inserted into the thickest part of the meat to confirm it is fully cooked and safe for consumption.
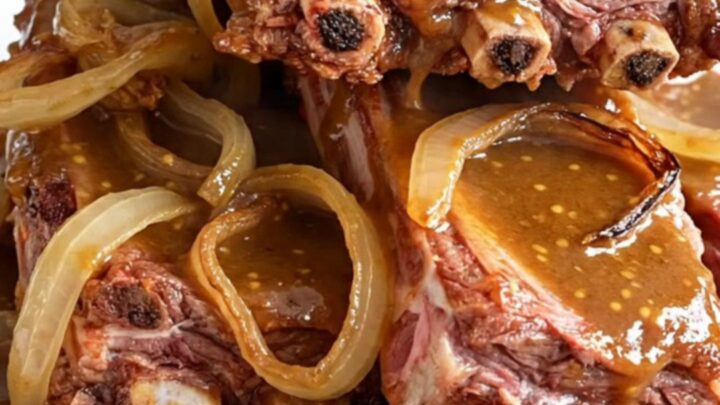
The ribs have been cooked until tender, with the meat yielding easily to a fork. The sauce has transformed into a rich, thickened glaze that coats the ribs perfectly. The kitchen smells savory and slightly sweet, and the internal temperature of the pork has reached the required 145°F (63°C) mark.
Common mistakes
A common mistake is overcrowding the slow cooker, which prevents even heat distribution and results in uneven cooking. Ensure there is enough space for the ribs to stand upright.
Another error is lifting the lid too frequently, which releases heat and moisture, significantly increasing the cooking time. Finally, avoid using high heat for the entire duration if you have the time, as the low and slow method consistently produces better texture.
How to tell it’s done
The ribs are finished cooking when the meat is extremely tender and begins to pull away from the bone. Using a meat thermometer, check the thickest part of the meat; it must reach an internal temperature of at least 145°F (63°C).
The sauce should be glossy, thickened, and clinging to the meat. Let the ribs rest for at least 5 minutes before serving to allow the juices to redistribute throughout the meat, ensuring maximum tenderness.
- Steaks, chops and roasts: 145°F (63°C) in the thickest part, then a 3-minute rest
Up next · Part 3 of 3
2 variations · storage & make-ahead · 3 answers · printable card
Tips, FAQ & printable recipe (Part 3)← Back to the ingredients (Part 1)