Dinner · Part 1 of 3: Ingredients
Slow-Cooker Brown Gravy Beef Brisket
- Prep
- Cook
- Total
- Serves
- 8
This slow-cooker beef brisket is the ultimate set-it-and-forget-it dinner. A trimmed brisket is nestled in a rich brown gravy with smashed garlic, fresh rosemary, and thyme, then left to simmer low and slow until it's fork-tender and shreds like butter.
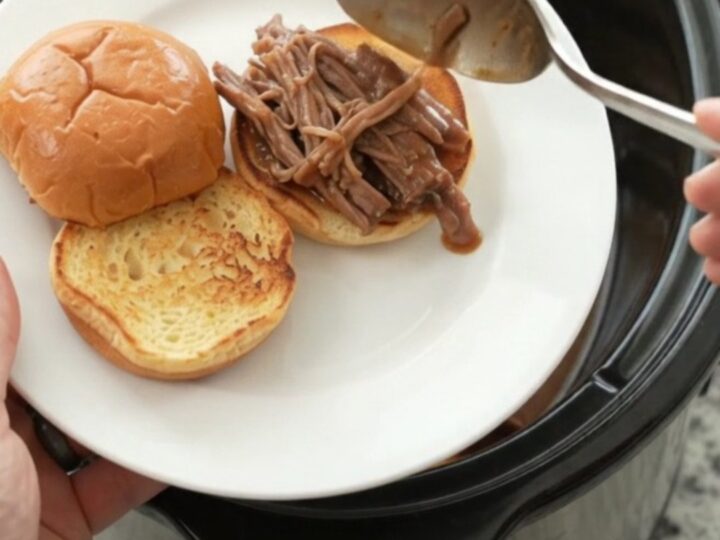
The result is a deeply savory, melt-in-your-mouth beef that's perfect piled onto toasted brioche slider buns. With just 10 minutes of prep, you can have a hearty, comforting meal that tastes like it simmered all day—because it did.
There's something magical about a slow cooker: you add the ingredients, cover it, and hours later you're rewarded with a meal that tastes like you've been tending it all day. This beef brisket recipe is the epitome of that magic.
The brisket is seasoned simply with garlic and fresh herbs, then bathed in a savory brown gravy. As it cooks, the meat becomes incredibly tender, absorbing all the flavors of the aromatics and the rich gravy. Serve it on toasted brioche slider buns for a satisfying dinner that's both elegant and effortless.
Ingredients
- 3 1/2 lb beef brisket, trimmed
- 12 cloves garlic, smashed
- 4 sprigs fresh rosemary
- 6 sprigs fresh thyme
- 2 cups brown gravy (beef bone broth based)
- 4 tbsp unsalted butter, cut into pats
For serving
- 8 toasted brioche slider buns
Why this recipe works
The slow cooker's low, steady heat breaks down the tough connective tissue in brisket, turning it into fork-tender, shreddable perfection.
Cooking it on low for 8 to 10 hours allows the collagen to melt into gelatin, which enriches the gravy and gives the meat its signature velvety texture. The brisket essentially braises in its own juices and the added gravy, resulting in deep, concentrated flavor.
The combination of garlic, rosemary, and thyme infuses the meat and gravy with aromatic, savory notes that complement the beef beautifully. The butter adds richness and helps create a glossy, silky sauce.
This recipe is forgiving and foolproof—there's no searing, no babysitting, just a simple dump-and-go method that yields a restaurant-quality meal with minimal effort.
Notes and substitutions
For the best results, choose a brisket that is well-marbled—the fat keeps the meat moist during the long cooking time. Trim any excess fat, but leave some for flavor. If you have time, searing the brisket in a hot skillet before adding it to the slow cooker adds an extra layer of depth, but it's entirely optional.
Use a good-quality brown gravy, preferably one made from beef bone broth, for the richest flavor. You can also use store-bought gravy or make your own. The fresh herbs are non-negotiable—they provide a brightness that balances the richness of the beef. For a gluten-free option, ensure your gravy is gluten-free and serve on gluten-free buns or over mashed potatoes.
- beef brisket: chuck roast or bottom round roast (will be just as tender and flavorful)
- fresh rosemary and thyme: 1 teaspoon dried rosemary and 1 teaspoon dried thyme (add with the gravy)
- brown gravy: 2 cups beef broth plus 2 tablespoons cornstarch whisked in (thickens as it cooks)
- brioche slider buns: any soft rolls, hamburger buns, or even over mashed potatoes or egg noodles
Equipment
- 7-quart slow cooker (Crockpot)
- Cutting board
- Chef's knife
- Measuring cups
- Serving spoon
- Tongs or forks for shredding
- Plate for serving
Up next · Part 2 of 3
7 steps · 8 h of cooking · what to look for at each stage
Step-by-step instructions (Part 2)