Dinner · Part 1 of 3: Ingredients
Slow Cooker Bourbon Glazed Chicken Wings with Vidalia Onions
- Prep
- Cook
- Total
- Serves
- 4
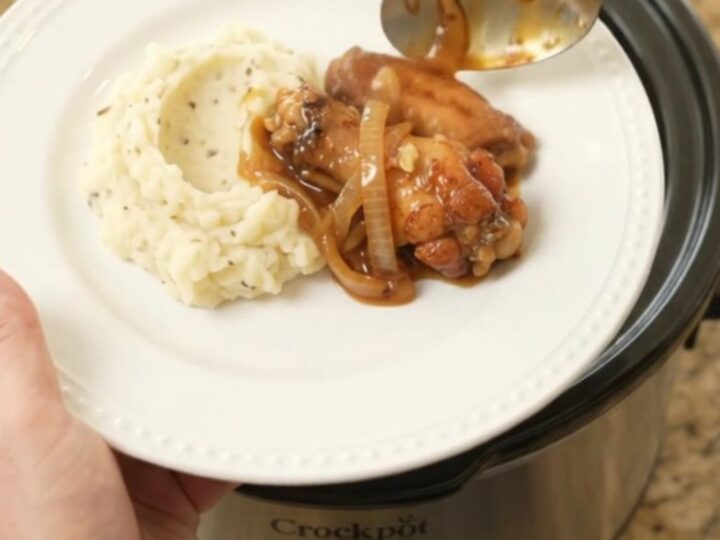
These slow cooker chicken wings are the ultimate set-and-forget dinner: just toss chicken wings, sweet Vidalia onions, garlic, bourbon BBQ glaze, and brown sugar into the Crockpot, then walk away.
Hours later, you get impossibly tender, sticky-sweet wings coated in a rich, caramelized sauce that tastes like it simmered all day—because it did. The onions melt into silky ribbons that soak up every bit of the bourbon molasses flavor. Perfect for game day, a casual weeknight, or any time you want big flavor with almost zero effort.
This recipe turns simple ingredients into a sticky, sweet, and savory dish that feels special but requires almost no hands-on time. The slow cooker does all the work, transforming raw wings and onions into glossy, tender morsels bathed in a bourbon-laced glaze.
The key is the combination of sweet Vidalia onions and dark brown sugar, which caramelize slowly and create a sauce that clings to every piece of chicken. Serve these wings straight from the Crockpot with a side of mashed potatoes or crusty bread to soak up every last drop.
Ingredients
- 2 lb split chicken wingettes and drumettes
- 2 medium Vidalia onions, thinly sliced
- 4 cloves garlic, minced
- 1 cup bourbon BBQ glaze
- 1/4 cup dark brown sugar, packed
Why this recipe works
The slow cooker is the secret to incredibly tender wings: long, gentle cooking breaks down the connective tissue in the chicken, so the meat practically falls off the bone.
Unlike oven-roasting, which can dry out wings, the moist environment of the slow cooker keeps them juicy and succulent. The low heat also allows the onions to slowly soften and release their natural sugars, creating a silky, sweet base for the sauce.
The bourbon BBQ glaze and brown sugar work together to build layers of flavor. The bourbon adds a warm, smoky note that deepens as it cooks, while the brown sugar caramelizes and thickens into a glossy lacquer.
Because the ingredients are simply layered and left alone, the flavors meld and concentrate without any effort from you. The result is a rich, complex sauce that tastes like it simmered for hours—because it did.
Notes and substitutions
Vidalia onions are the star here; their mild sweetness is perfect for slow cooking. If you can't find Vidalias, any sweet onion like Walla Walla or Maui will work. The bourbon BBQ glaze can be store-bought or homemade; choose one with a good balance of tang and sweetness. Dark brown sugar adds deeper molasses notes than light brown, but light brown sugar works in a pinch.
This recipe is naturally flexible. For a spicier version, use a spicy BBQ glaze or add a pinch of cayenne. If you prefer a thicker sauce, remove the wings once they're cooked and simmer the sauce on the stovetop to reduce it. You can also swap the chicken wings for drumsticks or thighs—just adjust the cooking time accordingly. The wings are best served fresh, but leftovers keep well in the fridge.
- Vidalia onions: Sweet onions such as Walla Walla or Maui
- Bourbon BBQ glaze: Regular BBQ glaze plus 1 tablespoon bourbon or bourbon extract
- Dark brown sugar: Light brown sugar or coconut sugar
- Chicken wingettes and drumettes: Chicken thighs or drumsticks (adjust cooking time if needed)
Equipment
- 6-quart slow cooker
- Cutting board
- Chef's knife
- Measuring cups
- Measuring spoons
- Serving spoon
- Serving plate
Up next · Part 2 of 3
5 steps · 4 h of cooking · what to look for at each stage
Step-by-step instructions (Part 2)