Dinner · Part 1 of 3: Ingredients
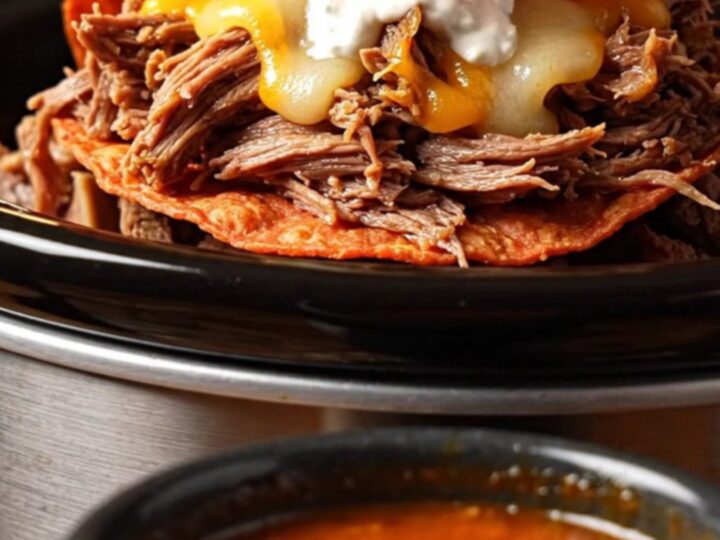
Slow-Cooker Birria Shredded Beef for Tacos and Quesadillas
- Prep
- Cook
- Total
- Serves
- 8
Discover the secret to restaurant-quality birria at home using your trusty slow cooker. This method transforms humble cuts of beef into a rich, succulent filling that is perfect for crispy quesabirria tacos or a decadent pizzabirria feast. With minimal active effort and maximum flavor, this recipe is designed to impress guests and satisfy cravings for bold, authentic Mexican-inspired comfort food any day of the week.
Birria is a traditional dish known for its incredible depth of flavor and tender, melt-in-your-mouth texture. By utilizing a slow cooker, you can achieve professional results with ease. This recipe focuses on a robust blend of dried chiles and aromatic spices that create a signature ruby-red broth.
Once the beef is perfectly cooked, it becomes the star of a versatile meal that can be served as tacos, over pizza, or simply in a bowl. Follow these simple steps to bring this viral culinary sensation into your own kitchen.
Ingredients
Meat
- 3 lb beef chuck and boneless short ribs
Sauce
- 4 rehydrated guajillo and ancho chiles
- 2 tomatoes
- 3 cloves garlic
- 1 tsp ginger
- 1 tsp cumin
- 2 cups beef broth
Assembly
- 3 cups Oaxaca cheese
- 16 tortillas
- avocado, crema, onion, cilantro, lime for serving
Why this recipe works
The slow-cooking process at a low temperature is essential for breaking down the tough connective tissues in beef chuck and short ribs. By simmering the meat in a concentrated chili and broth mixture, the collagen slowly renders, resulting in incredibly tender, moist shreds that hold onto the intense flavors of the sauce.
This method ensures the meat remains juicy without the risk of overcooking or drying out, which can happen with high-heat cooking methods.
Blending the aromatics and chiles before cooking creates a uniform, deep-flavored base that permeates every fiber of the meat. As the beef cooks, it releases its own juices, which mingle with the chili oil and spices to create the famous consommé.
This liquid is not just a cooking medium but a flavorful byproduct that provides the essential dipping sauce required for authentic quesabirria, adding moisture and a complex, savory finish to every bite of the final dish.
Notes and substitutions
Selecting the right cuts of meat is crucial for this recipe. Beef chuck and boneless short ribs provide the perfect balance of lean muscle and intramuscular fat, which is necessary for achieving that signature melt-in-your-mouth texture.
While other cuts might work, they often lack the fat content needed to create the rich, glossy chili oil that defines a great birria. If you cannot find short ribs, increase the amount of beef chuck to compensate for the missing fat content.
When choosing your chiles, ensure they are dried and pliable before rehydrating them. If the chiles are old or brittle, they may not soften properly, which can affect the texture of your sauce. The use of a high-powered blender is recommended to ensure the sauce is completely smooth and free of large pieces of skin. If you prefer a thinner consistency for your consommé, you can add an additional half-cup of beef broth after the meat has finished cooking.
- Oaxaca cheese: Low-moisture mozzarella or a blend of Monterey Jack and mild white cheddar
- beef chuck: Beef brisket or round roast
Equipment
- Slow cooker
- Blender
- Large mixing bowl
- Tongs
- Skillet
Up next · Part 2 of 3
3 steps · 8 h of cooking · what to look for at each stage
Step-by-step instructions (Part 2)