Dinner · Part 1 of 3: Ingredients
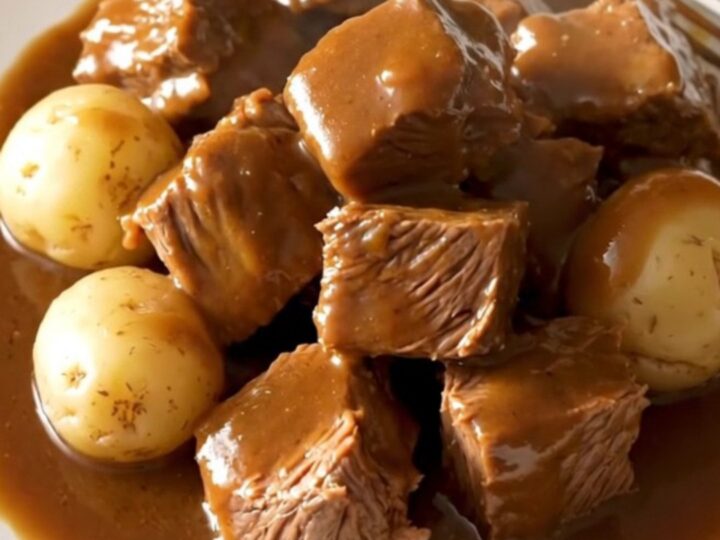
Slow Cooker Beef Tips and Potatoes for an Easy Family Dinner
- Prep
- Cook
- Total
- Serves
- 4
Discover the secret to effortless, melt-in-your-mouth beef tips. This slow cooker recipe combines savory onion and au jus flavors with tender potatoes for a complete meal that practically cooks itself while the day unfolds.
It is the ultimate solution for those busy evenings when a warm, hearty dinner is needed without the stress of standing over a hot stove for hours. Simply layer, set, and wait for the magic to happen.
There is something inherently comforting about a slow-cooked meal that fills the home with savory aromas. By utilizing the gentle heat of a slow cooker, tougher cuts of beef, such as stew meat, are transformed into succulent, tender morsels that pair perfectly with soft baby potatoes and a rich, seasoned gravy.
This preparation method requires minimal effort, making it an ideal choice for both novice and experienced cooks looking to maximize flavor with very little active preparation time. The combination of onion soup and au jus mixes creates a depth of flavor that is typically achieved through hours of stovetop braising, yet it is accomplished here with just a few simple steps and readily available ingredients.
Ingredients
Main Ingredients
- 1 lb beef stew meat cubes
- 1 lb baby potatoes, halved
Seasonings
- 1 packet onion soup mix
- 1 packet au jus mix
Liquids
- 2 cups beef broth
Why this recipe works
The slow cooker method works by maintaining a consistent, low temperature over an extended period. This steady heat is essential for breaking down the collagen within the beef stew meat. Unlike high-heat cooking, which can quickly toughen meat, this prolonged braising process allows the proteins to relax and absorb the surrounding liquids, resulting in a texture that is exceptionally tender and easy to cut with a fork.
Additionally, the sealed environment of the slow cooker prevents moisture from escaping, which is vital for creating a flavorful gravy. As the beef broth, onion soup mix, and au jus mix simmer together, they create a concentrated sauce that coats the potatoes and meat.
The starch released from the baby potatoes as they cook further helps to naturally thicken the gravy, creating a cohesive and satisfying dish that requires no extra thickeners.
Notes and substitutions
When selecting beef for this recipe, look for well-marbled stew meat. The fat content helps keep the meat moist throughout the long cooking process. If the pieces are unevenly sized, trim the larger chunks so that everything cooks at a similar rate. Baby potatoes are preferred for their thin skins and creamy interior, which holds up well to the long braising time without falling apart into the gravy.
Regarding equipment, a standard slow cooker is the only essential tool. Ensure the size of the crock is appropriate for the volume of ingredients; if the cooker is too large, the liquid may evaporate too quickly, and if it is too small, the food may not cook evenly.
Avoid the temptation to stir the ingredients, as keeping the layers intact helps the seasonings distribute slowly into the broth throughout the cooking cycle.
- baby potatoes: Yukon Gold potatoes cut into one-inch chunks
- beef broth: low-sodium vegetable broth or water mixed with beef bouillon
Equipment
- Slow cooker
- Measuring cup
- Small ramekin
- Cutting board
- Chef knife
Up next · Part 2 of 3
4 steps · 8 h of cooking · what to look for at each stage
Step-by-step instructions (Part 2)