Dinner · Part 1 of 3: Ingredients
Tender Slow Cooker Beef Tips in Rich Gravy
- Prep
- Cook
- Total
- Serves
- 6
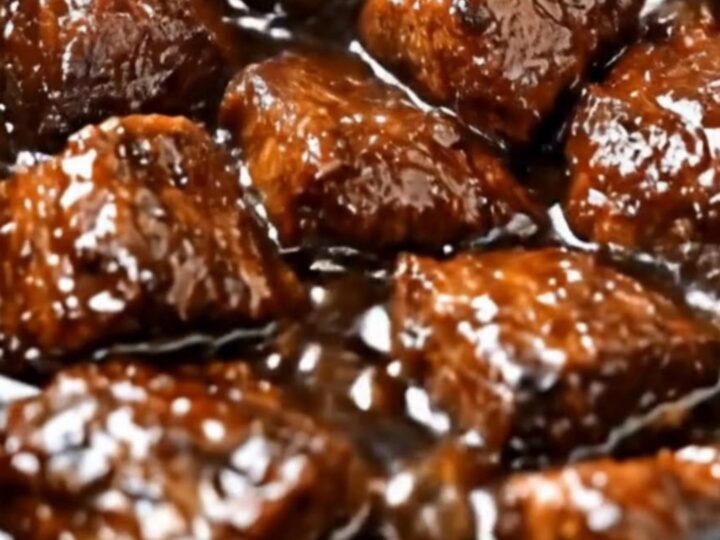
Craving a comforting, deeply savory dinner that practically cooks itself? These slow cooker beef tips deliver ultra-tender, melt-in-your-mouth beef smothered in a rich, velvety gravy. By searing the seasoned beef first to lock in flavor and then slow-cooking it to perfection, this recipe creates a restaurant-quality meal with minimal effort. It is the ultimate hands-off comfort food for busy weeknights.
Slow cooking is the absolute best method for turning budget-friendly cuts of beef into incredibly tender, juicy bites. This recipe focuses on simple, high-quality ingredients to build a deep, savory flavor profile.
Searing the beef tips in a hot pan before they enter the slow cooker is a crucial step that caramelizes the meat's surface, creating a rich foundation for the gravy. Combined with a robust savory stock and cooked low and slow, the beef breaks down beautifully, releasing its natural juices into a thick, glossy sauce that pairs perfectly with mashed potatoes, noodles, or rice.
Ingredients
- 2 lb beef sirloin tips, cut into 1-inch cubes
- seasoning, to taste
- 2 cups savory beef stock
Why this recipe works
The science behind this slow cooker method lies in the gentle, low-temperature cooking environment, which is ideal for breaking down tough connective tissue in the beef. Collagen, the structural protein in meat, begins to melt into gelatin at temperatures around 140°F to 160°F.
By keeping the beef tips at a low simmer for several hours, this collagen transforms completely, resulting in incredibly succulent and tender meat that easily pulls apart with a fork. This transformation cannot be rushed, making the slow cooker the perfect tool for achieving this texture.
Additionally, searing the meat beforehand initiates the Maillard reaction, a chemical reaction between amino acids and reducing sugars that gives browned food its desirable flavor. This browning process creates hundreds of new flavor compounds, which dissolve into the savory stock during the long cooking process.
This builds a complex, deeply savory gravy that would taste flat if the raw beef were simply tossed directly into the slow cooker. The combination of high-heat searing and low-heat slow cooking ensures the maximum depth of flavor.
Notes and substitutions
For the best results, select beef sirloin tips, chuck roast cut into cubes, or high-quality stew meat. Sirloin tips are slightly leaner but remain tender, while chuck roast offers more marbling, which yields an even richer gravy.
Whichever cut is chosen, ensure the pieces are dried thoroughly with paper towels before seasoning and searing. Any excess moisture on the surface of the meat will create steam in the hot pan, preventing proper browning and diluting the intense, savory crust that is essential for the base of the rich gravy.
A heavy-bottomed skillet, preferably cast iron, is the ideal tool for searing the beef tips because it retains heat exceptionally well, allowing for a quick and deep sear without overcooking the interior of the meat. When it comes to the stock, a high-quality savory beef stock provides the best flavor base for the dish. As the beef cooks, its natural starches and gelatin combine with the stock, naturally reducing and thickening the liquid into a glossy, rich gravy without the need for any added thickeners.
- beef sirloin tips: chuck roast cut into 1-inch cubes
Equipment
- large skillet
- slow cooker
- wooden spoon
Up next · Part 2 of 3
4 steps · 8 h of cooking · what to look for at each stage
Step-by-step instructions (Part 2)