Dinner · Part 2 of 3: Instructions
Slow-Cooker Beef Brisket for Tender Results Step-by-step instructions
- Prep
- Cook
- Total
- Serves
- 8
Before you start
Before starting, ensure that the slow cooker is clean and positioned on a level, heat-resistant surface. Remove the brisket from the refrigerator about 20 minutes before cooking to take the chill off, which helps with more even cooking.
Prepare a cutting board and a sharp carving knife for the final slicing. Having the equipment ready at hand will make the preparation process smooth and efficient, allowing the focus to remain on the quality of the beef.
Ingredients at a glance (2)
- 3 lb beef brisket
- 1/2 cup beef broth
Instructions
Seasoning and placement
- Prepare the brisketPlace the beef brisket into the bowl of the slow cooker. Pour the beef broth around the base of the meat. Ensure the meat is positioned flat at the bottom of the pot to allow for even cooking throughout the process.Look for The meat is placed securely in the slow cooker with the broth around it.Tip Trimming excess fat before placing the meat in the pot helps create a cleaner final dish.
The brisket should be placed securely at the bottom of the slow cooker. It should look well-prepared and ready to be cooked. Ensure the meat is lying flat at the bottom of the pot so that it is positioned to cook evenly, which is crucial for the overall flavor development during the long cooking phase that follows.
Slow cooking process
- Slow cook the beefCover the slow cooker with the lid and set it to cook on low heat for 8 hours. Allow the brisket to simmer undisturbed, which allows the collagen to break down into tender, succulent fibers.Look for The meat is tender and the juices are bubbling.Tip Avoid lifting the lid too often, as this releases heat and increases cooking time.
As the brisket cooks, the air will fill with a rich, savory aroma. The juices will begin to bubble and thicken around the meat. By the end of this phase, the brisket should be visibly softer, and the natural juices should have reduced slightly into a glossy, dark glaze. The beef will look tender and ready to be removed for resting.
Slicing and serving
- Finish and serveRemove the brisket from the slow cooker and transfer it to a cutting board. Use a meat thermometer to ensure the internal temperature has reached at least 145°F (63°C). Let the meat rest for at least 10 minutes before slicing against the grain to maintain its juices.Look for The meat is tender and easily pierced with a fork.Safe temperature 145°F (63°C) internal temperature (steaks, chops and roasts)Tip Slicing against the grain makes every bite much more tender.
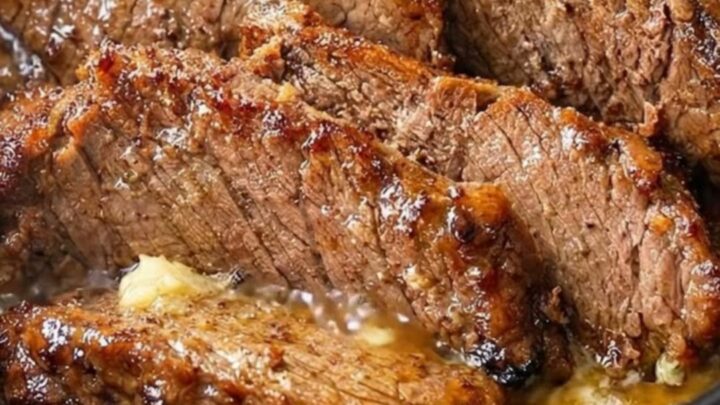
The meat should be resting on the cutting board, looking succulent and glistening. When sliced, the interior should be uniform in color and pull apart easily.
The final dish should smell aromatic and inviting, with the natural glaze perfectly clinging to each slice. Check that the internal temperature is correct and the slices are clean before serving.
Common mistakes
A common mistake is failing to trim excess fat from the brisket before it goes into the slow cooker. While some fat is good for flavor, too much can make the final result greasy.
Another error is checking the meat too frequently by lifting the lid, which causes significant heat loss and extends the cooking time. Finally, neglecting to slice the meat against the grain can result in a chewier texture; always look for the direction of the muscle fibers before cutting.
How to tell it’s done
The brisket is done when it is incredibly tender and easily yields to the pressure of a fork. A meat thermometer should register an internal temperature of at least 145°F (63°C) at the thickest part of the roast.
The meat should pull apart effortlessly without requiring much resistance. If the brisket still feels firm or tough, continue cooking for another hour, as different slow cookers vary in heat intensity. Always allow the meat to rest to ensure the juices redistribute properly.
- Steaks, chops and roasts: 145°F (63°C) in the thickest part, then a 3-minute rest
Up next · Part 3 of 3
2 variations · storage & make-ahead · 3 answers · printable card
Tips, FAQ & printable recipe (Part 3)← Back to the ingredients (Part 1)