Dinner · Part 2 of 3: Instructions
Slow Cooker BBQ Ribs: Tender and Falling off the Bone Step-by-step instructions
- Prep
- Cook
- Total
- Serves
- 4
Before you start
Before beginning, ensure your slow cooker is clean and positioned on a stable, heat-resistant surface. Remove the ribs from the refrigerator about 20 minutes before starting to take the chill off, which helps with more even cooking.
Prepare your workstation with tongs and a clean serving platter. If your ribs come with a silverskin membrane on the back, use a butter knife to lift it and a paper towel to pull it off completely, as this membrane can become tough and chewy during the long cooking process.
Ingredients at a glance (2)
- 3 lb pork ribs
- 1 1/2 cups barbecue sauce
Instructions
Preparation phase
- Prepare the ribsPlace the pork ribs into the slow cooker basin. Ensure the ribs are arranged so that they fit comfortably without being overly crowded to allow even steaming throughout the cooking process.Look for ribs are settled in the bottom of the slow cookerTip Remove the thin membrane from the back of the ribs before placing them in the cooker for a more tender texture.
At the end of this phase, the ribs should be arranged neatly in the bottom of the slow cooker. Everything should be clean, and the ribs should be ready for the sauce. Ensure no large pieces of packaging are left on the meat and that your workspace is organized before proceeding to add the sauce.
Slow cooking phase
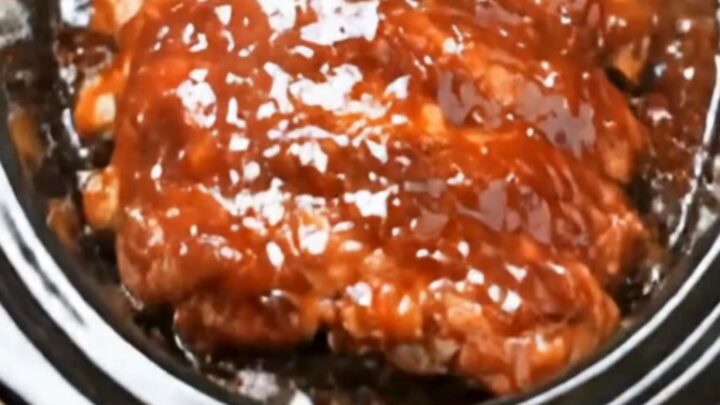
- Add sauce and cookPour the barbecue sauce over the ribs, ensuring all surfaces are well coated. Cover the slow cooker with its lid and set to cook on low heat for 8 hours until the meat is extremely tender.Look for sauce is bubbling and ribs are deeply coatedTip Avoid lifting the lid during the cooking process to keep the heat and moisture inside.
During this phase, the ribs will slowly release their juices and combine with the barbecue sauce. The aroma in the kitchen should be rich and savory. Check that the lid is securely in place and that the slow cooker is set to the correct low temperature setting for the duration of the cycle.
Serving phase
- Finish and serveCarefully lift the ribs from the slow cooker using tongs. Transfer them to a serving plate and let them rest for at least 5 minutes. Ensure the internal temperature of the meat reaches 145°F (63°C) before serving.Look for meat slides easily off the bone when pulled with a forkSafe temperature 145°F (63°C) internal temperature (steaks, chops and roasts)Tip Use a digital thermometer to verify the temperature in the thickest part of the meat without touching the bone.
The final phase involves careful handling of the extremely tender ribs. The meat should look dark, glazed, and soft. Use tongs to lift the pieces gently to avoid them falling apart prematurely. The ribs should be steaming and ready to be transferred to the serving plate for a brief rest.
Common mistakes
A common mistake is overcrowding the slow cooker, which prevents the heat from circulating properly and can lead to uneven cooking. Ensure there is enough space for the sauce to coat the ribs thoroughly.
Another error is checking the ribs too frequently; lifting the lid releases trapped heat and steam, which significantly increases the total cooking time and can dry out the meat.
Finally, do not neglect to trim excess fat if the ribs are extremely fatty, as this can result in a greasy final sauce.
How to tell it’s done
The ribs are perfectly done when the meat is exceptionally tender and shows signs of pulling away from the bone ends. When tested with a fork, the meat should flake apart with almost no resistance.
Use a meat thermometer to confirm the ribs have reached an internal temperature of at least 145°F (63°C). Allowing the ribs to rest for at least 5 minutes before slicing helps the juices redistribute, ensuring each portion remains moist and flavorful.
- Steaks, chops and roasts: 145°F (63°C) in the thickest part, then a 3-minute rest
Up next · Part 3 of 3
2 variations · storage & make-ahead · 3 answers · printable card
Tips, FAQ & printable recipe (Part 3)← Back to the ingredients (Part 1)