Dinner · Part 1 of 3: Ingredients
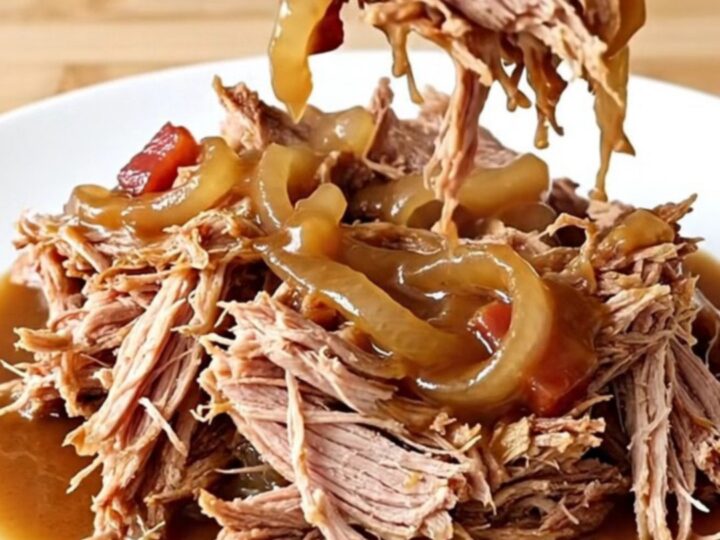
Slow Cooker Bacon Jam Pulled Pork
- Prep
- Cook
- Total
- Serves
- 6
Elevate your weeknight dinner routine with this incredibly simple slow cooker bacon jam pulled pork. By combining savory pork shoulder with the smoky sweetness of bacon jam, you create a dish that is both comforting and sophisticated.
This recipe is the definition of convenience, allowing you to enjoy a restaurant-quality meal with minimal effort and cleanup. Prepare to impress your family and friends with a flavor combination that feels like it took hours of active preparation, when in reality, it is mostly hands-off.
The magic of this recipe lies in the slow, steady heat of the slow cooker, which breaks down the collagen in the pork while allowing the flavors of the bacon, onions, and cider vinegar to meld into a rich, complex sauce.
This dish is perfect for those who appreciate deep, savory profiles with a subtle hint of sweetness. Whether you are planning a casual gathering or simply seeking a satisfying meal to return to after a long day, this pulled pork provides a consistent, delicious result that never fails to please.
Ingredients
Main Ingredients
- 3 lb pork shoulder, cut into large chunks
- 8 oz bacon, cooked and chopped
- 1 onion, sliced
- 1/2 cup brown sugar
- 1 tsp black pepper
- 1/4 cup cider vinegar
Why this recipe works
The slow cooker method provides a gentle, consistent heat that is ideal for tougher cuts of meat like pork shoulder. Over several hours, the connective tissue breaks down, resulting in meat that is incredibly tender and succulent. This process ensures that the flavors from the bacon, brown sugar, and cider vinegar penetrate deep into the fibers of the pork, creating a cohesive and deeply flavored dish that is far superior to quick-cooking methods.
By layering the ingredients, the pork benefits from the rendered bacon fat and the moisture released by the onions. As the sugar dissolves and mixes with the cider vinegar, it creates a reduction that coats the shredded meat perfectly. This approach eliminates the need for additional thickeners or complex sauces, relying instead on the natural chemistry of the ingredients to produce a beautiful, glossy, and flavorful bacon jam sauce that elevates the entire dish.
Notes and substitutions
When selecting a pork shoulder, look for a piece with some marbling, as this fat will render during the long cook time, contributing to the overall moisture of the shredded meat. If you prefer a leaner result, you can trim the exterior fat cap before cutting the pork into chunks.
The type of bacon you choose will also influence the final flavor; a hickory-smoked or applewood-smoked bacon works exceptionally well, adding a distinct depth that complements the sweetness of the brown sugar.
The equipment required is minimal, essentially just a standard slow cooker and basic kitchen tools. Ensure your slow cooker is large enough to accommodate the pork without being overly crowded, which helps maintain an even temperature throughout the cooking cycle.
If you find your slow cooker runs particularly hot, keep a close eye on the liquid levels during the final hour of cooking to ensure the sauce does not burn or reduce too quickly before the meat is finished.
- pork shoulder: pork butt or boneless pork loin
- cider vinegar: red wine vinegar or white balsamic vinegar
Equipment
- Slow cooker
- Chef's knife
- Cutting board
- Small ramekin
- Measuring cups
- Forks for shredding
Up next · Part 2 of 3
3 steps · 8 h of cooking · what to look for at each stage
Step-by-step instructions (Part 2)