Desserts · Part 1 of 3: Ingredients
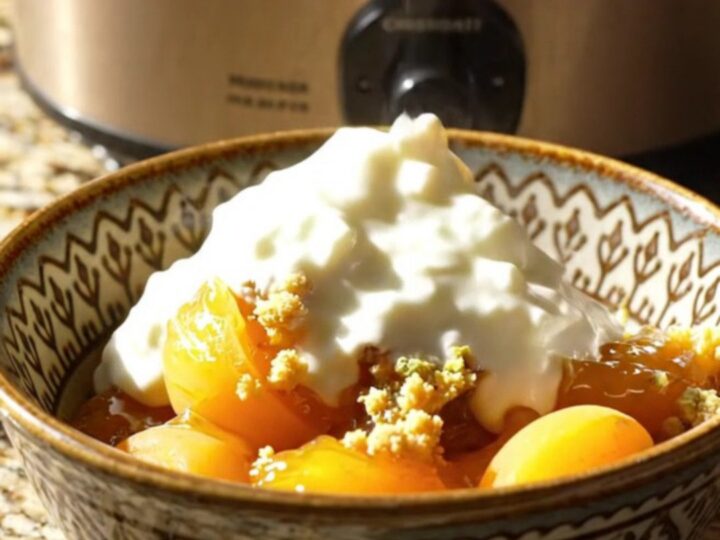
Slow-Cooker Apricot Pistachio Oat Crisp
- Prep
- Cook
- Total
- Serves
- 6
Discover the effortless way to create a sophisticated dessert using only your slow cooker. This apricot and pistachio crisp balances the natural tang of fresh stone fruit with a warm, spiced oat crunch. It is a foolproof recipe that brings sunshine to the table, regardless of the season, and serves as an ideal centerpiece for family gatherings or casual dinners with friends.
This slow-cooker apricot pistachio oat crisp is designed for home cooks who appreciate deep, roasted flavors without the need for constant oven monitoring. By utilizing the gentle, consistent heat of a slow cooker, the apricots are transformed into a concentrated, jammy delight that pairs perfectly with the textural contrast of a toasted pistachio and oat streusel.
The addition of cardamom adds a subtle, aromatic complexity that elevates this simple dish into something truly memorable, making it a reliable staple for any dessert repertoire.
Ingredients
Filling
- 6 cups fresh apricots, halved
- 1 tsp vanilla bean paste
- 1/4 cup blossom honey
Topping
- 1 1/2 cups rolled oats
- 1/2 cup shelled green pistachios, chopped
- 1/3 cup brown sugar
- 1/2 tsp ground cardamom
- 4 tbsp unsalted butter, melted
Why this recipe works
The slow-cooker method creates a unique environment for fruit preparation. By cooking the apricots on high, the natural moisture released by the fruit mixes with the honey and vanilla, creating a syrupy base that thickens as it roasts. This process allows the flavors to meld more thoroughly than they would in a traditional oven, resulting in a rich, jam-like consistency that is perfectly balanced by the sweetness of the honey.
The topping relies on the fat from the melted butter to toast the oats and pistachios effectively during the cook time. Because the slow cooker traps heat and moisture, the top layer remains exposed to the dry heat near the lid, which enables the brown sugar to caramelize slightly.
This creates a distinct, crunchy crust that provides a necessary textural contrast to the soft, tender fruit underneath, ensuring every spoonful is satisfying.
Notes and substitutions
When selecting ingredients, aim for fresh, firm apricots that have a vibrant color. If the apricots are slightly under-ripe, they will hold their shape better during the long cooking time. For the pistachios, raw, unsalted varieties are preferred to allow full control over the final flavor profile.
Using high-quality blossom honey provides a floral note that complements the acidity of the apricots, while freshly ground cardamom offers a more potent and aromatic impact than pre-ground versions.
Regarding equipment, a standard 6-quart slow cooker is ideal for this recipe. Its surface area allows the topping to spread out, which is crucial for achieving the desired crispness.
If a smaller slow cooker is used, the cooking time may need to be adjusted, as the depth of the fruit layer will increase, potentially requiring more time for the moisture to evaporate. Always ensure the lid fits securely to maintain the necessary internal heat for consistent results.
- blossom honey: maple syrup can be used for a slightly earthier flavor profile.
- rolled oats: certified gluten-free rolled oats ensure the recipe remains safe for those with gluten sensitivities.
Equipment
- 6-quart slow cooker
- mixing bowl
- spatula
- measuring cups
- measuring spoons
Up next · Part 2 of 3
3 steps · 2 h 30 min of cooking · what to look for at each stage
Step-by-step instructions (Part 2)