Dinner · Part 2 of 3: Instructions
Slow Cooker Apple Cranberry Pork Roast Step-by-step instructions
- Prep
- Cook
- Total
- Serves
- 6
Before you start
Before beginning, ensure your slow cooker is clean and positioned on a stable, heat-resistant surface near an electrical outlet. Have all ingredients measured out and ready to assemble.
If your pork roast was stored in the refrigerator, take it out about 20 minutes before cooking to help it come closer to room temperature, which encourages more even cooking throughout the process. Ensure your meat thermometer is calibrated and ready to verify the final doneness of the roast.
Ingredients at a glance (4)
- 2 lb boneless pork roast
- 2 cups sliced apples
- 1/2 cup brown sugar
- 1 can (14 oz) cranberry sauce
Instructions
Layering the Roast
- Prepare the Slow CookerPlace the boneless pork roast into the bottom of the slow cooker base. Ensure the roast is centered to allow for even cooking throughout the process.Look for The pork is centered in the cookerTip Pat the pork dry with paper towels before placing it in the cooker for a cleaner sear if desired.
The pork roast should be positioned flat at the bottom of the slow cooker basin. Ensure it is stable and not touching the sides of the cooker excessively.
The environment should be clean, and the power cord should be securely connected to the outlet, ensuring the unit is ready to begin the low-temperature cooking phase without any obstructions.
Adding Aromatics
- Add Aromatics and SweetnessScatter the sliced apples evenly over the top of the pork. Sprinkle the brown sugar over the apple layer to provide a caramelized sweetness to the sauce.Look for Apples are spread out and sugar is sprinkledTip Use tart apples like Granny Smith to balance the sugar.
The apples should be spread in an even layer across the surface of the pork, and the brown sugar should be distributed uniformly to ensure it dissolves into the juices. The ingredients should look layered and ready to be glazed by the cranberry sauce, with no large clumps of sugar remaining on the surface of the cooker.
Glazing and Cooking
- Final Glaze and CookPour the cranberry sauce over the apples and pork. Cover the slow cooker and cook on low for 6 hours. Ensure the pork reaches an internal temperature of 145°F (63°C) and let it rest for 10 minutes before slicing.Look for Sauce is poured over the porkSafe temperature 145°F (63°C) internal temperature (steaks, chops and roasts)Tip Check the internal temperature at the thickest part of the roast.
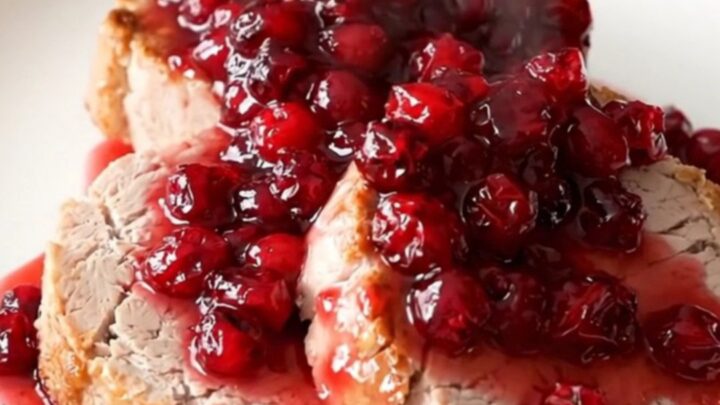
The cranberry sauce should be poured over the top, covering the apples and pork completely. The slow cooker should be covered securely. At the end of the cooking phase, the aroma should be sweet and savory, and the sauce should look glossy and thick, indicating that the sugars and fruit have combined into a rich, flavorful reduction.
Common mistakes
A common mistake is overcrowding the slow cooker or using a roast that is too large for the vessel, which can lead to uneven cooking. Avoid lifting the lid frequently during the cooking process, as each time you open it, heat escapes and adds time to the overall cooking duration.
Another error is failing to check the internal temperature; cooking by time alone can be risky, so always rely on a thermometer to confirm the pork is safely cooked through, rather than guessing based on the clock alone.
How to tell it’s done
The pork is perfectly cooked when it reaches an internal temperature of 145°F (63°C) at its thickest point. Use a digital meat thermometer inserted into the center of the roast to verify this.
The meat should be tender and sliceable, and the cranberry-apple sauce should have thickened into a glossy, jammy consistency that clings to the pork medallions. Always allow the roast to rest for at least 10 minutes on a cutting board before slicing to ensure the juices redistribute throughout the meat, keeping each slice moist and flavorful.
- Steaks, chops and roasts: 145°F (63°C) in the thickest part, then a 3-minute rest
Up next · Part 3 of 3
2 variations · storage & make-ahead · 3 answers · printable card
Tips, FAQ & printable recipe (Part 3)← Back to the ingredients (Part 1)