Dinner · Part 1 of 3: Ingredients
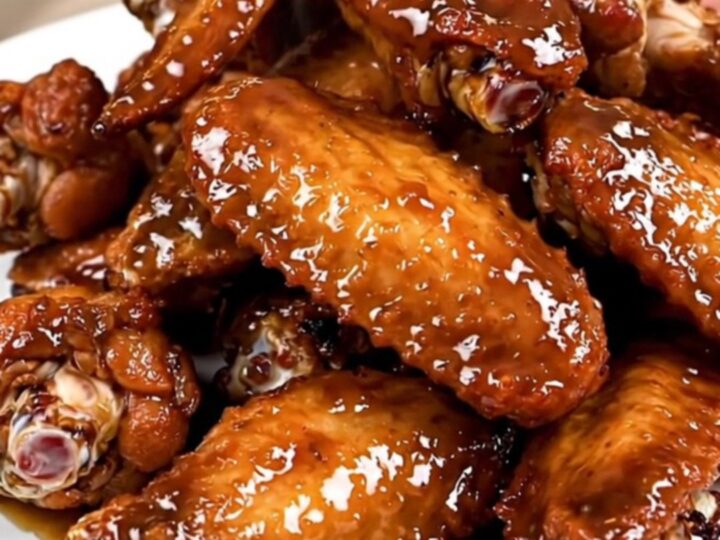
Slow Cooker Apple Butter Barbecue Chicken Wings
- Prep
- Cook
- Total
- Serves
- 4
Elevate your next gathering with these slow cooker apple butter barbecue wings that offer the perfect balance of savory, sweet, and sticky flavors. By using a slow cooker, the meat achieves a level of tenderness that is difficult to replicate with other cooking methods.
This straightforward approach allows the apple butter to meld beautifully with the barbecue spices, resulting in a deep, complex flavor profile that will surely impress guests at any casual dinner or game day event.
The magic of this recipe lies in the slow, gentle heat of the crockpot. By slowly braising the chicken in a flavorful mixture of apple butter and barbecue sauce, the natural sugars in the apple butter caramelize perfectly against the tangy barbecue base.
This creates a rich, sticky glaze that clings to every piece of chicken. Because the wings cook in their own juices along with the aromatic onions, the final result is exceptionally succulent, with a depth of flavor that develops over several hours of cooking.
Ingredients
Main Ingredients
- 3 lb chicken wings, separated into drums and flats
- 1 medium red onion, diced
- 1 tbsp onion powder
- 2 cups spiced apple butter barbecue sauce
Why this recipe works
Cooking the wings in a slow cooker allows the connective tissues in the chicken to break down slowly, ensuring the meat remains moist and tender rather than drying out. The low and steady heat is ideal for infusing the flavors of the onion powder and the spiced apple butter directly into the poultry. This method also provides the convenience of a hands-off cooking process, giving you more time to focus on other tasks while the slow cooker works its magic.
The combination of red onion and apple butter creates a unique flavor foundation that balances acidity with natural sweetness. As the onions soften, they release their juices into the sauce, creating a savory base that perfectly complements the robust profile of the barbecue sauce.
The slow cooking environment ensures that the onion powder is evenly distributed, coating every inch of the wings and providing a consistent savory note that ties the sweet and tangy elements together seamlessly.
Notes and substitutions
When selecting chicken wings, ensure they are thoroughly cleaned and trimmed of any excess fat. While the recipe calls for red onion, you can easily substitute with sweet or yellow onions depending on your preference.
Using a high-quality, pre-made spiced apple butter barbecue sauce is recommended for the best flavor, but you can also create your own by combining your favorite bottled barbecue sauce with a small amount of apple butter and a dash of cinnamon if desired.
For the best results, use a standard oval-shaped slow cooker that allows the wings to sit in a relatively even layer. If your slow cooker has a tendency to run hot, check the internal temperature of the thickest part of the wings starting around the three-hour mark. Always use a digital meat thermometer to confirm the wings have reached the safe temperature of 165°F (74°C) before serving to ensure they are cooked perfectly throughout.
- Red onion: Yellow or white onion can be used for a slightly sharper flavor profile.
- Spiced apple butter barbecue sauce: Combine 1.5 cups of your favorite BBQ sauce with 0.5 cups of apple butter and a pinch of cinnamon.
Equipment
- Slow cooker
- Glass measuring cup
- Chef knife
- Cutting board
- Serving platter
Up next · Part 2 of 3
3 steps · 4 h of cooking · what to look for at each stage
Step-by-step instructions (Part 2)