Dinner · Part 1 of 3: Ingredients
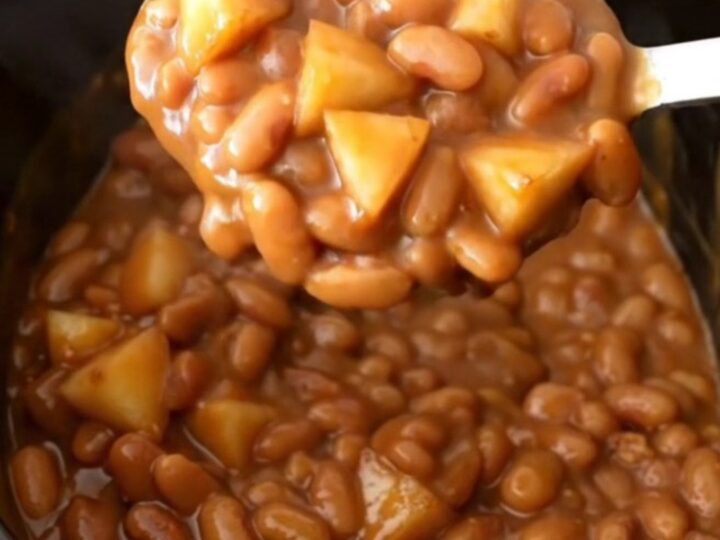
Slow Cooker Apple Bacon Baked Beans
- Prep
- Cook
- Total
- Serves
- 6
Elevate a classic pantry staple into a gourmet side dish with this simple slow cooker apple bacon baked bean recipe. By combining the deep, savory notes of crisp bacon with the natural sweetness of fresh apples, this dish creates a complex flavor profile that pairs perfectly with outdoor barbecues, holiday dinners, or casual weekend meals. It is a foolproof method that requires minimal effort while delivering impressive results that are sure to satisfy everyone at the table.
This baked bean recipe relies on the slow cooker to marry diverse flavors together over time. The result is a rich, thick, and hearty dish that avoids the typical monotony of standard canned beans.
Whether served alongside grilled meats or as a standalone comfort dish, the combination of sugar, spice, and salty bacon transforms the texture and taste of the beans. It is a versatile preparation that allows the flavors to deepen slowly, ensuring every bite is packed with savory goodness.
Ingredients
base
- 4 cups canned baked beans
additions
- 1 cup diced apples
- 6 slices cooked bacon, crumbled
seasoning
- 2 tbsp brown sugar
- 1/2 tsp ground cinnamon
sauce
- 1/2 cup ketchup
Why this recipe works
The slow cooker method provides a gentle, consistent heat that allows the apples to break down slightly without turning into mush. This process helps the fruit release its natural juices, which sweeten the sauce, while the bacon fat renders and infuses the beans with a smoky richness that defines the dish. The low temperature also prevents the sugar from burning, allowing it to caramelize slowly into a thick, glossy glaze that coats each bean perfectly.
By layering the ingredients rather than stirring them immediately, the flavors are allowed to meld during the long cooking duration. The ketchup acts as a foundational base that balances the sweetness of the brown sugar and the warmth of the cinnamon.
This methodical layering ensures that the bacon stays distributed throughout the pot, providing a salty crunch in every bite, while the slow cooking ensures the beans absorb the surrounding flavors for a cohesive and deeply satisfying final texture.
Notes and substitutions
Selecting the right apple is crucial for success. Choose a crisp, firm variety such as Honeycrisp or Granny Smith, as these hold their shape during the extended cooking time and provide a pleasant texture contrast to the soft beans.
If the beans appear too thick after cooking, a splash of water or apple cider can be added to reach the desired consistency. Always ensure the bacon is cooked until crispy before adding it to the slow cooker to avoid a chewy texture in the final dish.
The slow cooker insert should be clean and dry before use. If the slow cooker has a tendency to run hot, check the beans halfway through the cooking process to ensure the edges are not drying out. Standard measuring tools are sufficient for this recipe, and no specialized equipment is required.
If substituting the brown sugar, keep in mind that maple syrup will add a more pronounced woody flavor, whereas honey will offer a lighter, floral sweetness that complements the apples differently.
- brown sugar: maple syrup or honey for a different depth of sweetness
- apples: pears or dried cranberries to vary the fruit profile
Equipment
- Slow cooker
- Cutting board
- Chef's knife
- Measuring cups
- Measuring spoons
- Serving spoon
Up next · Part 2 of 3
3 steps · 4 h of cooking · what to look for at each stage
Step-by-step instructions (Part 2)