Desserts · Part 2 of 3: Instructions
Slow Cooker Alsatian Plum Jam Step-by-step instructions
- Prep
- Cook
- Total
- Serves
- 4
Before you start
Before beginning, ensure that your slow cooker insert is clean and free of any residue. Wash the damson plums thoroughly under cold running water and pat them dry with a clean kitchen towel. Prepare the plums by halving them and removing the pits; if the plums are particularly large, you can quarter them, though halves are traditional for this recipe.
Measure your sugar and lemon juice accurately to ensure the correct balance of sweetness and acidity. Have your glass jars ready for filling once the jam has finished cooking, ensuring they are clean and dry for storage purposes.
Ingredients at a glance (4)
- 2 lbs damson plums, halved and pitted
- 2 cups granulated sugar
- 1 cinnamon stick
- 2 tbsp lemon juice
Instructions
Combining the ingredients
- Prepare the ingredientsPlace the halved and pitted damson plums into the basin of the slow cooker. Distribute them evenly across the bottom to ensure consistent heat penetration during the long cooking process. Add the granulated sugar over the fruit, followed by the cinnamon stick, and finally pour the lemon juice over the top.Look for The plums should be arranged in a single or slightly overlapping layer.Tip Ensure the slow cooker insert is clean and dry before adding the fruit.
At this stage, the slow cooker should contain the fruit, sugar, cinnamon, and lemon juice in a neat layer. Ensure the cinnamon stick is nestled in the center of the plums so it can infuse the entire batch as the fruit begins to release its juices. The ingredients should look vibrant and fresh before the heat is applied.
Slow cooking process
- Slow cook the jamCover the slow cooker with its lid. Cook on the low setting for approximately 8 hours. This extended period allows the moisture from the plums to evaporate and the natural pectin to activate, thickening the mixture into a glossy, spreadable consistency without the need for constant stirring.Look for The jam is ready when it has darkened in color and thickened significantly.Tip Avoid lifting the lid frequently to prevent heat loss.
During the cooking phase, the plums will release their juices and gradually break down into a dark, syrupy mixture. By the end of this phase, the fruit should be soft and the liquid should have reduced significantly. The kitchen will smell fragrant with the scent of cooked plums and warm cinnamon, indicating the jam is nearing completion.
Jarring and finishing
- Finish and storeRemove the cinnamon stick from the mixture and discard it. Use a ladle to transfer the hot jam into sterilized glass jars. Allow the jars to cool to room temperature before sealing them with lids. Place the jars in the refrigerator to finish setting completely before serving.Look for The jam should be glossy and hold its shape on a spoon.Tip Use a clean ladle to prevent contamination of the finished product.
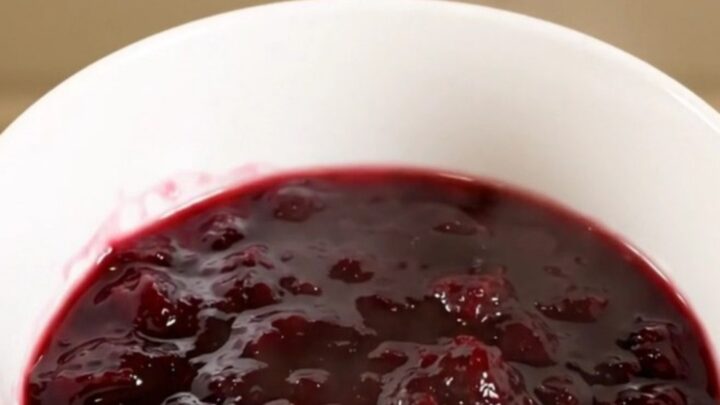
The final jam should be thick, glossy, and uniform in texture once the cinnamon stick is removed. When ladled into jars, it should flow slowly and coat the back of the spoon evenly. After cooling, the jam will firm up further in the refrigerator, ready for serving on bread, yogurt, or pastries.
Common mistakes
One common mistake is overfilling the slow cooker, which can lead to the jam bubbling over the edges of the insert. Always ensure there is enough space for the fruit to expand and for moisture to evaporate.
Another error is removing the lid too frequently to check on the progress; every time the lid is lifted, heat and moisture escape, which extends the cooking time and can affect the final set of the jam.
Finally, ensure the cinnamon stick is completely removed before jarring, as it can continue to infuse the jam with an overpowering flavor if left in too long during storage.
How to tell it’s done
The jam is finished when it has reached a deep, dark purple hue and has a thick, glossy appearance. To test for doneness, place a small spoonful of the hot jam on a cold plate and let it sit for a minute; if it wrinkles slightly when pushed with your finger, it has reached the desired consistency.
The texture should be spreadable but firm enough to hold its shape. Since no raw proteins are used in this recipe, there are no internal temperature requirements to monitor during the cooking process.
Up next · Part 3 of 3
2 variations · storage & make-ahead · 3 answers · printable card
Tips, FAQ & printable recipe (Part 3)← Back to the ingredients (Part 1)