Dinner · Part 1 of 3: Ingredients
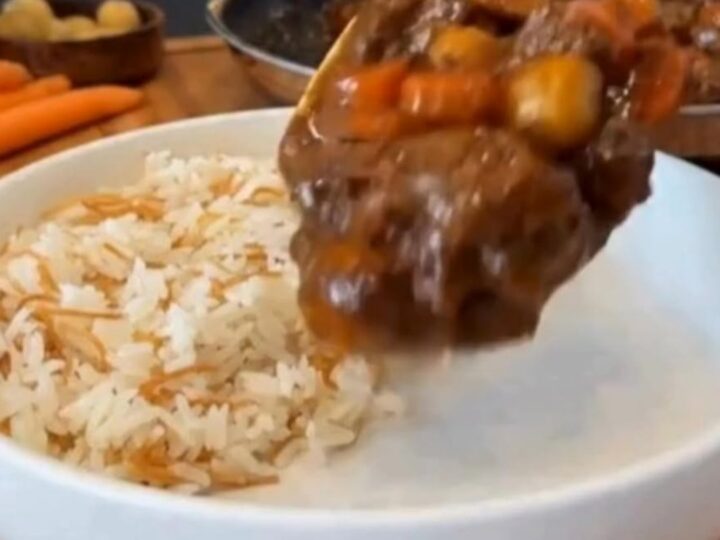
Slow-Cooked Beef Stew with Fluffy Vermicelli Rice
- Prep
- Cook
- Total
- Serves
- 6
Craving a comforting, hearty meal that warms you from the inside out? This slow-cooked beef stew served over fluffy vermicelli rice is the ultimate cozy dinner. Featuring tender, melt-in-your-mouth beef chunks, sweet carrots, and baby potatoes simmered in a rich, glossy gravy, this dish is a simple yet deeply satisfying masterpiece that brings warmth to any table.
There is nothing quite like the aroma of a savory stew bubbling gently on the stove to make a house feel like a home. This classic recipe combines the rustic, comforting nature of a traditional beef stew with the elegant texture of toasted vermicelli rice.
By searing the beef to lock in its natural juices and simmering the vegetables slowly, you create a harmonious dish where every single bite is packed with rich, savory goodness. It is the perfect meal for cozy Sunday dinners or chilly nights.
Ingredients
Beef Stew
- 2 lb beef stew meat, cut into 1-inch chunks
- 1 lb baby potatoes, halved
- 3 carrots, sliced into thick rounds
Vermicelli Rice
- 1/2 cup vermicelli pasta, broken into small pieces
- 1 1/2 cups long-grain white rice, rinsed
Why this recipe works
The secret behind the incredibly tender texture of the beef lies in the low and slow simmering process. Tougher cuts of beef, which are high in collagen and connective tissue, require prolonged, gentle heat to break down into rich, tender gelatin.
This slow breakdown not only makes the meat melt-in-your-mouth tender but also naturally thickens the cooking liquid, giving the gravy a luxurious, velvety mouthfeel that beautifully coats the back of a spoon.
Searing the beef beforehand is another critical technique that elevates this dish. Through the Maillard reaction, high heat caramelizes the proteins on the surface of the meat, creating a deep, complex flavor profile that cannot be achieved by simmering alone.
These caramelized sugars leave behind delicious browned bits on the bottom of the pot, which dissolve back into the liquid to form the foundational flavor notes of your rich, savory gravy.
Notes and substitutions
When choosing beef for this stew, boneless chuck roast is the ideal option. It has the perfect ratio of lean meat to fat and connective tissue, ensuring it remains juicy and flavorful throughout the long cooking process.
Avoid pre-cut stew meat if possible, as it often contains a mix of different cuts that cook at uneven rates. Cutting a whole chuck roast into uniform cubes yourself yields far superior and more consistent results.
For the vermicelli rice, long-grain white rice like Basmati or Jasmine works best, as the grains remain distinct and fluffy when cooked. Toasting the broken vermicelli pasta in the pot before adding the rice is a crucial step that imparts a delightful nutty aroma and gorgeous golden color. Make sure to rinse your rice thoroughly in cold water beforehand to remove excess surface starch, which prevents the rice from becoming sticky.
- beef stew meat: boneless beef chuck roast, trimmed and cut into 1-inch pieces, which provides excellent marbling and tenderness
- vermicelli pasta: angel hair pasta broken into 1-inch pieces, or thin spaghetti if vermicelli is unavailable
Equipment
- Dutch oven
- large skillet
- wooden spoon
- measuring cups and spoons
- cutting board
- chef's knife
Up next · Part 2 of 3
5 steps · 2 h of cooking · what to look for at each stage
Step-by-step instructions (Part 2)