Dinner · Part 2 of 3: Instructions
Slow-Cooked Beef Stew with Steamed Rice Step-by-step instructions
- Prep
- Cook
- Total
- Serves
- 4
Before you start
Before starting, ensure all ingredients are prepped and ready for the stove. Peel and cut the carrots and potatoes into consistent, bite-sized chunks to ensure they cook at the same rate.
Pat the beef chuck roast dry with paper towels to ensure a perfect sear, and have your heavy-bottomed skillet ready near the stove. Taking these simple steps will make the cooking process smooth and organized.
Ingredients at a glance (4)
- 2 lb beef chuck roast, cut into 1-inch cubes
- 2 medium carrots, peeled and sliced
- 2 medium potatoes, peeled and cubed
- 1 cup vermicelli rice, cooked
Instructions
Searing the Beef
- Sear the beefHeat a heavy-bottomed skillet over medium-high heat. Add the cubed beef chuck roast and sear the pieces on all sides until a deep brown crust forms. This process creates the foundation of flavor for the entire stew, ensuring the final gravy has a rich, complex profile. Do not crowd the pan; work in batches if necessary to ensure proper browning.Look for The beef should be browned on all sides and look seared.Tip Ensure the beef is completely dry with paper towels before adding to the skillet for the best sear.
The beef should be deep brown on all sides. This browning step is the most important part of building the base flavor. Watch for a rich, dark color and ensure the pan is hot enough to create that crust without burning the meat.
Simmering the Stew
- Simmer the stewAdd the prepared carrots and potatoes to the skillet with the beef. Pour in enough water or broth to just cover the ingredients, then reduce the heat to a low simmer. Cover the skillet tightly and allow the mixture to cook slowly for approximately 2.5 to 3 hours until the beef reaches 145°F (63°C). Let the meat rest for at least 3 minutes before serving.Look for The liquid should be bubbling very gently.Safe temperature 145°F (63°C) internal temperature (steaks, chops and roasts)Tip Keep the lid on to trap moisture and ensure the meat softens properly.
The stew should be simmering with a gentle, consistent bubbling. The liquid will begin to thicken as the collagen from the beef renders. The beef should feel firm but yielding when pierced with a fork after the full simmering time is complete.
Serving the Dish
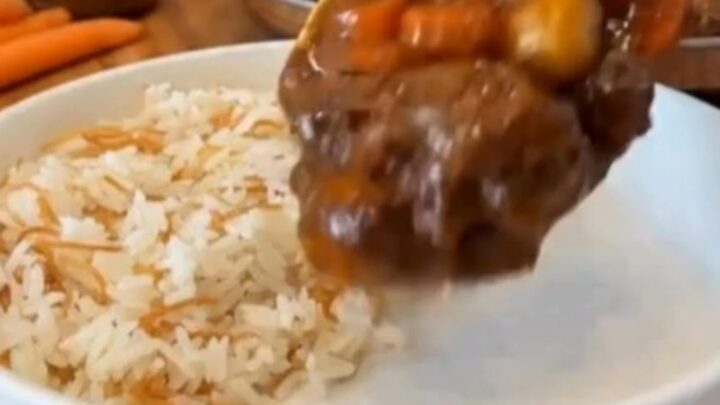
- Finish and serveOnce the beef is tender and cooked through, remove the skillet from the heat. Ladle a generous portion of the steaming beef, carrots, and potatoes directly over a bed of warm vermicelli rice. Serve immediately while the gravy is glossy and the dish is piping hot.Look for The beef should be fork-tender and the gravy should be thick and glossy.Tip Check the internal temperature of the beef using a probe thermometer to ensure perfect doneness.
The final dish should be steaming hot with a glossy, thick gravy. The beef should be incredibly tender, and the carrots and potatoes should be soft enough to cut with a spoon. Ensure everything is served over the warm rice immediately for the best quality.
Common mistakes
A common mistake is rushing the searing process, which prevents the development of the deep, savory flavors essential for a great gravy.
Another error is using a temperature that is too high during the simmering phase; keep the heat low and steady to ensure the beef fibers break down properly.
Finally, ensure you do not add too much liquid, as this can result in a thin, watery sauce instead of a thick, flavor-packed stew.
How to tell it’s done
The beef is perfectly done when it reaches an internal temperature of 145°F (63°C). At this point, the meat should be exceptionally tender and easily pull apart with a fork.
The gravy should have reduced into a rich, glossy consistency that coats the back of your spoon, and the vegetables should be soft and fully cooked through.
- Steaks, chops and roasts: 145°F (63°C) in the thickest part, then a 3-minute rest
Up next · Part 3 of 3
2 variations · storage & make-ahead · 3 answers · printable card
Tips, FAQ & printable recipe (Part 3)← Back to the ingredients (Part 1)