Dinner · Part 2 of 3: Instructions
Slow-Braised Lamb Shanks in Rich Savory Gravy Step-by-step instructions
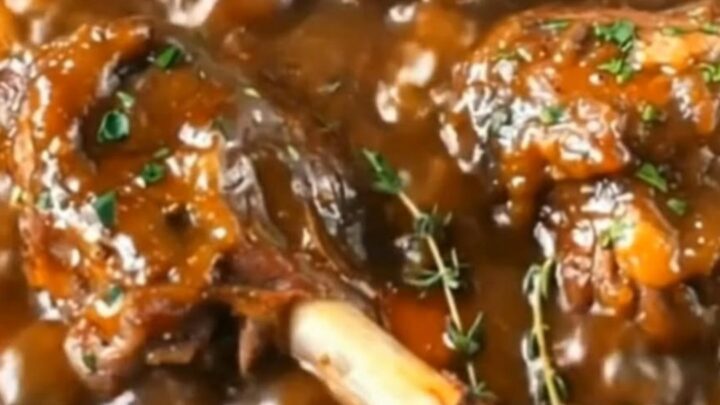
- Prep
- Cook
- Total
- Serves
- 4
Before you start
Before starting, ensure all vegetables are thoroughly washed and peeled. Have the lamb shanks ready at room temperature for about thirty minutes before they enter the oven to ensure even cooking.
Clear enough space on your counter for the Dutch oven and have your serving bowls ready to go. Gather all your ingredients so that the assembly process is smooth and organized, allowing you to focus on the cooking process without interruption.
Ingredients at a glance (4)
- 4 lamb shanks
- 3 carrots, peeled and chopped
- 1 lb baby potatoes
- 2 cups brown gravy, store-bought or made ahead
Instructions
Preparation
- Prepare the IngredientsBegin by peeling and chopping the carrots into uniform pieces. Wash the baby potatoes thoroughly and leave them whole if they are small or halve them if they are larger. Ensure the lamb shanks are patted dry with paper towels to facilitate better browning in the Dutch oven.Look for Vegetables should be prepped to a size that cooks evenly alongside the meat.Tip Keeping the potatoes uniform helps them cook at the same rate as the carrots.
At the end of this phase, the carrots are peeled and chopped, the potatoes are cleaned, and the lamb shanks are ready for the pot. Everything is prepped to ensure the cooking process transitions seamlessly into the braising stage without any delays.
Braising the Lamb
- Braise the LambPlace the lamb shanks into the Dutch oven. Pour the brown gravy over the meat until they are partially submerged. Cover the pot tightly with a lid. Place the Dutch oven in a preheated oven at 325 degrees Fahrenheit and cook for approximately three hours until the meat is tender and reaches 145 degrees Fahrenheit (63 degrees Celsius). Let the meat rest for at least 3 minutes before serving.Look for The sauce should bubble gently and the meat should start to pull away from the bone.Safe temperature 145°F (63°C) internal temperature (steaks, chops and roasts)Tip A tight-fitting lid is crucial to keep the moisture inside for a tender result.
The lamb has been in the oven for three hours, and the meat is beginning to look tender. The kitchen is filled with the savory aroma of slow-cooked meat. The gravy is bubbling gently around the shanks, indicating the base is perfectly concentrated.
Finishing the Dish
- Add Vegetables and FinishCarefully remove the lid and add the prepared carrots and baby potatoes to the Dutch oven, tucking them into the gravy around the lamb shanks. Cover and continue cooking for an additional forty-five minutes. Once the vegetables are tender, remove from the oven and serve immediately.Look for The carrots and potatoes should be fork-tender and the gravy should be thick and glossy.Tip Letting the meat rest ensures the juices redistribute for the most tender texture possible.
The vegetables are now tender, and the gravy has thickened to a beautiful, glossy consistency. The lamb is soft and ready to serve. The entire dish is aromatic, and the meat reaches the safe internal temperature required for a perfect, succulent meal.
Common mistakes
Avoid lifting the lid too frequently during the braising process, as this releases the trapped steam and heat required to tenderize the meat properly.
Additionally, do not crowd the Dutch oven too much, as the pieces need enough room for the gravy to circulate around them.
Ensure the oven temperature is accurate; if the heat is too high, the gravy may evaporate too quickly, leading to a dry result instead of a succulent, braised texture.
How to tell it’s done
The lamb is done when the meat is exceptionally tender and pulls away from the bone with minimal effort from a fork. The internal temperature of the meat should reach at least 145 degrees Fahrenheit (63 degrees Celsius).
The carrots and potatoes should be soft enough to be pierced easily with a knife, indicating they have fully absorbed the flavors of the rich, glossy brown gravy.
- Steaks, chops and roasts: 145°F (63°C) in the thickest part, then a 3-minute rest
Up next · Part 3 of 3
2 variations · storage & make-ahead · 3 answers · printable card
Tips, FAQ & printable recipe (Part 3)← Back to the ingredients (Part 1)