Desserts · Part 3 of 3: Tips & recipe card
Skillet Cinnamon Pear Cobbler with Flaky Buttermilk Biscuit Crust Tips, FAQ & printable recipe
- Prep
- Cook
- Total
- Serves
- 6
Tips for success
For the flakiest biscuits, handle the dough as little as possible and keep everything cold. If your kitchen is warm, chill the flour and butter for 15 minutes before mixing.
When dropping the dough onto the pears, use a large spoon or ice cream scoop to create uneven, rustic mounds—this gives you craggy edges that catch the sugar and turn extra crunchy.
If you prefer a thicker filling, let the cobbler cool for a full 15 minutes before serving. The cornstarch will continue to set as it cools. For an extra layer of flavor, you can add a pinch of salt to the pear filling, but it's optional. Serve any leftovers warm, reheated in the oven or microwave, with a fresh scoop of ice cream.
Variations
- Apple-Pear Cobbler: Replace half of the pears with peeled, sliced apples, such as Honeycrisp or Granny Smith. The apples add a tart contrast to the sweet pears and hold their shape just as well. Keep the same spices and baking time.
- Spiced Pecan Crunch: Sprinkle 1/2 cup chopped pecans over the pear filling before adding the biscuit dough. The nuts toast during baking and add a crunchy texture. You can also mix a tablespoon of melted butter with the pecans for extra richness.
- Ginger-Pear Cobbler: Add 1 teaspoon of grated fresh ginger to the pear filling along with the spices. The ginger adds a warm, slightly spicy note that pairs beautifully with the pears and cinnamon. If you don't have fresh ginger, use 1/2 teaspoon ground ginger.
- Individual Ramekin Cobblers: Divide the pear filling among 6 ramekins and top each with a small biscuit mound. Bake for 25-30 minutes, or until the biscuits are golden and the filling bubbles. This makes for a lovely presentation at dinner parties.
Storage and make-ahead
- Fridge
- Store leftover cobbler in an airtight container in the refrigerator for up to 4 days. Reheat in the microwave or oven before serving.
- Freezer
- The baked cobbler can be frozen for up to 3 months. Thaw overnight in the refrigerator, then reheat in a 350°F oven until warmed through.
- Reheat
- Reheat individual portions in the microwave for 30-60 seconds, or in a 350°F oven for 10-15 minutes.
Store leftover cobbler in an airtight container in the refrigerator for up to 4 days. The biscuits will soften over time, but the flavor will still be delicious.
To reheat, place a portion in the microwave for 30-60 seconds, or warm in a 350°F oven for 10 minutes. If you prefer a crisper biscuit, reheat in a toaster oven or under the broiler for a minute or two, watching carefully.
The pear filling can be assembled up to a day ahead. Toss the sliced pears with the sugar, lemon juice, spices, and cornstarch, then cover and refrigerate.
When ready to bake, prepare the biscuit dough, drop it over the cold filling, and bake as directed—you may need to add a few minutes to the baking time if the filling is very cold. The biscuit dough is best made fresh, but you can mix it and refrigerate for up to 2 hours before using.
Serving ideas
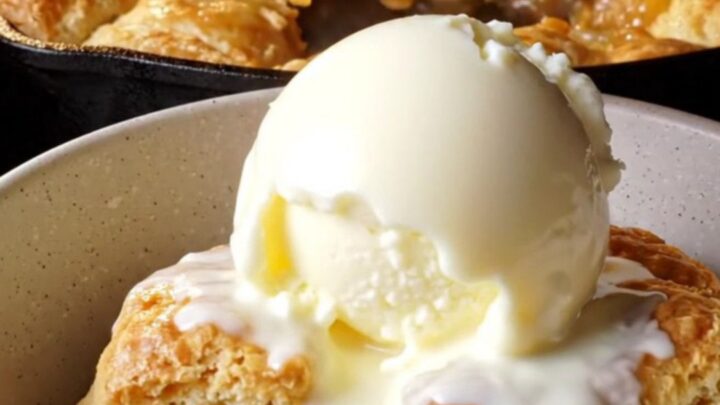
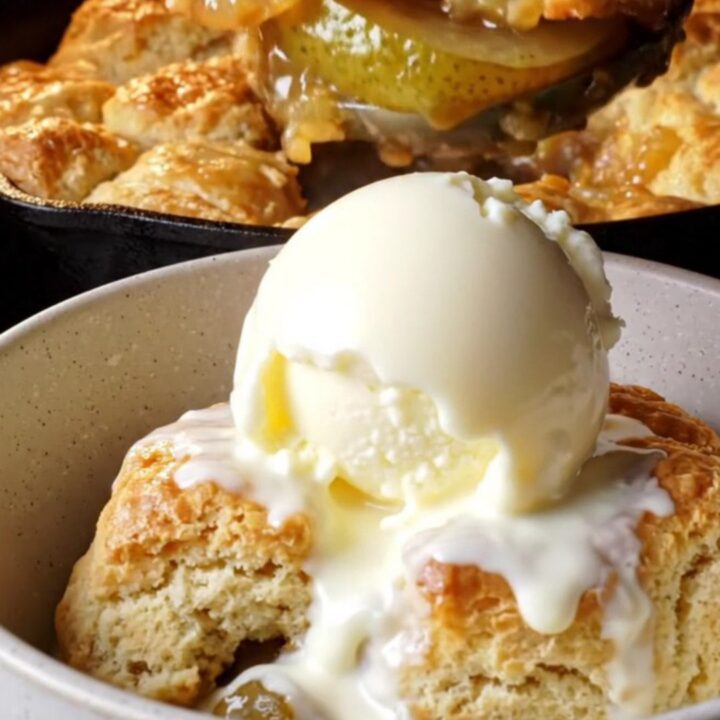
Serve this cobbler warm, straight from the skillet, with a generous scoop of vanilla ice cream melting into the spiced pears.
The contrast between the hot, bubbling fruit and the cold, creamy ice cream is what makes this dessert irresistible. You can also add a drizzle of caramel sauce or a sprinkle of toasted pecans, but the classic version is perfect on its own.
For a more formal presentation, spoon the cobbler into individual bowls and top each with a single biscuit and a scoop of ice cream. A dusting of cinnamon on top of the ice cream adds a pretty finish. This dessert is equally good for a casual weeknight treat or a holiday gathering, and it's sure to disappear quickly.
Frequently asked questions
Can this cobbler be made ahead of time?
Why are your biscuits not flaky?
Can you use a different type of pear?
What can you use instead of buttermilk?
How do you know when the cobbler is done?
Skillet Cinnamon Pear Cobbler with Flaky Buttermilk Biscuit Crust
Ingredients
- 5 ripe Bosc pears, peeled and sliced
- 1/2 cup brown sugar
- 1 tbsp lemon juice
- 1 tsp ground cinnamon
- 1/4 tsp ground cardamom
- 1 tbsp cornstarch
- 2 cups all-purpose flour
- 1 tbsp baking powder
- 1/2 tsp salt
- 1/2 cup cold unsalted butter, cut into small pieces
- 3/4 cup cold buttermilk
- 2 tbsp heavy cream
- 1 tbsp turbinado sugar
- Vanilla ice cream, for serving
Instructions
- Heat the oven to 375°F (190°C). Place the sliced pears in a 10-inch cast iron skillet. Add the brown sugar, lemon juice, cinnamon, cardamom, and cornstarch. Toss everything together directly in the skillet until the pears are evenly coated.
- In a large bowl, whisk together the flour, baking powder, and salt. Cut the cold butter into the flour mixture using a pastry cutter or your fingertips until the mixture resembles coarse meal with some pea-sized butter pieces. Pour in the cold buttermilk and stir just until a shaggy dough forms.
- Using a spoon or cookie scoop, drop 6 rustic mounds of the biscuit dough evenly over the pear mixture in the skillet. The dough does not need to cover the pears completely; leave some gaps for the juices to bubble through.
- Brush the tops of the biscuit mounds with the heavy cream. Sprinkle the turbinado sugar over the biscuits, making sure to coat the tops generously. This will create a crunchy, golden crust as the cobbler bakes.
- Place the skillet in the preheated oven and bake for 35 minutes, until the biscuits are deep golden brown and flaky, and the pear juices are bubbling thickly around the edges. The filling should be visibly thickened and syrupy.
- Remove the skillet from the oven and let it cool for about 10 minutes. The filling will continue to thicken as it rests. Scoop the warm cobbler into bowls, making sure to get a biscuit and plenty of spiced pears in each serving. Top with a scoop of vanilla ice cream and serve immediately.
Estimated nutrition per serving
- Calories
- 420
- Protein
- 5 g
- Carbohydrates
- 68 g
- Fat
- 15 g
Next recipe

Giant S'mores Skillet Cookie with Toasted Marshmallow Fluff
See the recipe → →This recipe is based on a short cooking video and is published under the pen name Clara Weller. It was checked before publication, but errors can slip through. Nutrition, when shown, is an estimate. Read more in our editorial policy and on our food safety page.
More recipes to try
Double Chocolate Skillet Brownie with Molten Fudge Center
Total time: 35 min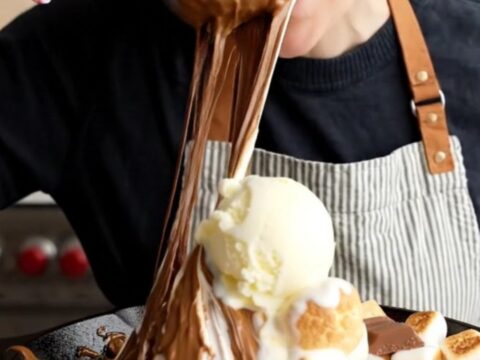
Brown Butter S'mores Skillet Blondie with Graham Crust
Total time: 35 min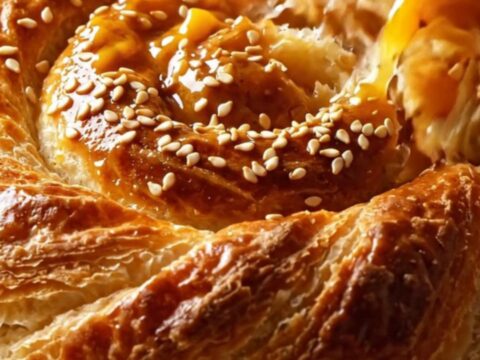
Turkish Tahinli Çörek: Spiral Sesame Tahini Rolls
Total time: 1 h 25 min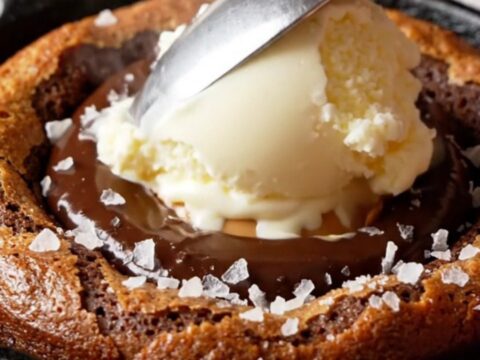
Molten Chocolate Peanut Butter Skillet Lava Cake
Total time: 33 min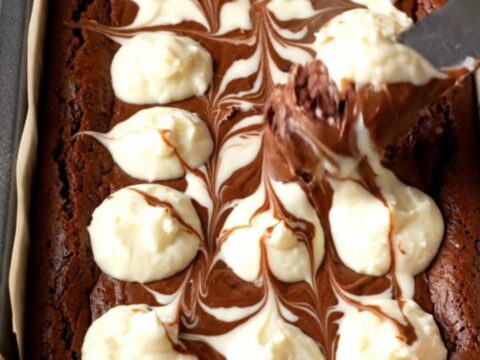
One Egg Fudgy Cheesecake Brownies
Total time: 1 h 30 min