Dinner · Part 1 of 3: Ingredients
Sizzling Cilantro-Lime Skirt Steak Fajitas
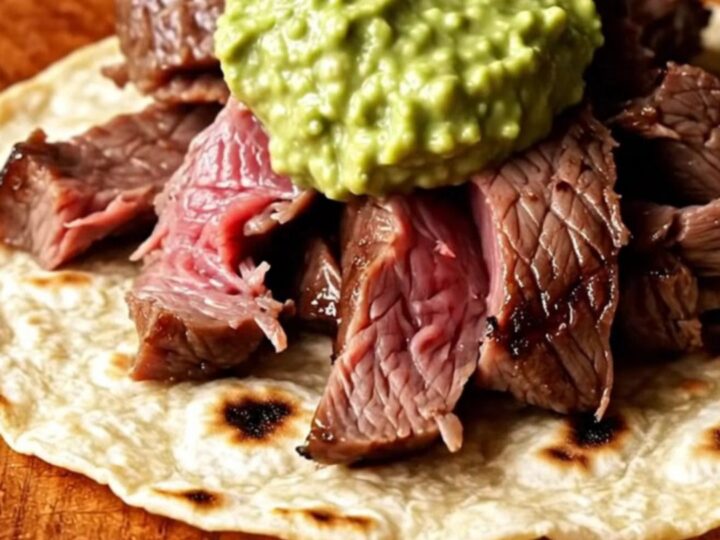
- Prep
- Cook
- Total
- Serves
- 4
Achieving that legendary, sizzling fajita experience at home is simpler than you might imagine. By focusing on a high-heat sear and a vibrant, punchy marinade, you can transform humble skirt steak into a restaurant-worthy feast.
This method captures the essence of a Mexican grill-house, delivering intense flavor and perfect texture in every single bite. Get ready to impress your guests with a dish that smells as incredible as it tastes, all while keeping the preparation straightforward and efficient for your next dinner.
These cilantro-lime skirt steak fajitas are designed for those who appreciate the bold, smoky flavors of authentic grilled meat. The secret lies in a balanced marinade that tenderizes the steak while infusing it with bright citrus and earthy spice notes.
When seared in a screaming hot cast-iron skillet, the meat develops a beautiful char that locks in the juices, while the peppers and onions caramelize to perfection. This recipe is your go-to guide for creating a memorable, high-energy meal that brings the excitement of a professional kitchen right to your own table.
Ingredients
Marinade and Steak
- 1.5 lb skirt steak
- 1/3 cup lime juice
- 1/4 cup olive oil
- 1 bunch cilantro, blended
- 1 jalapeño
- 4 garlic cloves
- 1 tbsp cumin
Vegetables and Serving
- 2 bell peppers, sliced
- 1 white onion, sliced
- 8 flour tortillas, for serving
- 1/2 cup avocado crema, for serving
Why this recipe works
The method of blending the marinade ensures that every fiber of the skirt steak is coated, allowing the lime juice and cumin to penetrate more effectively than with chopped ingredients. This creates a deeply flavorful crust during the searing process, which is essential for that signature fajita taste. The high-heat approach is non-negotiable; searing at 500°F (260°C) allows the surface of the steak to caramelize quickly without overcooking the center, ensuring the meat remains tender and juicy.
Using a cast-iron skillet is the most effective way to mimic the performance of a professional commercial griddle. The heavy metal retains heat exceptionally well, preventing the pan from cooling down when the cold meat and vegetables are added.
This constant, intense heat is what produces the characteristic sizzling sound and the charred, blistered appearance on the peppers and onions. By letting the meat rest after cooking, you ensure that the internal juices remain within the steak, resulting in a succulent final product.
Notes and substitutions
Skirt steak is the traditional choice for fajitas because of its loose grain and high fat content, which yields a rich flavor when charred. If you cannot find skirt steak, flank steak is a suitable alternative, provided it is sliced very thinly against the grain.
Ensure that you trim any excess silver skin from the steak before marinating to avoid any chewiness in the final dish. The quality of your cilantro and lime juice will significantly impact the brightness of the marinade, so prioritize fresh produce.
The avocado crema adds a necessary cooling element that balances the smoky intensity of the seared steak. While store-bought crema is convenient, you can easily adjust the consistency by whisking in a splash of lime juice or water if needed. Regarding equipment, a well-seasoned cast-iron skillet is ideal for this recipe. If you do not have one, a heavy-bottomed stainless steel pan will work, though it may take slightly longer to reach the necessary surface temperature for the perfect sear.
- skirt steak: flank steak can be used as a substitute, though it is slightly less fatty and requires careful slicing against the grain to maintain tenderness.
- white onion: yellow or red onions provide a similar texture and sweetness, though white onions are traditional for their sharp, clean flavor in Mexican-style fajitas.
Equipment
- cast-iron skillet
- blender
- chef knife
- cutting board
- tongs
Up next · Part 2 of 3
3 steps · 10 min of cooking · what to look for at each stage
Step-by-step instructions (Part 2)