Dinner · Part 2 of 3: Instructions
Simple Slow Cooker Cantonese Rice with Ham and Peas Step-by-step instructions
- Prep
- Cook
- Total
- Serves
- 4
Before you start
Before beginning, ensure all ingredients are measured and ready. Dice the ham into small, uniform cubes to ensure it distributes evenly throughout the rice. If using a large bouillon cube, crush it into smaller pieces to help it dissolve more quickly.
Verify that your slow cooker is clean and positioned on a stable, heat-resistant surface with adequate space around it for proper ventilation during the cooking process.
Ingredients at a glance (5)
- 2 cups white rice
- 1 handful frozen peas
- 1 bouillon cube
- 4 cups water
- 1 cup ham, diced
Instructions
Layering the ingredients
- Assemble the baseAdd the white rice to the bottom of the slow cooker insert, then scatter the frozen peas and diced ham over the top.Look for The ingredients are layered evenly in the slow cooker insert.Tip Ensure the rice is spread in an even layer to promote uniform cooking.
At this stage, the rice, peas, and ham are layered in the slow cooker. The ingredients should look organized and ready for the liquid. Check that the rice is spread across the bottom of the insert for even heat distribution before adding the remaining components.
Adding seasonings and liquid
- Season and hydrateCrumble the bouillon cube over the top of the mixture and pour in the water, ensuring all ingredients are mostly submerged.Look for The water covers the rice and peas while the bouillon is distributed.Tip Crushing the bouillon cube thoroughly ensures it dissolves evenly during the cooking process.
The bouillon and water are added to the pot. Ensure the bouillon is crumbled well so it does not remain in large clumps. The water should just cover the rice mixture. Check that the ingredients are mostly submerged to ensure everything cooks evenly during the cycle.
Final cooking and resting
- Cook and serveCover and cook on low for three hours until the rice is tender and the liquid is absorbed. Let the rice rest for five minutes before serving.Look for The rice is fluffy and the liquid has been fully absorbed.Tip Fluff the rice with a fork before serving to keep the texture light.
The rice is now cooking and will gradually absorb the liquid. By the end of this phase, the aroma of savory bouillon and ham will be noticeable.
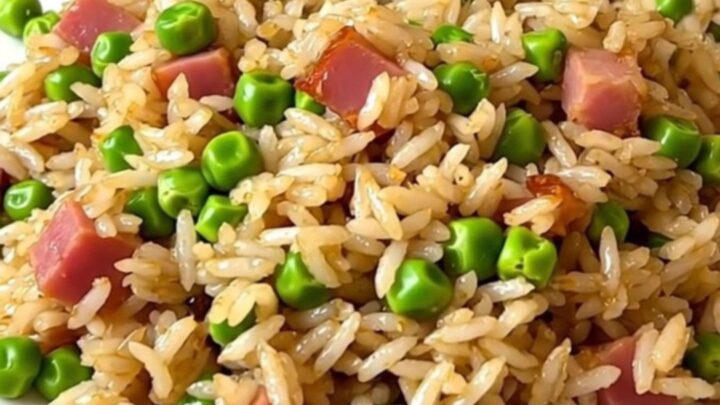
The rice should appear fluffy and tender. Ensure the mixture has rested for five minutes before serving to achieve the ideal texture.
Common mistakes
A common mistake is using too much water, which can lead to mushy rice; stick to the recommended ratio to maintain the correct texture. Overloading the slow cooker can also prevent even cooking, so ensure the ingredients do not exceed the recommended capacity.
Finally, lifting the lid frequently to check on the progress releases essential steam and heat, which will significantly increase the total cooking time and potentially result in unevenly cooked grains.
How to tell it’s done
The dish is done when the rice has absorbed all the liquid and reached a tender, fluffy consistency. The peas should be vibrant and soft, and the ham should be heated through.
There should be no visible liquid remaining at the bottom of the slow cooker insert. Let the rice rest for five minutes after turning off the heat, which allows the steam to redistribute and ensures the perfect final texture.
Up next · Part 3 of 3
2 variations · storage & make-ahead · 3 answers · printable card
Tips, FAQ & printable recipe (Part 3)← Back to the ingredients (Part 1)