Appetizers · Part 1 of 3: Ingredients
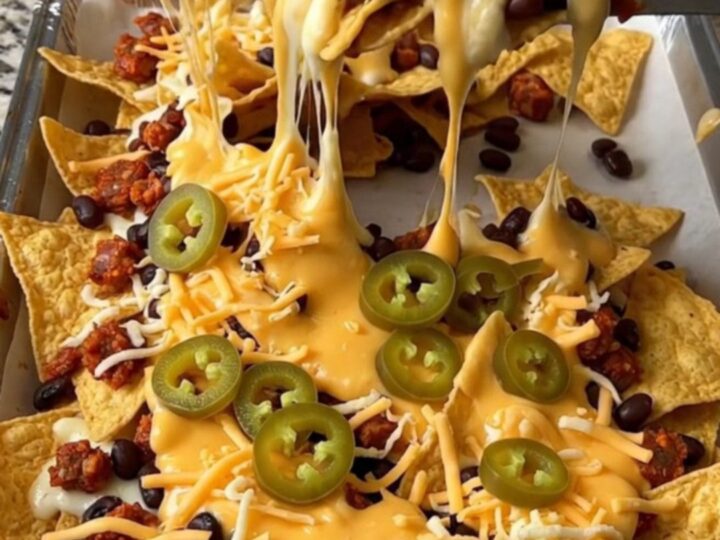
Sheet Pan Chorizo Queso Nachos for an Easy Crowd-Pleasing Snack
- Prep
- Cook
- Total
- Serves
- 4
Elevate your snacking game with these sheet pan chorizo queso nachos, a perfect blend of crispy, savory, and cheesy elements that come together in minutes.
This recipe simplifies the classic nacho experience, turning a few pantry staples into a restaurant-worthy appetizer that is sure to be the highlight of any gathering. With minimal preparation and even less cleanup, these nachos offer a stress-free way to serve a crowd without sacrificing quality or flavor.
Sheet pan nachos are the ultimate solution for those who want a hot, satisfying snack without spending hours in the kitchen. By using a single sheet pan, you achieve a uniform layer of ingredients, ensuring that every chip gets its fair share of chorizo, beans, and melted cheese.
This method avoids the common problem of dry chips at the bottom of the pile and creates a perfectly balanced appetizer that is easy to assemble and even easier to share. Whether hosting friends or just looking for a fun snack, this recipe delivers consistent results that everyone will enjoy.
Ingredients
- 8 oz gluten-containing tortilla chips
- 8 oz fresh Mexican chorizo, cooked and crumbled
- 1/2 cup black beans, rinsed and drained
- 1/2 cup warm queso dip
- 1 cup shredded Monterey Jack cheese
- 1/4 cup jalapeno rings
Why this recipe works
The sheet pan method works by maximizing surface area, which allows the tortilla chips to crisp up evenly while the toppings warm through. Unlike piling chips in a deep dish, spreading them out ensures that the heat distribution is uniform, preventing burnt chips while guaranteeing perfectly melted cheese. The arrangement also makes it incredibly easy to distribute the savory chorizo and beans, providing a flavorful bite every time.
Additionally, the use of a parchment-lined rimmed pan is essential for success. The parchment paper acts as a non-stick barrier, making cleanup nearly effortless, while the rimmed design keeps all the ingredients neatly contained.
This technique is highly efficient for high-heat cooking, allowing the cheese to reach a molten state without drying out the chips. It is a reliable, time-tested approach that turns simple ingredients into a cohesive, delicious snack that is ready to serve in under fifteen minutes.
Notes and substitutions
For the best results, use a high-quality fresh Mexican chorizo that has been cooked and drained of excess fat beforehand. This ensures the nachos do not become greasy. If store-bought queso is used, opt for a thick variety that will not turn the chips soggy too quickly. The shredded Monterey Jack cheese is recommended for its superior melting properties, but mild cheddar can be used for a slightly sharper flavor profile if preferred.
Regarding equipment, a sturdy, rimmed aluminum sheet pan is the gold standard. Aluminum provides excellent heat conductivity, which is crucial for achieving that signature golden finish on the cheese.
Always ensure the parchment paper is trimmed to fit the pan exactly to prevent it from burning or interfering with the airflow. If fresh jalapenos are too spicy, pickled jalapeno slices offer a milder, slightly acidic contrast that cuts through the richness of the melted cheese.
- Mexican chorizo: Ground breakfast sausage seasoned with chili powder and cumin
- Monterey Jack cheese: Mild cheddar or a Mexican blend cheese
Equipment
- rimmed aluminum sheet pan
- parchment paper
- metal spatula
Up next · Part 2 of 3
3 steps · 10 min of cooking · what to look for at each stage
Step-by-step instructions (Part 2)