Dinner · Part 1 of 3: Ingredients
Sealed Stuffed Burger Pockets with Molten Cheddar
- Prep
- Cook
- Total
- Serves
- 4
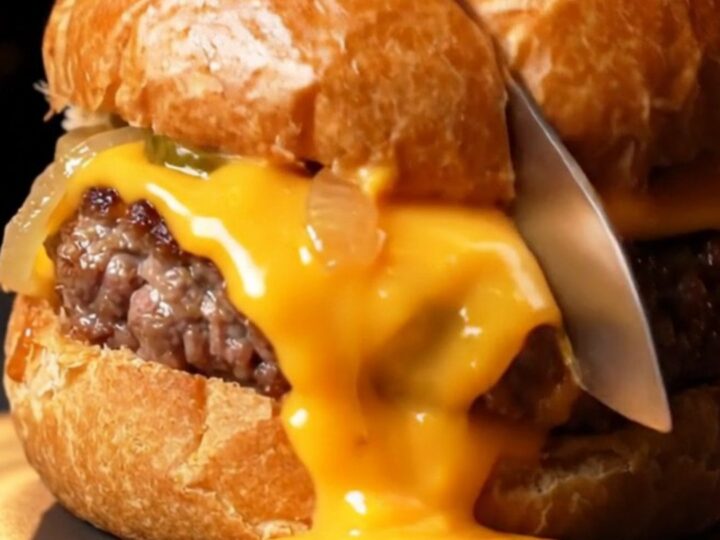
These Sealed Stuffed Burger Pockets are the ultimate mash-up of a juicy burger and a soft, golden brioche bun. A seasoned beef patty, sweet caramelized onions, tangy pickles, and a slice of cheddar are completely enclosed in a pillowy dough, then baked until the outside is shiny and deeply golden.
Slice one open to watch the molten cheese flow over the tender beef. They are perfect for dinner, game day, or anytime you want a handheld meal that delivers a dramatic cheese pull with every bite.
Imagine a burger where every component is locked inside a cloud-soft brioche sphere. That is exactly what you get with these Sealed Stuffed Burger Pockets. The dough is made with milk, butter, and a touch of sugar, giving it a rich, slightly sweet flavor that complements the savory beef and sharp cheddar.
The pockets are sealed tightly before baking, so all the juices and melted cheese stay inside, creating a burst of flavor when you cut into them. This recipe is straightforward and fun to make, and the result is a showstopping meal that tastes as good as it looks.
Ingredients
For the dough
- 2 1/2 cups all-purpose flour
- 3/4 cup whole milk, warm
- 2 1/4 tsp active dry yeast
- 2 tbsp granulated sugar
- 4 tbsp unsalted butter, melted
- 1 large egg
- 1 tsp kosher salt
For the filling
- 1 lb ground beef (80% lean)
- 1 tbsp burger seasoning (salt, pepper, garlic powder)
- 1 cup caramelized onions
- 1/2 cup dill pickle slices
- 4 slices cheddar cheese
For topping
- 2 tbsp white sesame seeds
Why this recipe works
Sealing the dough around the filling creates a self-contained pocket that traps all the juices from the beef and the melted cheese.
As the pockets bake, the steam inside helps the dough rise and become light and airy, while the filling stays moist and flavorful. This method ensures every bite has a perfect ratio of bread, meat, cheese, and toppings, with no drips or mess.
The brioche-style dough is enriched with milk, butter, and egg, which gives it a tender crumb and a beautiful golden color.
The sugar not only feeds the yeast but also helps the crust caramelize during baking, resulting in a slightly sweet, shiny exterior that contrasts beautifully with the savory filling. The result is a burger experience that is both familiar and excitingly new.
Notes and substitutions
Use a high-quality ground beef with at least 20% fat for the juiciest results. The fat renders during baking, keeping the patty moist and adding flavor. If you prefer leaner meat, add a tablespoon of olive oil to the mixture to compensate. The burger seasoning can be simple: salt, pepper, and garlic powder work perfectly, but feel free to use your favorite blend.
Caramelized onions can be made ahead and stored in the refrigerator for up to a week. If you are short on time, you can use store-bought caramelized onions or even quick-pickled red onions for a different flavor. The pickles are optional but add a nice tangy crunch that cuts through the richness of the beef and cheese.
- ground beef: ground turkey or chicken (adjust cook time to reach 165°F / 74°C)
- cheddar cheese: provolone, mozzarella, or pepper jack for a different melt
- dill pickles: bread and butter pickles for a sweeter note
- all-purpose flour: bread flour for a chewier dough
Equipment
- Large mixing bowl
- Rolling pin
- Baking sheet lined with parchment
- Chef's knife
- Pastry brush
- Instant-read thermometer
Up next · Part 2 of 3
5 steps · 22 min of cooking · what to look for at each stage
Step-by-step instructions (Part 2)