Drinks · Part 1 of 3: Ingredients
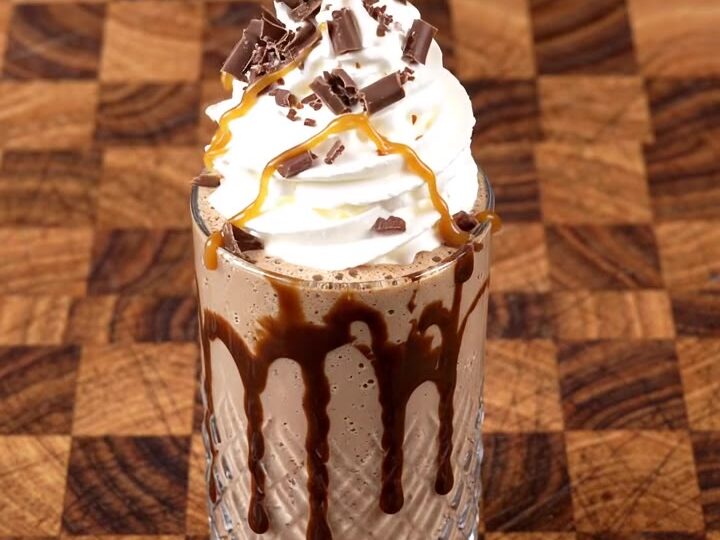
Salted Date Caramel Tahini Espresso Cream Shake
- Prep
- Cook
- Total
- Serves
- 2
This salted date caramel tahini espresso cream shake is a frosty, indulgent treat that comes together in minutes. Sweet Medjool dates and frozen banana create a thick, caramel-like base, while roasted tahini adds a nutty depth.
Cold brew espresso gives it a caffeinated kick, and heavy cream makes it luxuriously smooth. Topped with whipped cream, milk chocolate curls, and a pinch of flaky salt, it's a dessert-like drink that satisfies any sweet tooth.
Imagine a caramel milkshake that's actually made with dates, tahini, and coffee. That's this shake. The dates blend into a rich, caramel-like sweetness without any refined sugar, while the tahini brings a toasty, nutty flavor that pairs beautifully with espresso.
The frozen banana adds body and creaminess, and the heavy cream makes it extra decadent. It's a quick blender drink that feels like a special treat, perfect for a weekend afternoon or a dessert replacement.
Ingredients
- 6 pitted Medjool dates
- 1/4 cup toasted walnuts, chopped
- 2 oz milk chocolate, grated into curls
- 1 frozen banana, sliced
- 2 tbsp roasted tahini
- 1/2 cup cold brew espresso
- 1/2 cup heavy cream
- 1/4 tsp flaky sea salt, for garnish
For serving
- Whipped cream, for serving
Why this recipe works
The combination of Medjool dates and frozen banana creates a naturally thick, sweet base that mimics the texture of a traditional caramel shake. Dates are sticky and dense, so they blend into a smooth paste that coats the palate, while the frozen banana adds frosty creaminess without diluting the flavor. This duo ensures the shake is thick enough to eat with a spoon, yet still sippable through a straw.
Roasted tahini and cold brew espresso are the flavor anchors. Tahini's nutty, slightly bitter notes cut through the sweetness, while cold brew's low acidity and concentrated coffee flavor provide a robust backdrop.
The heavy cream binds everything together, adding richness and a silky mouthfeel. The final pinch of flaky sea salt lifts all the flavors, making the sweetness more pronounced and the nuttiness more complex.
Notes and substitutions
Use soft, squishy Medjool dates for the best results. If your dates are dry, soak them in warm water for 10 minutes, then drain before using. Frozen banana should be very ripe—brown spots on the peel indicate maximum sweetness.
For a thicker shake, use less cold brew; for a thinner one, add more. Roasted tahini is available at most supermarkets, but if you only have regular tahini, it will work—just expect a milder flavor.
A high-speed blender works best for this recipe, but a standard blender will also do the job if you blend a bit longer and scrape down the sides. The milk chocolate curls are easiest to make with a cold chocolate bar and a box grater. For a dairy-free version, use coconut cream instead of heavy cream and vegan chocolate. The shake is best enjoyed immediately, as it will thin out as it sits.
- roasted tahini: Use regular tahini (not roasted) for a milder flavor, or substitute almond butter for a different nutty taste.
- cold brew espresso: Use 1/2 cup strong brewed coffee chilled, or 1 shot of espresso plus enough cold water to make 1/2 cup.
- heavy cream: Use full-fat coconut milk for a dairy-free version, but note the shake will be less creamy.
- milk chocolate: Use dark chocolate or vegan chocolate chips for a less sweet, dairy-free option.
Equipment
- Box grater
- Cutting board
- Chef's knife
- Glass blender pitcher
- Blender
- Crystal glass
- Measuring cups and spoons