Dinner · Part 2 of 3: Instructions
Rosemary Thyme Butter Pork Sirloin Roast Step-by-step instructions
- Prep
- Cook
- Total
- Serves
- 6
Before you start
Before starting, pat the pork sirloin roast dry with paper towels. Smash the garlic cloves by placing the flat side of a chef's knife over each clove and pressing down firmly.
Rinse the fresh rosemary and thyme sprigs and pat them dry. Have the slow cooker ready and the butter measured. No need to brown the meat first; the slow cooker does all the work.
Ingredients at a glance (5)
- 3 1/2 lb boneless pork sirloin roast
- 12 garlic cloves, smashed
- 4 fresh rosemary sprigs
- 6 fresh thyme sprigs
- 1/2 cup salted butter (1 stick)
Instructions
Layer and Butter
- Layer the RoastPlace the pork sirloin roast in the center of the slow cooker. Scatter the smashed garlic cloves over the top, then lay the rosemary and thyme sprigs evenly over the roast.Look for The roast sits snugly in the cooker, topped with garlic and herbs.Tip Smash the garlic cloves with the flat side of a knife to release their flavor.
- Add the ButterPlace the stick of salted butter directly on top of the seasoned roast. It will melt as the slow cooker heats, basting the meat.Look for The butter sits in a neat pat on the roast.Tip Cold butter is fine; it will melt slowly and evenly.
The roast sits in the slow cooker, topped with smashed garlic, fresh herbs, and a stick of butter. The scene is neat and aromatic, with the butter ready to melt and baste the meat as it cooks.
Slow-Cook and Rest
- Slow-CookCover the slow cooker and cook on low for 8 to 10 hours, until the pork is fork-tender and easily shreds. The roast should reach an internal temperature of 145°F (63°C) at minimum, but cooking longer will make it more shreddable. Let it rest for 3 minutes before slicing.Look for The meat is tender and pulls apart with a fork.Safe temperature 145°F (63°C) internal temperature (steaks, chops and roasts)Tip Resist lifting the lid; each peek releases heat and adds cooking time.
- Rest the RoastTurn off the slow cooker. Remove the roast to a cutting board and let it rest for at least 10 minutes. This allows the juices to redistribute.Look for The roast rests, slightly steaming, on the board.Tip Resting is essential for moist, tender meat.
After 8 to 10 hours, the kitchen smells of roasted garlic and herbs. The pork is fork-tender, the butter has melted into a golden jus, and the garlic cloves are soft and sweet. The roast rests on a cutting board, releasing steam.
Shred and Serve
- Shred and ServeUsing two forks, shred the pork into bite-size pieces. Return the shredded meat to the slow cooker and toss with the pan jus. Serve warm, spooning extra jus over the top.Look for The meat shreds easily and glistens with buttery juices.Tip For extra flavor, let the shredded pork sit in the jus for 10 minutes before serving.
The shredded pork glistens with buttery jus, and the garlic cloves have melted into the sauce.
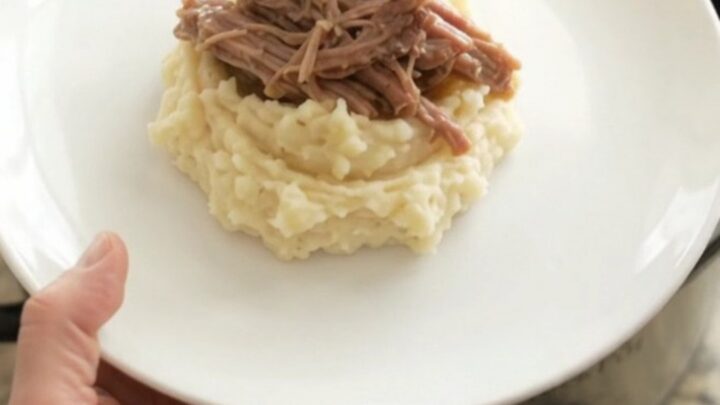
A spoonful of the jus coats the meat, and the herbs are visible throughout. The dish is ready to serve over mashed potatoes or as a sandwich filling.
Common mistakes
The most common mistake is lifting the lid to check on the roast. Every time the lid is removed, heat escapes and cooking time increases. Another mistake is using a lean cut and overcooking it without enough fat, which can dry out.
If the roast seems dry, add a splash of chicken broth to the pot before shredding. Also, avoid shredding too early; the meat must be truly tender to shred properly.
How to tell it’s done
The pork is done when it is fork-tender and shreds easily with two forks. The internal temperature should read at least 145°F (63°C) on an instant-read thermometer inserted into the thickest part.
However, for the most shreddable texture, cook until the meat reaches 190°F (88°C) to 200°F (93°C), which allows the collagen to break down fully.
- Steaks, chops and roasts: 145°F (63°C) in the thickest part, then a 3-minute rest
Up next · Part 3 of 3
4 variations · storage & make-ahead · 5 answers · printable card
Tips, FAQ & printable recipe (Part 3)← Back to the ingredients (Part 1)