Dinner · Part 1 of 3: Ingredients
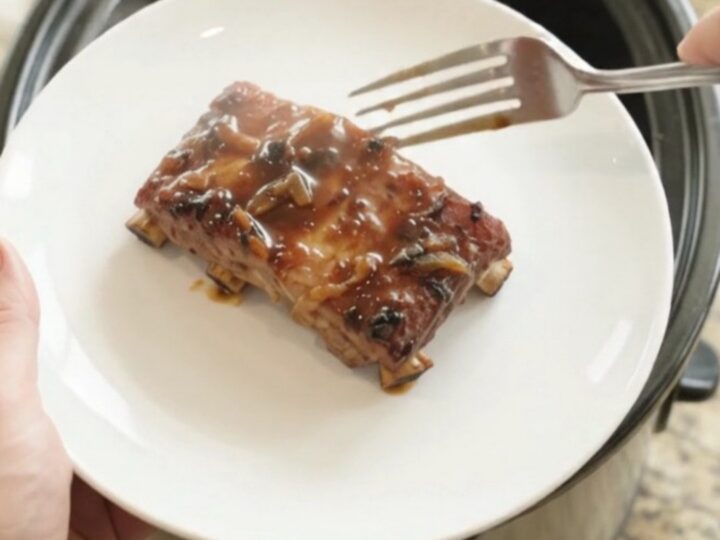
Root Beer Molasses Baby Back Ribs: Slow Cooker Magic
- Prep
- Cook
- Total
- Serves
- 4
Imagine coming home to the aroma of sweet root beer and smoky molasses wafting from the kitchen, knowing that dinner is already done. These slow cooker baby back ribs are that dream come true. With just a handful of ingredients and about ten minutes of hands-on time, you can set yourself up for a meal that tastes like it simmered all day on a pitmaster's smoker.
These root beer molasses baby back ribs are the ultimate dump-and-go dinner. You simply layer the ribs with sweet onions, pour over root beer and a rich molasses garlic BBQ sauce, and let the slow cooker do the rest. Hours later, you're rewarded with fall-off-the-bone tender meat that's coated in a sticky, sweet-tangy glaze.
The root beer adds a subtle caramel sweetness and helps tenderize the meat, while the molasses garlic sauce brings depth and a touch of smoky complexity. Served with the caramelized onions and a spoonful of the reduced sauce, these ribs are pure comfort food. Whether it's a busy weeknight or a lazy weekend, this recipe delivers big flavor with minimal effort.
Ingredients
- 2 racks baby back pork ribs (about 2 lb total)
- 1 cup diced sweet onion
- 1 1/2 cups root beer
- 1 cup molasses garlic BBQ sauce
Why this recipe works
The slow cooker is the hero here. Cooking the ribs on low for 6 to 8 hours allows the collagen in the meat to break down completely, resulting in that signature fall-off-the-bone texture. The gentle, moist heat also keeps the ribs from drying out, so every bite stays juicy and tender. Plus, the long cooking time gives the root beer and onions time to meld into a rich, caramelized sauce that clings to the meat.
Root beer is not just a sweet soda; it's a tenderizer and a flavor booster. The carbonation and sugars help break down the meat fibers while adding a subtle sassafras and vanilla note that pairs beautifully with pork.
Combined with the molasses garlic BBQ sauce, you get a complex, sweet-savory glaze that's both familiar and intriguing. The onions melt into the sauce, adding a natural sweetness and body that makes the final dish taste like it simmered for hours on the stove.
Notes and substitutions
For the best results, use a good-quality root beer—one with real sugar rather than high-fructose corn syrup. The flavor will be cleaner and more pronounced. Sweet onions, such as Vidalia or Walla Walla, are ideal here because they caramelize beautifully and add a mild, sweet flavor.
If you can't find a molasses garlic BBQ sauce, you can make your own by stirring 2 tablespoons of molasses and 1 minced garlic clove into 1 cup of your favorite barbecue sauce.
Baby back ribs are the classic choice for this recipe because they're lean and cook relatively quickly. Spare ribs work too, but they may need an extra hour or two.
If you prefer a thicker sauce, transfer the liquid from the slow cooker to a saucepan and simmer on the stovetop for 10-15 minutes until reduced. You can also broil the ribs for a few minutes after cooking to get a slightly charred, sticky exterior—just keep an eye on them to prevent burning.
- baby back ribs: pork spare ribs (increase cook time by 1-2 hours)
- root beer: cola or ginger ale (use a full-sugar version for best glaze)
- molasses garlic BBQ sauce: 1 cup barbecue sauce plus 2 tablespoons molasses and 1 minced garlic clove
Equipment
- 6-quart slow cooker
- cutting board
- chef's knife
- measuring cups
- fork
- serving plate
Up next · Part 2 of 3
4 steps · 6 h of cooking · what to look for at each stage
Step-by-step instructions (Part 2)