Appetizers · Part 1 of 3: Ingredients
Roman Crispy Fried Artichokes: Authentic Carciofi alla Giudia
- Prep
- Cook
- Total
- Serves
- 4
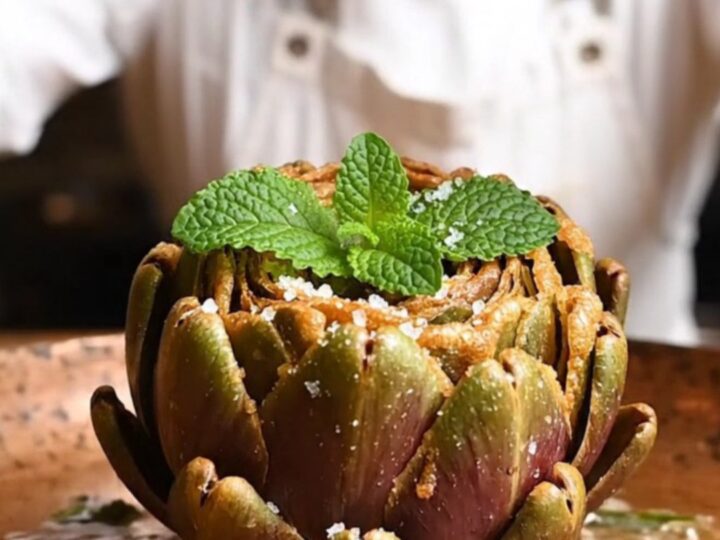
Discover the secret to the most iconic Roman appetizer: Carciofi alla Giudia. These artichokes are transformed through a traditional double-frying process into golden, flower-shaped delicacies that shatter upon impact.
With a tender heart and incredibly crispy petals, this dish brings the rustic charm of a Roman trattoria directly to your kitchen table. It is a simple yet masterful technique that creates a sophisticated result with minimal ingredients, focusing on texture and the natural flavor of the artichoke.
The Carciofi alla Giudia, or Jewish-style artichokes, is a culinary legend from Rome. This method turns a rustic vegetable into a stunning visual centerpiece that tastes as good as it looks. By trimming the artichokes and using a two-stage frying process—first to soften the interior, then to flash-fry the exterior—the petals open up like a blooming flower.
The result is a contrast between the buttery, soft heart and the paper-thin, crispy leaves. This recipe provides clear instructions to achieve that perfect crunch every time, ensuring your home-cooked artichokes rival the best found in Roman markets.
Ingredients
- 4 purple Roman globe artichokes
- 1 tbsp lemon juice
- 4 cups olive oil
- 1/2 tsp sea salt, to taste
- fresh mint, for serving
Why this recipe works
The method of beating the artichoke against the table is essential for forcing the leaves to open. This physical manipulation ensures that when the artichoke hits the hot oil, the petals crisp individually rather than staying clumped together.
The two-stage frying process is the true secret behind the texture, as it allows the vegetable to cook through to the core at a lower temperature, preventing the exterior from burning before the inside is finished.
The initial confit stage at 300°F acts as a gentle poaching phase, tenderizing the dense heart of the artichoke without darkening it. By then increasing the heat to 385°F for the final flash-fry, the moisture on the surface evaporates rapidly, causing the leaves to expand and set into a rigid, crispy structure.
This dual-temperature approach is the only way to achieve the characteristic shatter-like crunch that defines an authentic Roman artichoke.
Notes and substitutions
Select fresh, firm globe artichokes with tightly packed leaves for the best results. The purple Roman variety is traditional, but any high-quality globe artichoke will work well. Ensure the stems are trimmed and peeled, as they are delicious once cooked and add to the overall presentation. If you cannot find fresh mint, a simple sprinkle of sea salt is sufficient to highlight the earthy, nutty flavor of the artichoke.
A heavy-bottomed pot is crucial for maintaining consistent oil temperatures, which is the most important factor in this recipe. Using a deep-fry thermometer is highly recommended, as oil that is too cool will make the artichokes greasy, while oil that is too hot will burn the delicate petals. Always use a neutral oil or a good quality olive oil that can withstand high heat without smoking or developing a bitter flavor.
- purple Roman globe artichokes: any large, fresh globe artichokes available at the market
- olive oil: any neutral high-smoke point frying oil like grapeseed or refined sunflower oil
Equipment
- heavy-bottomed pot
- slotted spoon
- chef knife
- kitchen towel
- deep-fry thermometer
Up next · Part 2 of 3
3 steps · 12 min of cooking · what to look for at each stage
Step-by-step instructions (Part 2)