Desserts · Part 3 of 3: Tips & recipe card
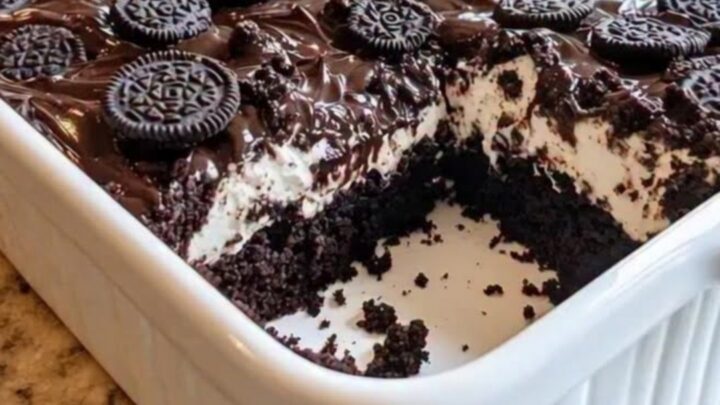
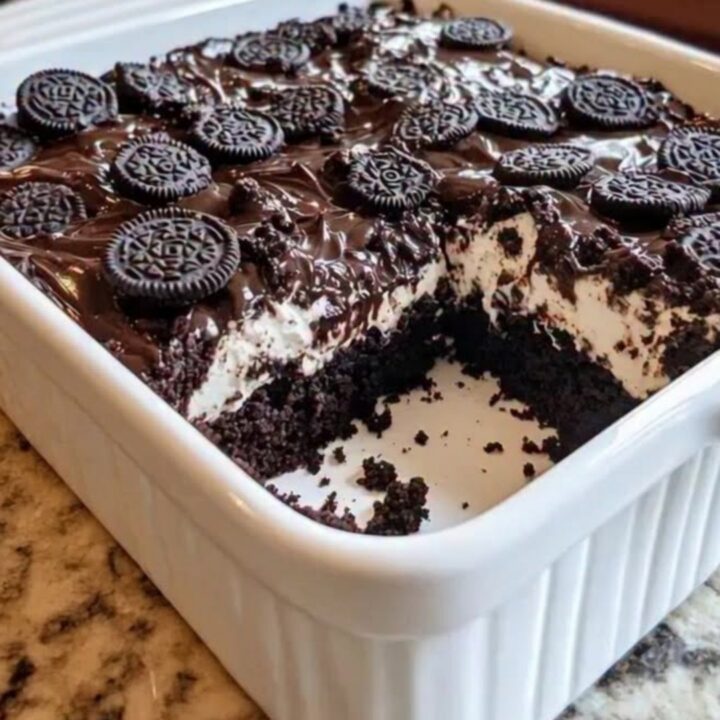
Rich Oreo Earthquake Cake with Creamy Filling Tips, FAQ & printable recipe
- Prep
- Cook
- Total
- Serves
- 12
Tips for success
For a deeper chocolate flavor, consider adding a teaspoon of instant espresso powder to the cake batter. This enhances the richness of the cocoa without making the cake taste like coffee. If you prefer a more intense crunch, reserve a few large pieces of Oreo cookies to scatter over the top after adding the crushed crumbs. This provides an additional textural contrast that makes each bite even more satisfying and visually appealing for presentation.
If you find that the cake is browning too quickly on the edges before the center is fully cooked, you can loosely tent the baking dish with aluminum foil for the final ten minutes of the baking time.
This helps to protect the edges while allowing the center to reach the required internal temperature. Always remove the foil carefully to avoid steam burns and ensure the cake remains moist by not overbaking during this final stage of the cooking process.
Variations
- Peanut Butter Swirl: Replace the cream cheese filling with a mixture of creamy peanut butter and a little powdered sugar to create a classic chocolate and peanut butter flavor combination.
- White Chocolate Oreo: Use a white cake mix instead of chocolate and substitute white chocolate sauce for the fudge topping to create a lighter, vanilla-forward version of this earthquake cake.
Storage and make-ahead
- Fridge
- Cover tightly and keep refrigerated for up to 4 days.
- Freezer
- Wrap individual slices in plastic wrap and store in a freezer-safe container for up to 2 months.
- Reheat
- Thaw in the refrigerator overnight and serve at room temperature.
Store any leftover cake in an airtight container or cover the baking dish tightly with plastic wrap. Because of the cream cheese filling, it is essential to keep the cake refrigerated rather than leaving it on the counter.
This helps maintain the texture of the filling and prevents spoilage. When stored correctly, the cake will remain fresh for up to four days. If you plan to keep it longer than that, consider portioning it out and freezing it for later enjoyment.
This cake is an excellent make-ahead dessert as it often tastes even better the next day once the flavors have had time to meld. You can bake the cake, let it cool completely, and then cover it for storage. It is best to add the fudge sauce and crushed cookies just before serving if possible, as the cookies may soften too much if left on the cake for an extended period in the refrigerator. However, the cake remains delicious even if topped in advance.
Serving ideas
Serve this cake at room temperature or slightly chilled, depending on personal preference. A small dollop of lightly sweetened whipped cream or a scoop of vanilla bean ice cream makes an excellent accompaniment, balancing the richness of the chocolate and cream cheese.
For a clean presentation, use a warm, sharp knife to cut the cake into squares, wiping the blade clean between each cut to ensure the layers remain distinct and the marbled filling looks pristine on every serving plate.
Consider serving this dessert with a side of fresh berries, such as raspberries or strawberries, to provide a bright, acidic contrast to the intense chocolate and sweet cream cheese. The tartness of the fruit helps to cleanse the palate between bites of the decadent cake.
Ensure the plates are chilled if serving in warm weather to keep the cream cheese filling firm and the fudge sauce from becoming overly runny, ensuring the best possible experience for guests or family members.
Frequently asked questions
Can this cake be made in a round pan instead of a 9x13 dish?
Why did the cream cheese filling sink to the bottom?
Is it possible to use a different type of cookie for the topping?
Rich Oreo Earthquake Cake with Creamy Filling
Ingredients
- 1 box chocolate cake mix, prepared according to package directions
- 8 oz cream cheese, softened
- 1 cup crushed Oreo cookies
- 1/2 cup chocolate fudge sauce
Instructions
- Preheat the oven to 350 degrees Fahrenheit. Prepare the chocolate cake mix according to the instructions on the box. Pour the prepared batter into a greased 9x13 inch baking dish, spreading it evenly to ensure it reaches all the corners.
- In a clean mixing bowl, beat the softened cream cheese until smooth. Carefully drop spoonfuls of this mixture over the chocolate cake batter, swirling it slightly with a knife to create a marbled effect.
- Bake the cake for 40 to 45 minutes or until a toothpick inserted into the center comes out clean. Remove from the oven and immediately drizzle with chocolate fudge sauce, then top with the crushed Oreo cookies while the cake is still warm.
Estimated nutrition per serving
- Calories
- 360
- Protein
- 4 g
- Carbohydrates
- 48 g
- Fat
- 17 g
- Fiber
- 1 g
- Sugar
- 35 g
- Sodium
- 300 mg
Next recipe
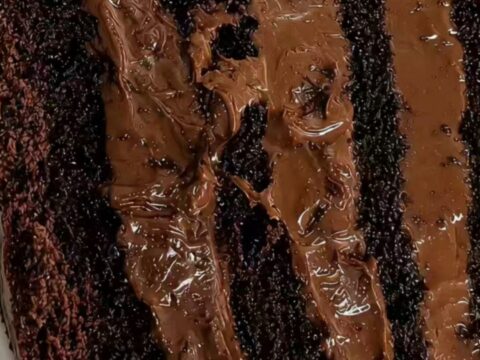
Pennsylvania Chocolate Cake with Glossy Fudge Frosting
See the recipe → →This recipe is based on a short cooking video and is published under the pen name Clara Weller. It was checked before publication, but errors can slip through. Nutrition, when shown, is an estimate. Read more in our editorial policy and on our food safety page.
More recipes to try
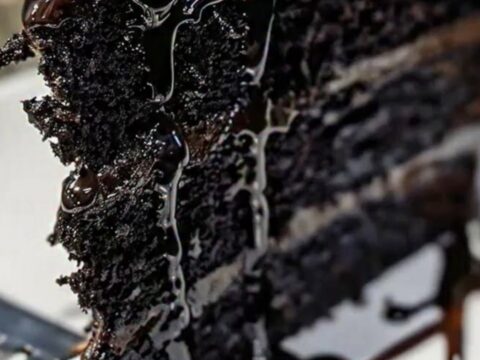
Rich Black Velvet Cake with Glossy Ganache
Total time: 1 h 25 min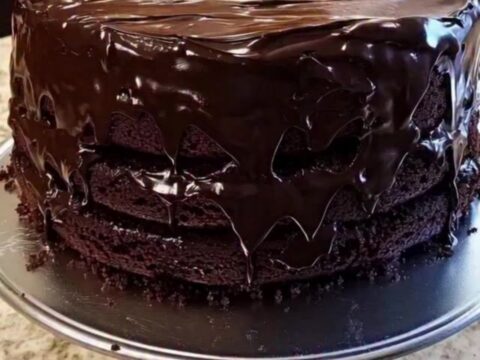
Rich and Fudgy Matilda Chocolate Cake
Total time: 2 h 15 min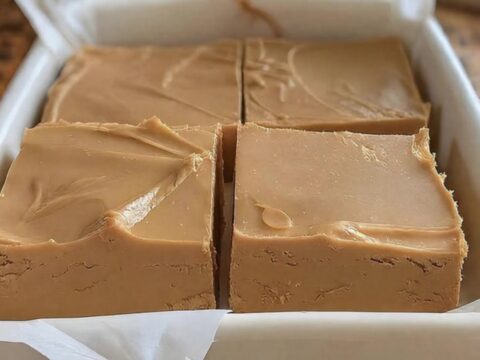
Rich and Creamy Peanut Butter Fudge
Total time: 2 h 15 min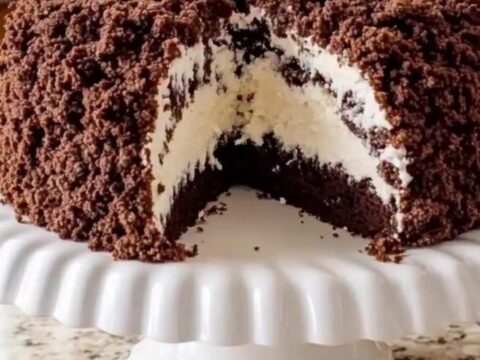
Rich Chocolate Crumble Cake with Coconut Cream Filling
Total time: 1 h 35 min
Decadent Chocolate Fudge Layer Cake
Total time: 1 h 25 min