Desserts · Part 2 of 3: Instructions
Rich Black Velvet Cake with Glossy Ganache Step-by-step instructions
- Prep
- Cook
- Total
- Serves
- 8
Before you start
Before beginning, ensure the cake is completely cooled to room temperature, as applying ganache to a warm cake will cause it to slide off. Prepare your workspace with a cake stand, an offset spatula, and a clean cake server.
Having your ganache at the correct room temperature is vital for achieving the right consistency for pouring.
Ensure your serving plates are clean and ready, as the cake is best served shortly after the ganache has been applied to maintain its glossy, fresh appearance.
Ingredients at a glance (2)
- 1 cake black velvet cake, made beforehand
- 1 cup chocolate ganache, made beforehand
Instructions
Preparing the cake base
- Prepare the cake baseEnsure the black velvet cake is fully cooled before beginning the assembly process. Place the cake on a sturdy cake stand to provide a stable surface for applying the ganache.Look for The cake should be room temperature and firm to the touch.Tip Using a cake stand makes it easier to achieve an even coating.
At this phase, the cake should be fully cooled and placed securely on the stand. Ensure the surface is level so the ganache distributes evenly. Check that the cake is free of loose crumbs that might interfere with the smooth application of the glaze.
Applying the ganache
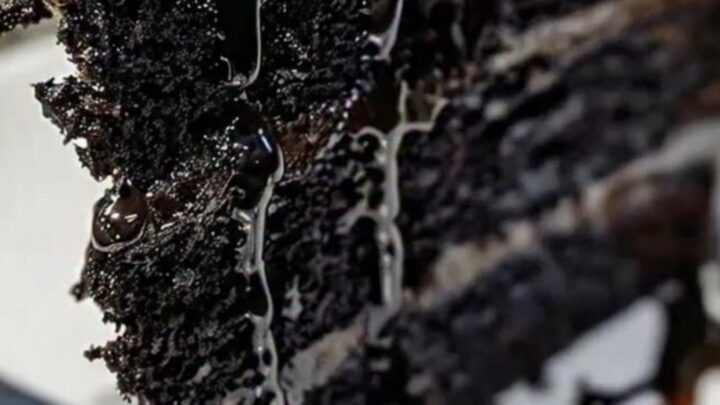
- Apply the ganachePour the prepared chocolate ganache gently over the top of the black velvet cake. Allow the ganache to drip naturally down the sides, ensuring an even and glossy finish across the entire surface.Look for The ganache should be thick, smooth, and have a high-gloss appearance.Tip Pour slowly to control the drip pattern down the sides.
The ganache should look like a mirror-like glaze, free of lumps or air bubbles. It should be thick enough to cling to the sides of the cake but fluid enough to spread easily. Once poured, it will set into a firm, creamy layer that provides the perfect contrast.
Slicing and serving
- Slice and serveUse a cake server to lift a slice of the cake and place it onto a white plate. Serve immediately while the ganache is still soft and glossy, using a fork to enjoy the moist crumb.Look for The slice should hold its shape while showing the soft texture of the crumb.Tip Dip the server in warm water for a cleaner cut through the ganache.
The final slice should show a clean cut through both the sponge and the ganache. The ganache should be set but still soft enough to yield to a fork. Check that the presentation is clean and that the drips are consistent all around the cake.
Common mistakes
A common mistake is applying the ganache while the cake is still warm, which leads to the glaze melting and sliding off the sides instead of coating it evenly. Another error is using a dull knife to slice the cake, which can tear the delicate crumb.
Always use a sharp, clean knife or server to ensure that each slice maintains its structure and that the ganache layer remains intact and beautiful for your guests.
How to tell it’s done
The cake is done when the crumb is soft and moist, and the ganache is set but still glossy. The ganache should be thick enough to coat the back of a spoon and should not be runny when poured over the cake.
There is no protein to cook here, so focus on the visual cues of the ganache and the texture of the cake crumb, which should feel tender and light when pressed with a fork.
Up next · Part 3 of 3
2 variations · storage & make-ahead · 3 answers · printable card
Tips, FAQ & printable recipe (Part 3)← Back to the ingredients (Part 1)