Desserts · Part 2 of 3: Instructions
Rich and Moist Matilda Chocolate Fudge Cake Step-by-step instructions
- Prep
- Cook
- Total
- Serves
- 8
Before you start
Before beginning the assembly, ensure the work area is clean and free of distractions. Prepare the cake layers by trimming any uneven domes from the tops if necessary, ensuring a perfectly level surface for stacking.
Have all equipment, including the cake stand, spatula, and knife, within reach. If the kitchen is warm, consider placing the cake layers in the refrigerator for a short time, as this can make the frosting easier to handle.
Ingredients at a glance (2)
- 2 layers chocolate cake layers, store-bought or made ahead
- 2 cups chocolate fudge frosting
Instructions
Cake Preparation
- Prepare the cake basePlace the first chocolate cake layer on a flat, stable surface. Ensure the cake layer has cooled completely to room temperature before attempting to frost, as heat will cause the frosting to slide off the sides of the cake.Look for The cake layer remains stable and at room temperature.Tip Use a cake board underneath if planning to move the cake later.
The cake layers are level and at room temperature, providing a stable foundation for the frosting. This stage is critical, as any unevenness in the base will be magnified once the frosting and second layer are added, leading to a lopsided final product.
Frosting Application
- Apply the fudge frostingSpread a generous, even layer of chocolate fudge frosting over the top of the first cake layer using an offset spatula. Carefully place the second cake layer on top, aligning the edges perfectly. Apply the remaining frosting over the top and sides, creating the glossy, thick finish characteristic of this fudge cake.Look for The frosting is spread smoothly and covers the entire cake surface evenly.Tip Dip the spatula in warm water and wipe it dry to achieve a smoother finish on the frosting.
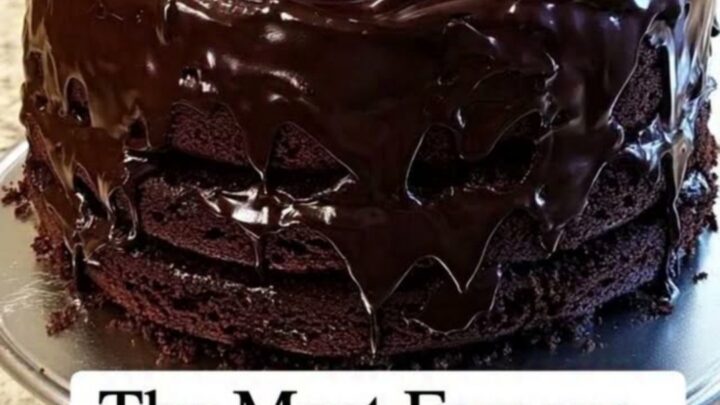
The frosting is applied in an even, smooth layer across the top and sides of the cake. The finish should be glossy and free of significant air pockets, creating the classic look of a high-end fudge cake that is ready to be sliced.
Slicing and Serving
- Slice and serveAllow the frosted cake to rest for at least thirty minutes so the fudge frosting sets slightly. Using a sharp, thin-bladed knife dipped in hot water and wiped clean, slice the cake into generous wedges. Transfer each slice to a plate and serve immediately at room temperature for the best texture and flavor experience.Look for The frosting holds its shape when sliced.Safe temperature 160°F (71°C) internal temperature (egg dishes)Tip Wipe the knife clean between each cut to ensure clean, beautiful edges on every slice.
The cake has rested, allowing the fudge to set and the flavors to meld. The slices are clean, with distinct layers clearly visible, and the texture remains moist and dense, indicating that the cake is perfectly prepared for serving.
Common mistakes
A common mistake is applying frosting to cake layers that are still warm, which leads to a thin, runny consistency that fails to coat the cake properly.
Another error is failing to level the cake layers, resulting in a slanted or unstable structure that can slide apart when sliced.
Finally, using a dull knife for slicing can compress the layers and smear the frosting, ruining the presentation. Take your time during each stage to ensure a clean result.
How to tell it’s done
The cake is considered ready once the frosting has been applied evenly and has had sufficient time to set. The texture should be firm enough to slice without the frosting running or losing its shape.
The internal temperature of the cake, if measured, should be consistent throughout. Ensure the cake has been stored in a cool environment to maintain the ideal consistency of the fudge before the final serving process begins.
- Egg dishes: 160°F (71°C) in the thickest part
Up next · Part 3 of 3
2 variations · storage & make-ahead · 3 answers · printable card
Tips, FAQ & printable recipe (Part 3)← Back to the ingredients (Part 1)