Dinner · Part 2 of 3: Instructions
Quick Homemade Crunchwrap Supreme with Crispy Hexagonal Pleats Step-by-step instructions
- Prep
- Cook
- Total
- Serves
- 4
Before you start
Before starting, gather all ingredients and equipment. Dice the onion, mince the garlic, and shred the lettuce if not pre-shredded. Measure out the spices and have the tomato paste and diced jalapeños ready.
Warm the large and mini tortillas in a dry skillet or microwave for a few seconds to make them pliable. Set up a griddle or large skillet for cooking the crunchwraps. Have a spatula and a clean cutting board ready for assembling and slicing.
Ingredients at a glance (17)
- 2 tbsp vegetable oil
- 1 medium onion, diced
- 3 cloves garlic, minced
- 2 lb ground beef
- 1 tsp garlic powder
- 1 tsp onion powder
- 1 tsp smoked paprika
- 1 tsp ground cumin
- 1/2 tsp black pepper
- 2 tbsp diced jalapeños
- 2 tbsp tomato paste
- 4 large flour tortillas (10-inch)
- 4 mini flour tortillas (6-inch)
- 1 1/2 cups nacho cheese sauce
- 4 corn tostada shells
- 1/2 cup sour cream
- 2 cups shredded lettuce
Instructions
Cook the Beef Filling
- Cook the Beef FillingHeat the vegetable oil in a large skillet over medium-high heat. Add the diced onion and cook until translucent, about 3 minutes. Stir in the minced garlic and cook for 30 seconds until fragrant. Add the ground beef, breaking it up with a spatula. Cook until browned, about 6 minutes. Sprinkle with garlic powder, onion powder, smoked paprika, cumin, and black pepper. Stir in the diced jalapeños and tomato paste. Continue cooking for 8 minutes, allowing the flavors to meld. The beef should be fully cooked and no longer pink.Look for The beef is browned and the spices are fragrant; the mixture looks slightly saucy.Safe temperature 160°F (71°C) internal temperature (ground meat)Tip Use a spatula to break the beef into small crumbles for even distribution.
- Season and SimmerReduce the heat to low and let the beef mixture simmer gently for 2 to 3 minutes, allowing the tomato paste to caramelize slightly and the flavors to deepen. Taste and adjust seasoning with salt if desired. Remove from heat and set aside. The filling should be moist but not watery.Look for The beef mixture is thick and aromatic, with a deep reddish-brown color.Tip If the mixture seems dry, add a tablespoon of water to loosen it.
The beef should be browned and the onions translucent, with the spices fragrant and the tomato paste fully incorporated. The mixture should be thick and slightly clinging to the meat.
There should be no pink remaining in the beef. The filling should be moist but not swimming in liquid. Taste and adjust seasoning if needed.
Assemble and Fold
- Layer the CrunchwrapPlace a large flour tortilla on a clean work surface. Spread a generous amount of nacho cheese sauce in the center, leaving a 2-inch border. Top with a scoop of the seasoned beef, spreading it evenly. Place a corn tostada shell on top of the beef. Add a dollop of sour cream over the tostada, then a handful of shredded lettuce.Look for The ingredients are stacked neatly in the center, leaving room to fold.Tip Don't overfill; too much filling makes folding difficult.
- Fold into Hexagonal PleatsPlace a mini tortilla on top of the filling. Fold the edges of the large tortilla up and over the mini tortilla, creating overlapping pleats. Work around the circle, folding each section toward the center. Press gently to seal the pleats. The result should be a neat hexagonal package.Look for The wrap is sealed with a hexagonal shape, and no filling is visible.Tip Moisten the edges with water if needed to help the pleats stick.
Each crunchwrap should have a neat hexagonal shape with overlapping pleats that are firmly pressed. The filling should be centered and the edges sealed. The wrap should feel secure and not fall apart when gently squeezed. If any filling is visible, tuck it in before cooking.
Griddle Until Golden
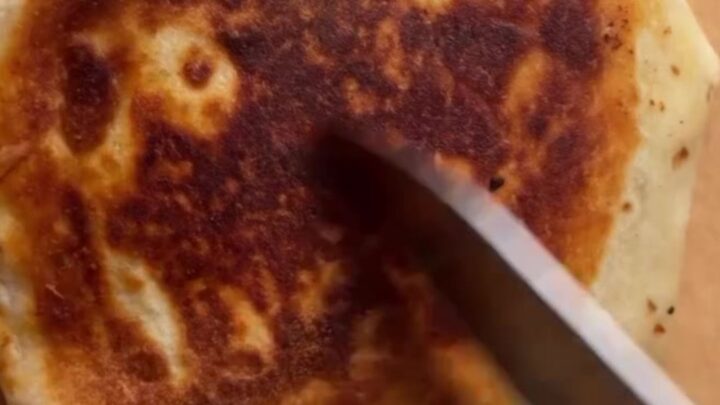
- Griddle Until GoldenHeat a griddle or large skillet over medium heat and add a thin layer of oil. Place the crunchwrap seam-side down. Cook for 3 minutes, pressing gently with a spatula, until the bottom is golden brown and crisp. Carefully flip and cook the other side for 3 minutes, until golden brown and sealed.Look for The tortilla is golden brown with crispy spots and holds its shape.Tip Use a spatula to press down lightly for even browning.
- Rest and ServeTransfer the cooked crunchwrap to a cutting board and let it rest for 2 minutes. This allows the cheese to set slightly and makes slicing easier. Cut in half with a sharp knife to reveal the layers. Serve warm, with extra sour cream or salsa if desired.Look for The crunchwrap is crisp and holds together when cut.Tip A serrated knife works best for cutting through the crunchy tortilla.
The crunchwrap should be golden brown and crisp on both sides, with a satisfying crunch when pressed. The pleats should be sealed and the wrap should hold together when cut. The cheese should be melted and the filling hot throughout. Let rest before serving to allow the layers to set.
Common mistakes
A common mistake is overfilling the tortilla, which makes folding difficult and can cause the wrap to burst during cooking. Keep the filling centered and leave a generous border. Another issue is using a too-wet filling; if the beef is watery, the tortilla will become soggy.
Cook the beef until the liquid has reduced. Also, avoid cooking over high heat—medium heat allows the tortilla to crisp without burning. Pressing too hard with the spatula can squeeze out the filling.
How to tell it’s done
The crunchwrap is done when the tortilla is deeply golden brown and crisp on both sides, and the internal temperature of the beef reaches 160°F (71°C). The pleats should be sealed and the wrap should hold its shape when lifted.
Press the center gently—it should feel firm and hot. Letting it rest for a couple of minutes before cutting helps the cheese set and prevents the filling from oozing out.
- Ground meat: 160°F (71°C) in the thickest part
Up next · Part 3 of 3
4 variations · storage & make-ahead · 5 answers · printable card
Tips, FAQ & printable recipe (Part 3)← Back to the ingredients (Part 1)