Dinner · Part 1 of 3: Ingredients
Quick Chinese Beef and Onion Stir-Fry
- Prep
- Cook
- Total
- Serves
- 4
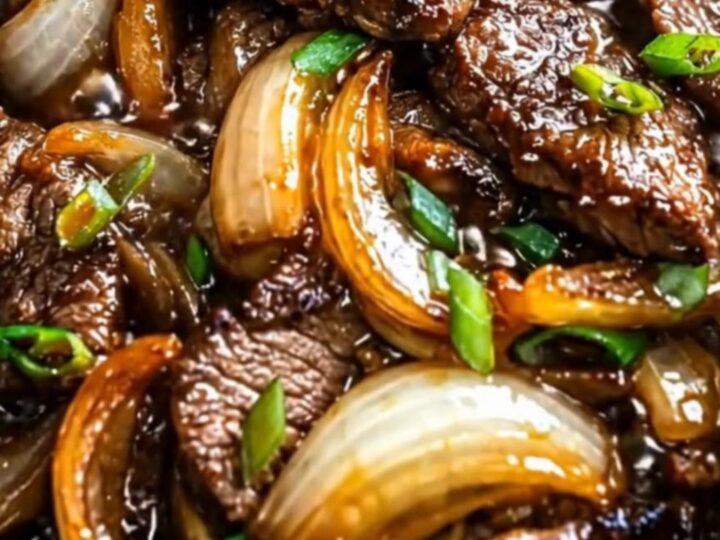
Skip the takeout delivery and whip up a restaurant-quality meal in your own kitchen with this classic stir-fry. Glistening strips of tender beef and sweet, caramelized onions come together in a savory, bubbling brown sauce that coats every single bite. It is a fast, high-heat masterpiece that delivers deep, comforting flavors with minimal effort.
This classic Chinese stir-fry is a staple of busy weeknights, offering a perfect balance of savory and sweet flavors. By using a smoking hot wok, the beef sears rapidly to lock in juices while the onions soften and develop a natural sweetness.
The entire dish comes together in under thirty minutes, making it faster than waiting for a delivery driver. Slicing the beef thinly ensures maximum tenderness, while a simple marinade with the savory brown sauce creates a velvety texture. Serve this dish over a bed of steamed rice to soak up every drop of the luxurious sauce.
Ingredients
- 1 lb beef strips
- 2 onions, cut into wedges
- 1/2 cup savory brown sauce, divided
- 3 green scallions, sliced
Why this recipe works
The secret to the incredibly tender texture of the beef lies in a quick marinating technique. By coating the sliced beef in a portion of the savory brown sauce before cooking, you create a protective barrier.
This barrier prevents the meat from drying out or becoming tough under the intense, dry heat of the wok. The starches and sugars in the sauce also help the outer edges of the beef brown beautifully, creating micro-crevices that the stir-fry sauce can cling to later in the cooking process.
Caramelizing the onions over high heat transforms their sharp, pungent bite into a sweet, mellow flavor profile that complements the savory beef. Cutting the onions into thick wedges ensures they retain a pleasant structural contrast, remaining slightly crisp in the center while their edges char.
When the savory brown sauce hits the screaming hot pan, it reduces almost instantly, emulsifying with the rendered beef juices and caramelized onion sugars to create a thick, glossy glaze that clings perfectly to every ingredient.
Notes and substitutions
Selecting the right cut of beef is crucial for a successful stir-fry. Tender beef strips are excellent because they cook quickly over high heat. For the onions, yellow or sweet onions work best due to their high sugar content, which aids in rapid caramelization.
If a traditional wok is not available, a large, heavy-bottomed cast-iron skillet makes a fantastic substitute because it retains heat exceptionally well, allowing for that essential high-heat sear.
For the stir-fry sauce, using a high-quality savory brown sauce provides a deep, complex umami foundation. Ensure all ingredients are prepped, measured, and placed within arm's reach of the stove before turning on the heat. Stir-frying is an incredibly fast-paced cooking method, and there is no time to chop or measure once the pan starts smoking. Having everything ready ensures a seamless transition from prep to plate.
- beef strips: Sirloin or flat iron steak sliced thin work beautifully as tender alternatives.
- savory brown sauce: A mixture of soy sauce, a touch of sweetener, and a splash of broth can substitute.
Equipment
- Wok or large heavy-bottomed skillet
- Small mixing bowls
- Spatula or wok turner
- Digital meat thermometer
Up next · Part 2 of 3
4 steps · 10 min of cooking · what to look for at each stage
Step-by-step instructions (Part 2)