Desserts · Part 2 of 3: Instructions
Quick 3-Ingredient Chocolate Mug Cake Step-by-step instructions
- Prep
- Cook
- Total
- Serves
- 1
Before you start
Before starting, gather all three ingredients and a microwave-safe ceramic mug. Ensure the mug is clean and completely dry, as any residual moisture can affect how the batter rises.
Measure out the chocolate cake mix, chocolate syrup, and chocolate frosting precisely using standard measuring spoons. Keep the chocolate frosting at room temperature so it is easy to spread over the finished cake, and ensure your microwave is clear and ready to use.
Ingredients at a glance (3)
- 1/2 cup chocolate cake mix
- 3 tbsp chocolate syrup
- 2 tbsp chocolate frosting, divided
Instructions
Mixing the Batter
- Combine the base ingredientsPlace the chocolate cake mix and chocolate syrup directly into a microwave-safe ceramic mug.Look for The ingredients will sit in layers before mixing.Tip Use a standard 11-ounce or 12-ounce mug to prevent overflow.
- Whisk into a smooth batterWhisk the mixture vigorously with a small whisk or fork until a rich, smooth chocolate batter forms with no dry pockets remaining.Look for The batter should be thick, glossy, and completely uniform.Tip Scrape the bottom edges of the mug to ensure all the dry mix is fully incorporated.
At the end of this mixing phase, the batter in the mug should look completely smooth, glossy, and thick, resembling a rich chocolate cake batter. There should be no visible dry pockets of cake mix clinging to the bottom or sides of the mug. The mixture should have a uniform dark brown color and a pleasant, sweet chocolate aroma that fills the kitchen.
Microwave Baking
- Microwave the cakeMicrowave the mug on high power for 55 to 65 seconds. The cake will experience a rapid rise with steam escaping from the center as it cooks.Look for The top of the cake should look set and spring back lightly when touched.Tip Do not overcook, as microwave desserts can quickly become dry if left in too long.
After microwaving, the cake should have puffed up significantly, rising near or slightly over the rim of the mug. The surface will look set and dry to the touch, with steam gently escaping from the center.
It will smell intensely of warm, baked chocolate, and the texture should feel springy and tender when lightly pressed with a finger, confirming it is cooked through.
Topping and Resting
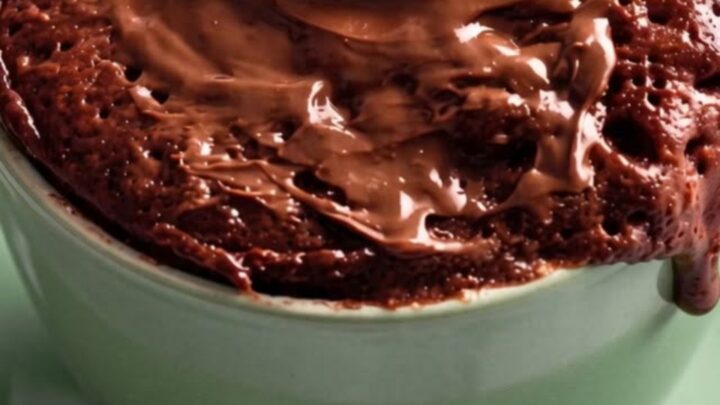
- Top and serveSpread the chocolate frosting evenly over the warm cake. The heat from the cake will melt the frosting slightly, creating a glossy chocolate top. Let the cake rest for one minute to allow the molten chocolate swirl to set slightly before enjoying.Look for The frosting should look glossy and slightly melted around the edges.Tip Letting the cake rest prevents burns and helps the crumb structure set.
Once the final layer of chocolate frosting is applied, the topping will melt slightly from the residual heat of the cake, forming a glossy, luscious chocolate glaze. The cake is now ready to be enjoyed, boasting a beautiful contrast between the spongy, warm cake base and the rich, molten chocolate swirl that pools slightly around the edges of the mug.
Common mistakes
The most common mistake is overcooking the mug cake, which turns the delicate crumb dry, rubbery, and spongy. Microwave ovens vary significantly in wattage, so it is best to start checking the cake at the 50-second mark.
Another frequent error is failing to scrape the very bottom of the mug while mixing, which leaves unblended cake mix at the base, resulting in an unevenly cooked dessert with dry pockets.
How to tell it’s done
To determine if the mug cake is perfectly cooked, observe the top surface, which should look set and no longer wet or liquid. Inserting a toothpick into the center should yield a few moist crumbs but no wet batter.
Since this recipe does not contain raw eggs or meat, there is no need to measure an internal temperature, but the cake should be hot and steaming throughout to ensure the crumb is fully set and delicious.
Up next · Part 3 of 3
2 variations · storage & make-ahead · 3 answers · printable card
Tips, FAQ & printable recipe (Part 3)← Back to the ingredients (Part 1)