Breakfast · Part 1 of 3: Ingredients
Slow-Cooker Pumpkin Spice Brioche French Toast Casserole
- Prep
- Cook
- Total
- Serves
- 8
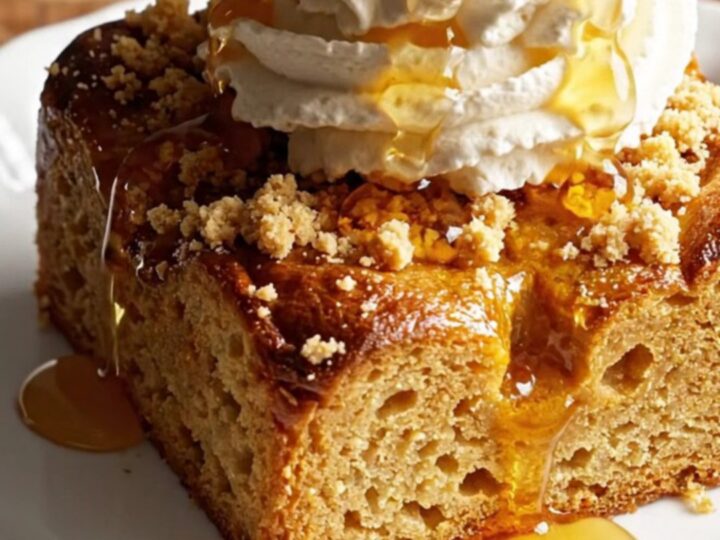
This slow-cooker pumpkin spice brioche French toast casserole brings all the cozy flavors of fall to your breakfast table with almost no effort. Cubed brioche soaks in a silky pumpkin custard, then cooks low and slow until the custard sets and the pecan streusel turns golden and crisp.
It's the kind of brunch dish that fills the kitchen with the scent of cinnamon, nutmeg, and maple — and it happens to be made entirely in the Crockpot, so you can set it and forget it while you enjoy your morning.
French toast casserole is a beloved breakfast classic, and this version trades the oven for the slow cooker, making it even more hands-off. The video shows the simple layering: brioche cubes tossed with a whisked pumpkin puree, eggs, evaporated milk, maple syrup, and pumpkin pie spice, then topped with a brown-sugar pecan streusel.
After three and a half hours on low, the custard sets into a tender, moist bread pudding-like texture, while the streusel crisps up beautifully on top. Serve it warm with a cloud of maple cinnamon whipped cream and an extra drizzle of maple syrup for the ultimate fall brunch.
Ingredients
- 1 loaf (about 14 oz) brioche bread, cut into 1-inch cubes
- 1 1/2 cups pumpkin puree
- 6 large eggs
- 1 1/2 cups evaporated milk
- 1/2 cup pure maple syrup
- 2 tsp pumpkin pie spice
- 1/4 tsp salt
Streusel
- 1/2 cup packed brown sugar
- 1/2 cup all-purpose flour
- 1/2 cup chopped pecans
- 6 tbsp cold unsalted butter, cut into small pieces
For serving
- maple cinnamon whipped cream, for serving
- pure maple syrup, for drizzling, to taste
Why this recipe works
The slow cooker creates a gently moist environment that allows the custard to set without drying out the bread. Unlike an oven, which can over-brown the edges, the slow cooker heats evenly and gently, turning the brioche into a soft, custardy interior while the streusel on top gets a chance to crisp. The low, steady heat also gives the flavors time to meld — the pumpkin, maple, and spice infuse every cube of bread.
Using brioche is key because its rich, buttery crumb soaks up the custard without turning mushy. The evaporated milk adds a concentrated creaminess that water or regular milk can't match, and the brown-sugar pecan streusel provides a crunchy contrast to the silky custard.
This method is forgiving: you can assemble it the night before and cook it in the morning, or cook it straight away for a weekend brunch that feels special with minimal fuss.
Notes and substitutions
Brioche is the ideal bread for this casserole because it's enriched with butter and eggs, giving it a tender crumb that absorbs the custard beautifully. Challah or a sturdy white bread also work well.
If your bread is very fresh, let the cubes sit out for an hour or two to dry slightly — this helps them soak up the custard without becoming soggy. The video uses a burnt-orange ceramic Crockpot, but any 6-quart slow cooker will do.
Pumpkin puree should be plain canned pumpkin, not pumpkin pie filling, which is already sweetened and spiced. The streusel can be made ahead and kept in the refrigerator for up to 3 days. For a nut-free version, simply omit the pecans or use sunflower seeds. The maple cinnamon whipped cream is a lovely finishing touch, but a simple dusting of powdered sugar or a drizzle of maple syrup alone is also delicious.
- brioche bread: Challah or a sturdy white bread like sourdough — cut into cubes and left out overnight to dry slightly if time allows.
- evaporated milk: Half-and-half or whole milk mixed with 2 tablespoons of melted butter to mimic the richness.
- pecans: Walnuts or sliced almonds — or omit for a nut-free streusel.
- pumpkin pie spice: 1 teaspoon ground cinnamon, 1/2 teaspoon ground ginger, 1/4 teaspoon ground nutmeg, and 1/4 teaspoon ground cloves.
Equipment
- 6-quart slow cooker
- large mixing bowl
- whisk
- rubber spatula
- small bowl for streusel
- pastry cutter or fork
Up next · Part 2 of 3
6 steps · 3 h 30 min of cooking · what to look for at each stage
Step-by-step instructions (Part 2)