Dinner · Part 1 of 3: Ingredients
Pull-Apart French Dip Sliders with Caramelized Onion Butter
- Prep
- Cook
- Total
- Serves
- 12
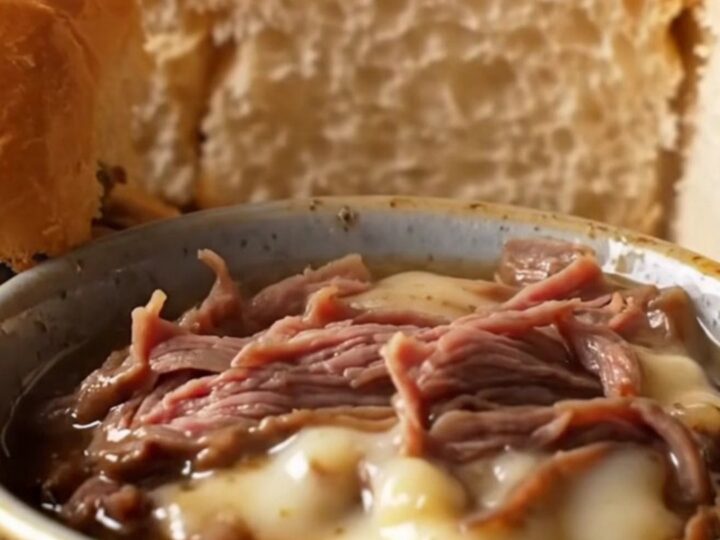
Elevate your next gathering with these savory pull-apart French dip sliders. Combining layers of tender roast beef, melted aged provolone, and a fragrant, caramelized onion butter glaze, this recipe provides a sophisticated yet approachable dish that is guaranteed to impress.
Whether you are hosting a casual game day or a festive dinner party, these sliders offer the perfect balance of comfort and flavor, designed to be served hot and dunked into a rich, aromatic rosemary au jus.
French dip sliders are a classic comfort food that transforms simple ingredients into an extraordinary culinary experience. This recipe focuses on the harmony of textures, from the soft brioche buns to the savory depth of the roast beef and the tang of melted provolone cheese.
The addition of a custom onion butter, infused with Worcestershire sauce, creates a golden, flavorful crust on each roll that complements the richness of the meat. By following these straightforward steps, you can create a professional-quality appetizer or main course that is as visually appealing as it is delicious, ensuring every guest enjoys a perfect, cheesy, beefy bite every single time.
Ingredients
Fillings
- 1 lb thinly shaved rare deli roast beef
- 1 cup caramelized onions
- 8 slices aged provolone cheese
- 12 rolls brioche slider rolls
Onion Butter
- 4 tbsp melted butter
- 1 tsp onion powder
- 1 tsp Worcestershire sauce
Serving
- 2 cups hot rosemary au jus
Why this recipe works
The method of layering ingredients within the rolls ensures that every slider remains compact and easy to serve. By starting with thinly shaved rare roast beef, the meat remains tender during the short baking process, preventing it from becoming tough or dry. The structural integrity of the brioche rolls holds the moisture from the beef and onions, creating a cohesive bite that does not fall apart when lifted.
The onion butter serves as both a flavor enhancer and a structural element, providing a golden, crisp exterior that contrasts with the soft interior. The inclusion of Worcestershire sauce adds a necessary umami depth, cutting through the richness of the cheese and butter. This balanced approach ensures that the sliders are deeply flavorful without being overly greasy, making them a balanced choice for any social event or meal.
Notes and substitutions
When selecting ingredients, quality makes a significant difference. Using a high-quality aged provolone provides a sharp, nutty flavor that pairs exceptionally well with the savory beef.
If you prefer a milder taste, Swiss or fontina are excellent alternatives that melt beautifully. Ensure the roast beef is shaved very thinly; this allows the meat to heat through quickly without overcooking, maintaining its delicate, tender texture.
Regarding equipment, a sturdy rimmed baking sheet is essential for even heat distribution, ensuring the bottom of the sliders gets slightly toasted while the top remains soft and buttery.
A high-quality silicone pastry brush is recommended for applying the onion butter, as it allows for precise coverage without tearing the delicate brioche rolls. Always preheat your oven fully before placing the sliders inside to ensure the cheese melts at the exact same rate as the buns toast.
- Aged provolone: Swiss or mozzarella cheese
- Brioche slider rolls: Hawaiian sweet rolls
Equipment
- Baking sheet
- Pastry brush
- Small mixing bowl
- Bread knife
Up next · Part 2 of 3
3 steps · 14 min of cooking · what to look for at each stage
Step-by-step instructions (Part 2)