Desserts · Part 1 of 3: Ingredients
Pistachio Rose Cardamom Milk Chocolate Bars
- Prep
- Cook
- Total
- Serves
- 12
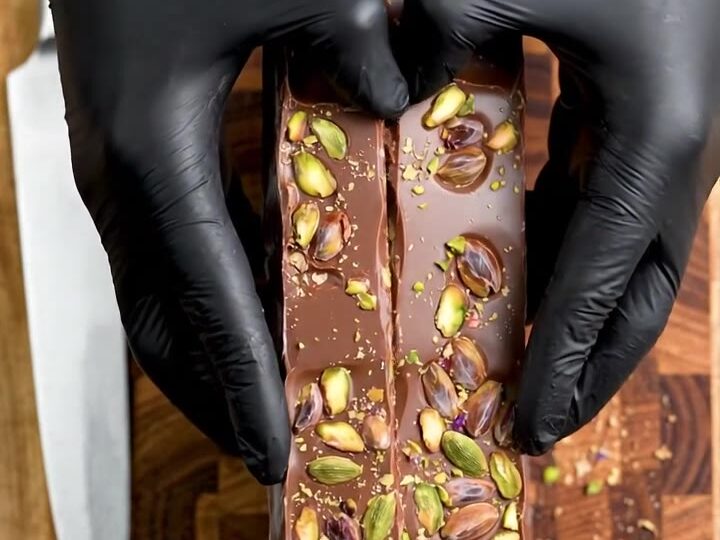
Thick, satisfying milk chocolate bars with a silky base, a green pistachio cardamom praline swirl, and crisp golden pieces scattered throughout. Each bar snaps cleanly to reveal a beautiful layered cross section, making it a stunning homemade candy for gifting or special occasions.
The combination of creamy Swiss chocolate, nutty praline, floral rose, and crunchy bits creates a multi-textured treat that feels both indulgent and refined.
These pistachio rose cardamom milk chocolate bars are a study in contrasts: a smooth, creamy chocolate base, a fragrant green praline swirl, and crisp golden pieces that add a satisfying crunch. The process is simple—melt, swirl, scatter, and chill—but the result looks like something from a high-end chocolatier.
The clean snap of the finished bar, revealing the layered interior, is the reward for a little patience. This recipe turns a short video into a complete, reliable technique for making impressive chocolate bars at home.
Ingredients
- 1 1/2 lb Swiss milk chocolate, finely chopped
Praline Swirl
- 3/4 cup pistachio cardamom praline (store-bought or made ahead)
Topping
- 1/2 cup shelled pistachios, roughly chopped
- 2 tbsp dried rose petals
Mix-in
- 1 cup crisp golden pieces (such as crushed shortbread or toasted cereal)
Why this recipe works
The method relies on a base of melted Swiss milk chocolate, which sets into a firm yet creamy slab. Swirling in a pistachio cardamom praline adds both flavor and visual drama, creating ribbons of green that contrast with the warm brown chocolate.
The crisp golden pieces are folded in just before setting, so they stay crunchy rather than softening into the chocolate.
Grating a portion of the chocolate creates fluffy curls that add an airy texture and a decorative element when scattered on top. The combination of textures—silky, crunchy, and fluffy—makes every bite interesting. Chilling the slab thoroughly ensures a clean, sharp snap when cutting, which is essential for presenting the layered cross section.
Notes and substitutions
Use a high-quality Swiss milk chocolate with at least 30% cocoa butter for the best flavor and snap. Avoid chocolate chips that contain stabilizers, as they may not melt as smoothly. The praline can be store-bought or homemade; if making your own, use a pistachio paste blended with ground cardamom and a little sugar.
For the crisp golden pieces, crushed shortbread cookies or toasted rice cereal work well. Dried rose petals are optional but add a lovely floral note and a pop of color; if unavailable, omit them or use finely chopped dried apricots.
A box grater is essential for creating the fluffy chocolate curls, and a parchment-lined tray ensures easy removal.
- Swiss milk chocolate: Any high-quality milk chocolate bar or chips; avoid chocolate with added vegetable fats for the best snap.
- Pistachio cardamom praline: Use a store-bought pistachio praline or make a simple pistachio paste mixed with ground cardamom.
- Crisp golden pieces: Crushed graham crackers, toasted rice cereal, or crushed shortbread cookies work well.
- Dried rose petals: Omit or use finely chopped dried apricots for a fruity contrast.
Equipment
- Box grater
- Parchment-lined baking tray
- Double boiler or microwave-safe bowl
- Rubber spatula
- Chef's knife
- Cutting board
Up next · Part 2 of 3
8 steps · 10 min of cooking · what to look for at each stage
Step-by-step instructions (Part 2)