Desserts · Part 1 of 3: Ingredients
Pistachio Halva Kataifi Dark Chocolate Bars with a Crisp Layered Base
- Prep
- Cook
- Total
- Serves
- 12
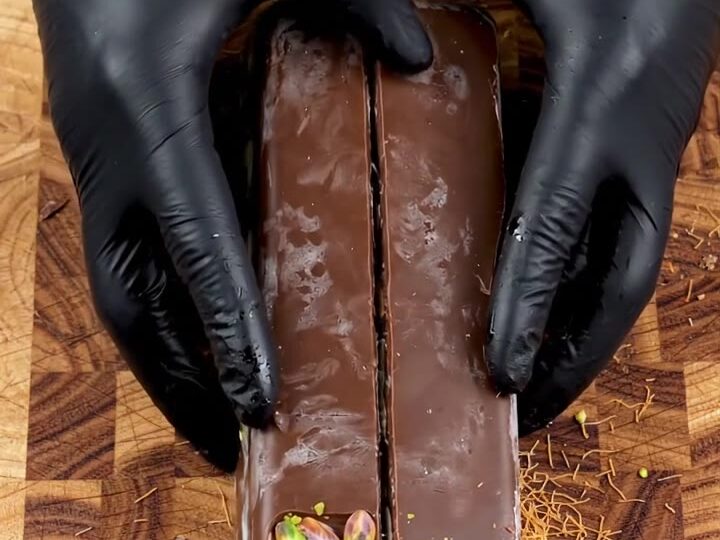
Crunchy toasted kataifi meets green pistachios, sesame and cubes of white halva in a bar that breaks cleanly under a glossy dark chocolate shell. Every cut edge shows the layers, and the golden caramel running through the middle gives each piece a rich, toasty sweetness that makes this dessert a joy to share with friends.
These pistachio halva kataifi dark chocolate bars are built the way a confectioner would build a bar: a crisp, golden nest of shredded pastry as the foundation, then a generous layer of nuts and halva, a swirl of caramel and a final pour of melted dark chocolate. The method is straightforward.
You toast the kataifi, arrange the filling on a wooden board, layer it into a parchment-lined tray, pour the chocolate over the top and let it set.
The result is a bar with contrasting textures, sweet and nutty flavors, and a cut face that looks as good as it tastes. Because nothing needs baking after the layering, the bars are practical for gifting or for a party platter.
Ingredients
Base
- 6 oz kataifi pastry, shredded
- 3 tbsp unsalted butter, melted
- 2 tbsp sesame seeds
Filling
- 1 cup shelled green pistachios, divided
- 8 oz white halva, cut into cubes
Caramel
- 1/2 cup granulated sugar
- 1 tbsp water
- 3 tbsp heavy cream, warmed
Topping
- 10 oz dark chocolate, finely chopped, plus more for grating
- flaky sea salt, for serving (optional)
Why this recipe works
Kataifi is a shredded pastry that turns very crisp in the oven when it is coated in butter and spread thinly. Those fine strands give the bar its crunch and keep the filling from feeling dense. Toasting first also builds a light, nutty flavor that pairs well with sesame and pistachio. Without that step, the base would stay soft under the heavier filling.
Halva is dense and sugary, so cutting it into small cubes spreads its flavor evenly through every bite without leaving large pockets of sweetness. Pressing the layers firmly into the tray and pouring the chocolate last lets it seep into the gaps and seal the surface. That single pour produces the glossy shell and holds the whole bar together when you slice it.
Notes and substitutions
Choose shelled green pistachios with a bright color for the best look and a fresh, mild flavor. Chop only half of them so the whole pistachios remain visible on top and along the cut edge.
Halva comes in several styles, and a plain white halva gives the cleanest result. Tahini halva with vanilla works well too, though it will look a little darker inside the bar.
The wooden end-grain board is a useful work surface for grating chocolate and arranging the filling, since its texture grips the pastry. A metal box grater makes fine shavings that melt into the bar.
A 9 by 13-inch metal tray keeps the layers thin enough to cut neatly. Parchment paper lets you lift the set bar out without any sticking. A small saucepan is enough for both the caramel and the melted chocolate.
- white halva: tahini halva with vanilla, or another plain white halva of similar firmness
- heavy cream: coconut cream, if you need the caramel to be dairy-free
- dark chocolate: dairy-free dark chocolate, if you need to avoid milk
Equipment
- 9 by 13-inch metal baking tray
- parchment paper
- wooden end-grain cutting board
- metal box grater
- chef's knife
- small saucepan
- heatproof spatula
- gloves
Up next · Part 2 of 3
7 steps · 15 min of cooking · what to look for at each stage
Step-by-step instructions (Part 2)