Drinks · Part 1 of 3: Ingredients
Pink Guava Strawberry Sweet Cream Yogurt Smoothie in Minutes
- Prep
- Cook
- Total
- Serves
- 2
A glass of pink guava and strawberry smoothie is one of the most striking drinks you can serve in summer. The color comes from the fruit alone, and the texture is cool, creamy and smooth. This recipe takes one blender, one board and a box grater, and it finishes with a layered look that works for brunch, a shower or an afternoon treat at home.
Pink guava has a floral, perfumed sweetness that pairs well with ripe strawberries. Blended with plain yogurt and sweet cream, the fruit turns into a silky drink with a light tang.
Ice keeps it chilled without watering it down, so the flavor stays bright from the first sip to the last. The method is simple: prepare the fruit, grate a little guava for finishing, blend everything until smooth, then build the glass in layers.
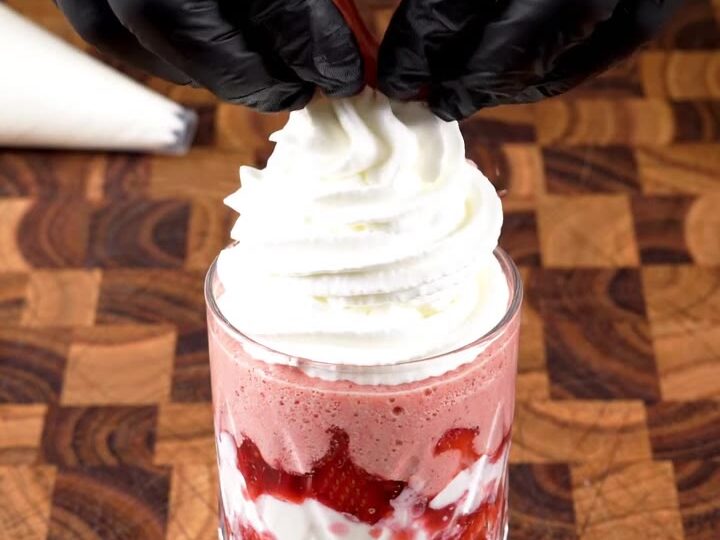
Each layer adds diced strawberry and a dollop of cream, so every spoonful tastes slightly different. Finish with whipped cream, a sprinkle of grated guava and a basil leaf. The basil adds a fresh, herbal note that makes the pink color look even more vivid on the glass. Serve the drink right after blending so the ice and the layers stay crisp and cold.
Ingredients
- 1 pink guava, halved and flesh cut into small pieces, a portion grated for garnish
- 6 ripe strawberries, hulled and diced
- 1 cup plain yogurt
- 1/2 cup sweet cream, plus extra for layering
- a handful of ice cubes, to taste
- whipped cream, for piping on top, to taste
- fresh basil leaves, for garnish, to taste
Why this recipe works
Blending the diced fruit with yogurt, sweet cream and ice creates a smooth emulsion. The yogurt adds body and a gentle tang, while the cream rounds out the sweetness. Ice chills the drink quickly and gives it a light, frothy texture without needing extra liquid. Because the fruit is diced before blending, the blender breaks it down evenly, which means fewer pulses and a uniform pink color with no chunks left behind.
Layering in the glass is the visual step that makes this drink special. Pouring the smoothie in stages, with spoonfuls of diced strawberry and dollops of sweet cream between each pour, keeps the pink and cream bands distinct.
The grated guava and whipped cream on top add texture and a final burst of flavor, and the basil leaf finishes the look. Each step is simple, but together they create a drink that looks composed and tastes fresh.
Notes and substitutions
Choose a pink guava that gives slightly to gentle pressure and smells sweet at the stem end. Strawberries should be fully red and fragrant. Plain yogurt, not flavored, keeps the fruit in the lead, and a thick, full-fat variety gives a richer body.
Sweet cream is the cream that sits in the dairy case with a light sugar, and it works well with the fruit. If you prefer, you can whip a spoonful of sugar into heavy cream for a similar result.
You will need a sharp knife for dicing, a box grater for the guava shreds, and a blender with a sturdy jug. A piping bag fitted with a star tip makes the whipped cream swirl neat, but a spoon also works. Clear glasses show the layers best. The substitutions below suit different fruit or cream choices, so you can adjust the drink to the season or to what is in your refrigerator without changing the method.
- sweet cream: heavy cream whipped lightly with a spoonful of sugar
- pink guava: ripe mango for a sweeter, golden drink
Equipment
- Cutting board
- Sharp knife
- Box grater
- Blender
- Clear glasses
- Piping bag with star tip