Drinks · Part 1 of 3: Ingredients
Pink Guava Strawberry Sweet Cream Smoothie with Whipped Cream Topping
- Prep
- Cook
- Total
- Serves
- 2
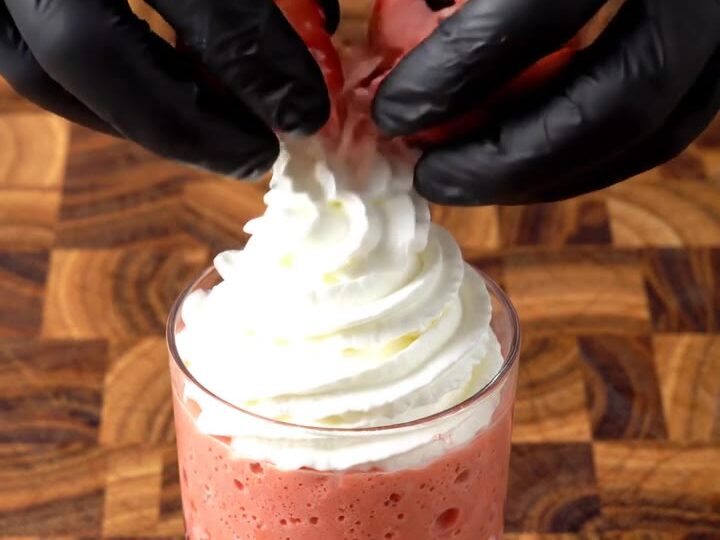
A glass of pink guava and strawberry smoothie is one of those drinks that looks as good as it tastes. Its color is bright and fresh, and the layers show clearly through the sides of the glass. Here is how to build it step by step, from the first grated guava to the final swirl of cream.
This smoothie comes together quickly in one blender pitcher, with a few minutes of prep on a cutting board. Pink guava gives the drink its color and a tropical perfume that pairs well with ripe strawberries. Sweet cream yogurt adds a smooth, tangy body, ice keeps it cold and thick, and a little vanilla rounds out the sweetness.
Layering the blended pink mixture over sliced strawberries and a creamy white base turns a simple smoothie into a tall, attractive drink, and a generous swirl of whipped cream on top finishes it. The whole process takes about fifteen minutes, so you can make it right before you want to serve it.
Ingredients
- 2 pink guavas, halved and sliced, one half grated
- 6 fresh strawberries, hulled and sliced, plus a few whole for garnish
- fresh basil leaves for garnish, to taste
- 1 cup sweet cream yogurt
- 1 cup ice cubes
- 1 tsp vanilla extract
- 1/2 cup whipped cream, for piping on top
Why this recipe works
Grating one half of the guava rather than only slicing it releases fine pink shavings and more of the fruit's juice and color into the blender. That gives the smoothie its vivid pink tone and a stronger guava flavor without any added syrup or juice. Adding the grated fruit first, before the rest of the ingredients, lets it start to break down right away so the blade can work through it smoothly.
Adding the ingredients in a set order also helps the texture. The sliced strawberries and yogurt go in before the ice, so the blade moves through soft fruit and dairy first, and the ice then crushes evenly into the mixture rather than sitting in large chunks.
Blending until the mixture is smooth and uniformly pink means the glass will look clean and even, which is what makes the layers stand out when you pour.
Notes and substitutions
Choose pink guavas that give slightly under gentle pressure and smell sweet and floral. Greenish, very firm fruit will taste sharp and produce a paler drink. Ripe strawberries, firm and fully red, give the best balance of sweetness and aroma.
Sweet cream yogurt is a thick, lightly sweetened dairy yogurt, and it gives the smoothie its creamy body and white layer; choose a plain, unflavored product so the fruit remains the star of the drink.
You will need a wooden cutting board for preparing the fruit, a sharp knife, a box grater, a glass blender pitcher, a tall glass and a piping bag fitted with a star tip for the whipped cream. A tall glass shows off the layers best.
If you do not have a piping bag, you can spoon the whipped cream on top, but a piped swirl gives the neatest finish. Substitutions for guava and yogurt will change the color and sweetness, so adjust the vanilla and sugar to taste.
- pink guavas: Other ripe guavas, which give a paler pink color and a slightly different sweetness
- Sweet cream yogurt: Plain whole-milk yogurt with 1 tbsp heavy cream and a little sugar
- Vanilla extract: Vanilla bean paste, using the same amount
Equipment
- Wooden cutting board
- Sharp knife
- Box grater
- Glass blender pitcher
- Tall glass
- Piping bag with a star tip