Dinner · Part 1 of 3: Ingredients
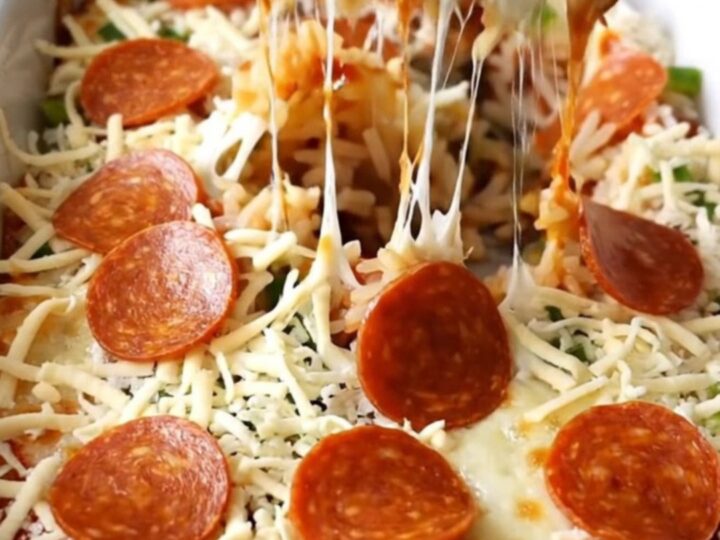
Easy Pepperoni Pizza Stuffed Pepper Casserole
- Prep
- Cook
- Total
- Serves
- 6
Discover a brilliant way to enjoy pizza night without the fuss of dough or delivery. This casserole captures the essence of a pepperoni pizza in a comforting, rice-based format that is perfect for busy evenings. With simple ingredients and minimal prep, it delivers all the savory, cheesy satisfaction of a classic pie directly to your dinner table in one convenient, oven-ready package that the entire family will enjoy.
This pepperoni pizza stuffed pepper casserole is designed for maximum flavor and minimal effort. By utilizing pantry staples like white rice and pizza sauce, this recipe streamlines the process of making stuffed peppers.
Instead of individually filling each pepper, the ingredients are layered in a baking dish, allowing the rice to cook in the flavorful sauce. The result is a harmonious blend of textures and tastes, featuring tender rice, softened peppers, and a delicious combination of melted cheese and savory pepperoni that hits every comfort food note perfectly.
Ingredients
- 2 cups uncooked white rice
- 1 cup diced green peppers
- 16 oz pizza sauce
- 2 cups shredded mozzarella cheese
- 4 oz pepperoni slices
Why this recipe works
The method of layering ingredients in a single dish allows the rice to absorb the seasoned pizza sauce as it bakes. This technique ensures that every grain of rice is infused with tomato and herb flavors, creating a cohesive base that would otherwise take much longer to achieve with traditional methods. The moisture released by the green peppers further helps in steaming the rice, resulting in a perfectly cooked and tender texture throughout the entire casserole.
By combining all components in one pan, the recipe minimizes cleanup while maximizing efficiency. The direct heat from the oven ensures the cheese melts into a golden, bubbly layer that acts as a seal for the ingredients below.
This approach to cooking keeps the peppers vibrant and slightly crisp, providing a fresh contrast to the creamy cheese and savory pepperoni, which creates a balanced eating experience that is both satisfying and incredibly simple to execute on a busy weeknight.
Notes and substitutions
For the best results, use a standard long-grain white rice, as it cooks evenly and maintains a pleasant texture when baked in sauce. Ensure the pizza sauce is of a quality you enjoy, as it serves as the primary seasoning for the entire dish.
If preferred, use a combination of different cheeses, such as provolone or mild cheddar, to adjust the flavor profile, though mozzarella remains the standard for achieving that iconic, stretchy cheese pull that characterizes a classic pizza.
The choice of baking vessel is important; a 9x13 inch enameled or glass dish works best to distribute heat evenly. If the casserole appears too dry after the initial baking time, ensure the dish was covered tightly with foil to trap the steam.
Feel free to incorporate additional vegetables like onions or mushrooms if desired, provided they are diced to a similar size as the peppers to ensure they cook through within the allotted time frame without compromising the integrity of the dish.
- white rice: brown rice requires a longer baking time and additional liquid to ensure proper hydration of the grains.
- green peppers: red, yellow, or orange bell peppers provide a sweeter flavor profile and similar texture to the original recipe.
Equipment
- 9x13 inch baking dish
- measuring cups
- serving spoon
Up next · Part 2 of 3
3 steps · 40 min of cooking · what to look for at each stage
Step-by-step instructions (Part 2)