Desserts · Part 3 of 3: Tips & recipe card
Peppermint Bark Magic Bars for Easy Holiday Baking Tips, FAQ & printable recipe

- Prep
- Cook
- Total
- Serves
- 16
Tips for success
For cleaner slices, place the cooled bars in the refrigerator for an additional 20 minutes before cutting. This helps the chocolate and condensed milk layers firm up further, allowing you to achieve sharp, professional-looking edges. Use a large, sharp knife and wipe it clean with a damp cloth between each cut to prevent the chocolate from smearing across the bars as you slice through the layers.
To add variety to the texture, consider adding a handful of chopped nuts, such as walnuts or pecans, along with the chocolate chips. This provides a pleasant crunch that complements the fudgy texture of the magic bars.
If you prefer a more intense chocolate flavor, you can substitute the white chocolate chips with additional dark chocolate chips, or use a mix of semi-sweet and bittersweet varieties for a deeper, more sophisticated profile.
Variations
- Nutty Peppermint Bars: Add one cup of chopped walnuts or pecans to the topping layer before baking. The nuts provide an earthy crunch that perfectly balances the sweetness of the chocolate chips and condensed milk.
- Double Dark Chocolate: Substitute the white chocolate chips with an equal amount of high-quality dark chocolate chips. This creates a deeper, more intense chocolate experience that pairs beautifully with the peppermint.
Storage and make-ahead
- Fridge
- Keep in an airtight container in the refrigerator for up to one week. Bring to room temperature before serving for the best texture and flavor.
- Freezer
- Wrap individual bars or the entire block in plastic wrap, then place in a freezer-safe bag or container. Freeze for up to three months.
- Reheat
- Thaw frozen bars at room temperature for one hour. They do not require reheating and are best enjoyed at room temperature or slightly chilled.
Store the cooled, sliced bars in an airtight container at room temperature for up to three days. Keep the container in a cool, dry place away from direct sunlight or heat sources to maintain the texture of the chocolate.
If your kitchen is particularly warm, it is advisable to store them in the refrigerator to prevent the chocolate from softening too much, although this may affect the texture of the cookie base over time.
These bars are excellent for making ahead of time. You can assemble the entire dish up to 24 hours before baking, keeping it covered in the refrigerator. If you choose to do this, allow the dish to sit at room temperature for about 15 minutes before placing it in the preheated oven to ensure even baking. Once baked and cooled, they can be stored as directed, making them a convenient option for busy holiday planning.
Serving ideas
These bars are best served at room temperature, which allows the flavors of the chocolate and peppermint to shine. Arrange the squares on a decorative platter for a festive presentation, or serve them alongside a warm cup of coffee or hot cocoa for a comforting dessert experience.
The contrast between the rich, dark cookie base and the sweet, minty topping makes them a standout addition to any dessert table or holiday gift box.
If you are serving these as part of a larger dessert spread, consider pairing them with lighter options, such as fresh berries or a tart citrus sorbet, to balance the richness of the bars.
Because they are quite decadent, smaller squares are often sufficient, allowing guests to enjoy the complex flavors without feeling overwhelmed. They are also portable and durable, making them an ideal choice for potlucks, school events, or office gatherings where ease of transport is required.
Frequently asked questions
Can these bars be made without the peppermint chips?
Why is it necessary to let the bars cool completely before slicing?
How can one tell if the bars are perfectly baked?
Peppermint Bark Magic Bars for Easy Holiday Baking
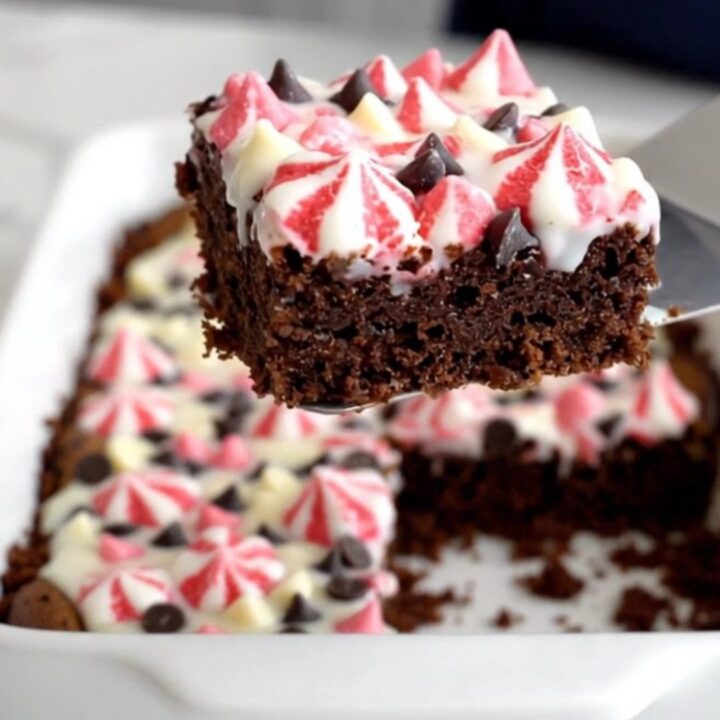
Ingredients
- 2 cups dark chocolate cookie crumbs
- 1 can (14 oz) sweetened condensed milk
- 1 cup white chocolate chips
- 1 cup dark chocolate chips
- 1/2 cup pink peppermint chips
Instructions
- Spread the dark chocolate cookie crumbs into the bottom of a 9x13 inch baking dish. Press the crumbs down firmly with your hand to form a solid, even crust layer.
- Pour the sweetened condensed milk evenly over the prepared cookie crumb base. Sprinkle the white chocolate chips, dark chocolate chips, and pink peppermint chips over the top of the condensed milk.
- Bake at 350°F (175°C) for 25 minutes or until the edges are golden and bubbling. Remove from the oven and allow to cool completely in the pan before slicing into neat squares.
Estimated nutrition per serving
- Calories
- 280
- Protein
- 3 g
- Carbohydrates
- 35 g
- Fat
- 15 g
- Fiber
- 1.5 g
- Sugar
- 28 g
- Sodium
- 120 mg
Next recipe
Easy Cookies and Cream Dump Cake
See the recipe → →This recipe is based on a short cooking video and is published under the pen name Clara Weller. It was checked before publication, but errors can slip through. Nutrition, when shown, is an estimate. Read more in our editorial policy and on our food safety page.
More recipes to try
Easy Pumpkin Pie Crisp with Cinnamon Oat Crumble
Total time: 1 h 10 min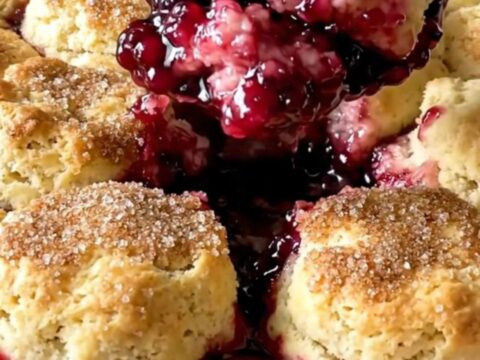
Southern Blackberry Biscuit Cobbler with Sweet Vanilla Butter
Total time: 1 h 5 min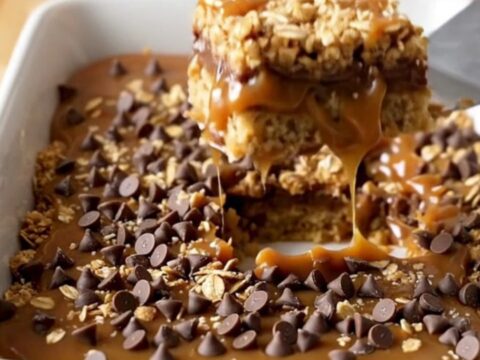
Chewy Caramel Oatmeal Chocolate Chip Bars
Total time: 1 h 10 min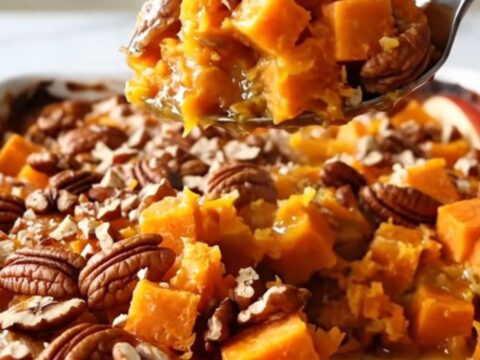
Cinnamon Apple Sweet Potato Bake for Easy Autumn Comfort
Total time: 1 h 5 min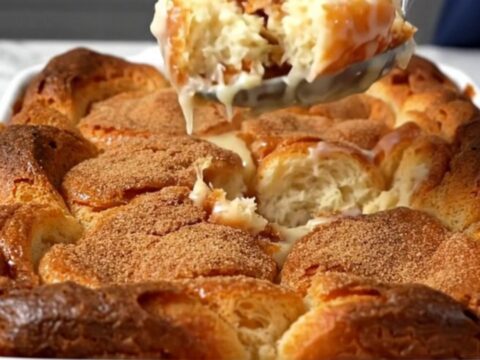
Easy Glazed Donut Bread Pudding with Cinnamon Sugar
Total time: 50 min