Desserts · Part 1 of 3: Ingredients
Peanut Butter Crunch Lasagna
- Prep
- Cook
- Total
- Serves
- 8
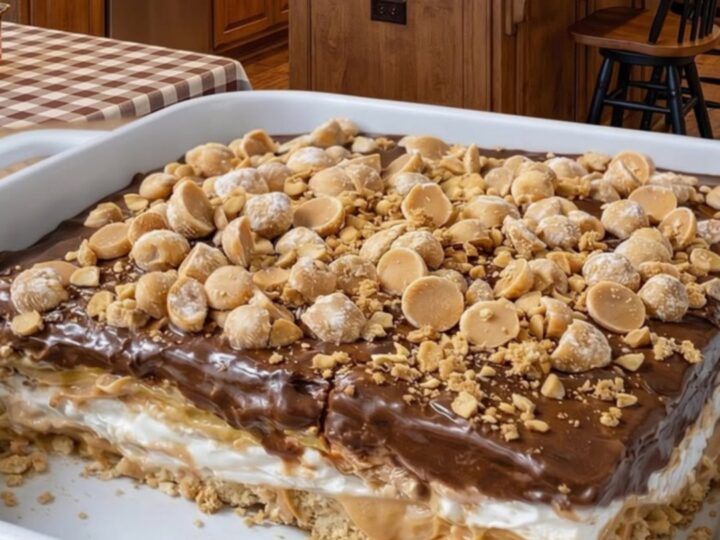
Elevate your dessert game with this decadent peanut butter crunch lasagna, a layered masterpiece that requires no oven time. This impressive treat balances the deep cocoa notes of sandwich cookies with the creamy, salty-sweet profile of peanut butter, creating a sophisticated dessert that looks as good as it tastes.
Perfect for gatherings or a weekend indulgence, this recipe demonstrates how simple ingredients transform into a multi-textured delight that leaves everyone asking for seconds. Follow these steps for perfect results every time.
The beauty of this peanut butter crunch lasagna lies in its intentional layers, which provide a satisfying textural contrast in every bite. By combining a crisp, buttery cookie base with a velvety, whipped peanut butter filling and a generous dusting of chocolate chips, you achieve a balanced dessert that appeals to all ages.
The preparation is straightforward, relying on proper chilling to meld the flavors and create a clean, professional-looking slice. This guide ensures you understand the technique for building stable, distinct layers that hold their structure when served, providing a reliable outcome for any occasion.
Ingredients
Base
- 2 cups chocolate sandwich cookies, crushed
- 1/2 cup unsalted butter, melted
Filling
- 16 oz cream cheese, softened
- 1 cup creamy peanut butter
- 8 oz frozen whipped topping, thawed
Topping
- 1/2 cup semi-sweet chocolate chips
Why this recipe works
The method of using a crushed cookie crust creates a sturdy, flavorful foundation that prevents the dessert from becoming soggy. By mixing the cookies with melted butter and pressing them firmly, you create a dense layer that serves as an effective barrier for the creamy filling placed on top. This technique ensures that each slice remains intact when lifted from the pan.
The folding technique used for the whipped topping is crucial for achieving the desired consistency. By gently incorporating the topping into the cream cheese and peanut butter base, you retain the airiness of the mixture, resulting in a lighter mouthfeel.
This aeration prevents the filling from becoming overly dense or heavy, ensuring a pleasant texture that melts on the tongue with every bite.
Notes and substitutions
Choosing the right ingredients is key to the success of this dessert. Use a high-quality creamy peanut butter that is well-emulsified to ensure the filling remains smooth. If the peanut butter is too oily, the filling may not set properly. Similarly, ensure the whipped topping is fully thawed before folding it in, as frozen clumps can disrupt the texture of the finished cream layer.
Equipment choice matters for the presentation of the final dish. A standard 9x13 inch baking dish is ideal for achieving the perfect height for your layers.
If using a different size dish, adjust the ingredient quantities accordingly to maintain the layer proportions. A reliable electric hand mixer is recommended for the filling to ensure all ingredients are fully incorporated without overworking the mixture.
- chocolate sandwich cookies: graham crackers for a milder flavor
- semi-sweet chocolate chips: chopped dark chocolate bars
Equipment
- 9x13 inch baking dish
- mixing bowls
- electric hand mixer
- spatula