Desserts · Part 1 of 3: Ingredients
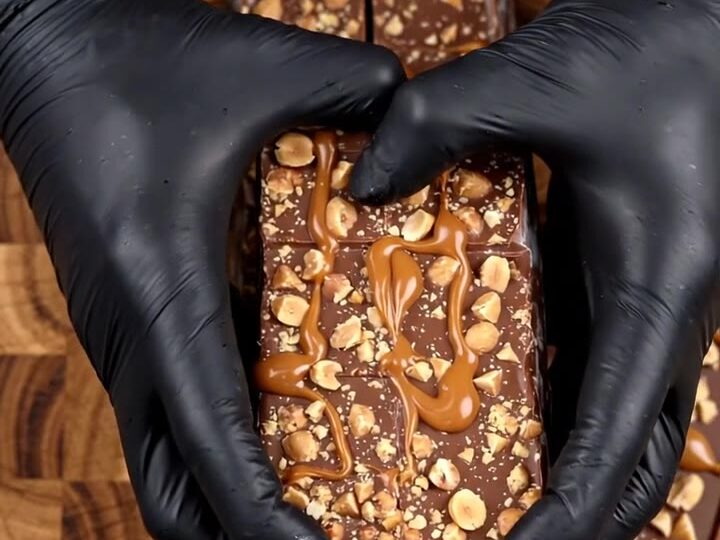
Peanut Brittle Caramel Milk Chocolate Crunch Bark
- Prep
- Cook
- Total
- Serves
- 12
This bark takes everything you love about peanut brittle, milk chocolate, and salted caramel and stacks them into thick, breakable bars. The chocolate is melted into a smooth slab, then layered with ribbons of warm caramel and a generous scatter of crunchy peanut brittle and roasted peanuts.
Each bite delivers a satisfying snap, a gooey caramel pull, and the deep roast of peanuts. It’s an impressive homemade candy that comes together in minutes and disappears just as fast.
This peanut brittle caramel milk chocolate crunch bark is a candy lover’s dream. It starts with a thick layer of melted milk chocolate, which is then drizzled with warm salted caramel in a beautiful lattice pattern. Chopped peanut brittle and roasted Virginia peanuts are scattered over the top, adding a serious crunch that contrasts with the smooth chocolate.
After a brief chill, the bark is sliced into thick bars that snap cleanly when broken. The result is a balanced treat—sweet, salty, and full of texture—that feels special enough for gifts and easy enough for a weekday indulgence.
Ingredients
- 24 oz milk chocolate, finely chopped
- 8 oz peanut brittle, chopped
- 1 cup roasted Virginia peanuts
- 1/2 cup warm salted caramel sauce
Why this recipe works
The method here is all about contrast. Melting the chocolate into a thick, even layer gives it a smooth, creamy base that lets the crunchy mix-ins shine.
Chopping the peanut brittle into uneven pieces means every bite has a mix of fine crumbs and larger chunks, so the crunch is never monotonous. The salted caramel, drizzled in ribbons, adds pockets of gooey sweetness that contrast with the crisp chocolate and nuts.
Using a box grater to shred the chocolate before melting is a small trick that makes a big difference. The fine curls melt evenly and quickly, reducing the risk of overheating and seizing.
Pouring the chocolate onto a parchment-lined tray and spreading it to an even thickness ensures the bark is sturdy enough to slice into bars but still thin enough to snap. A brief chill sets everything firmly, so the final cut reveals those beautiful layers.
Notes and substitutions
For the best flavor, use high-quality milk chocolate. A solid block of couverture chocolate works beautifully, but any good melting chocolate or chocolate chips will do. The peanut brittle can be store-bought or homemade; just make sure it’s fresh and crisp. Roasted Virginia peanuts are ideal because they’re large and hearty, but any dry-roasted peanut will work well.
A metal tray is recommended because it conducts cold efficiently, helping the bark set quickly and evenly. Parchment paper is essential to prevent sticking and make lifting easy. A box grater is perfect for shredding the chocolate, but you can also chop it finely with a knife. If you don’t have a box grater, a food processor with a shredding disk works as well.
- milk chocolate: dark chocolate or semisweet chocolate for a less sweet bark
- roasted Virginia peanuts: any dry-roasted peanuts or other nuts like cashews or almonds
- salted caramel sauce: store-bought caramel sauce with a pinch of flaky sea salt added
- peanut brittle: homemade or store-bought peanut brittle, or toffee bits for a different crunch
Equipment
- Box grater
- Chef's knife
- Parchment-lined metal tray
- Heatproof bowl
- Spatula
Up next · Part 2 of 3
8 steps · 5 min of cooking · what to look for at each stage
Step-by-step instructions (Part 2)