Dinner · Part 1 of 3: Ingredients
Parmesan Ranch Mushroom Turkey Cutlets: Easy Crockpot Dinner
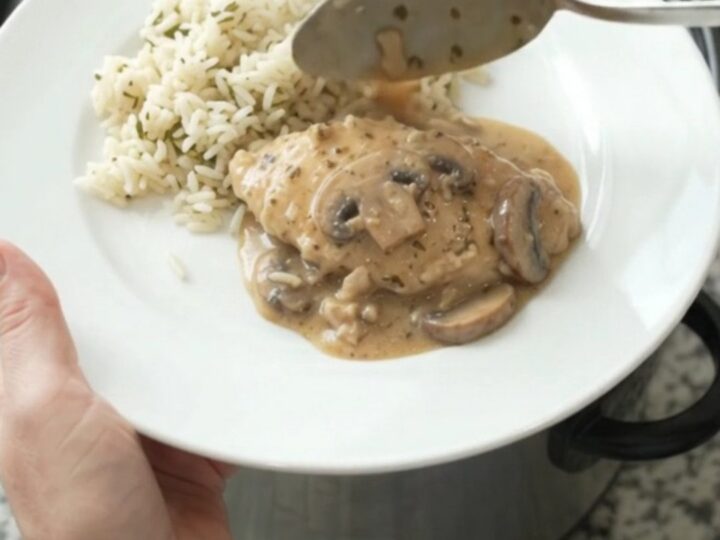
- Prep
- Cook
- Total
- Serves
- 4
This crockpot turkey cutlets recipe is the ultimate set-it-and-forget-it dinner. Just layer four ingredients in the slow cooker, walk away, and return to tender turkey smothered in a rich, creamy Parmesan ranch mushroom sauce.
It's the kind of meal that feels indulgent but comes together with almost no effort—perfect for busy weeknights when you want something warm and comforting without spending hours in the kitchen.
Imagine coming home to the aroma of slow-cooked turkey in a velvety, savory sauce. That's what this dump-and-go recipe delivers. You'll arrange turkey cutlets in the crockpot, top with cream of mushroom soup, ranch seasoning, cream cheese, and Parmesan, then let the slow cooker work its magic.
The result is fork-tender turkey in a luscious sauce that's perfect over rice, noodles, or mashed potatoes. It's a simple, satisfying dinner that feels like a special occasion.
Ingredients
- 1 1/2 lb boneless turkey breast cutlets
- 1 can (10.5 oz) condensed cream of mushroom soup
- 1 oz dry buttermilk ranch seasoning mix (about 2 tbsp)
- 8 oz cream cheese, softened
- 1/2 cup freshly grated Parmesan cheese
Why this recipe works
The slow cooker's low, moist heat gently breaks down the turkey's proteins, resulting in exceptionally tender meat that practically falls apart.
The condensed cream of mushroom soup acts as a built-in sauce base, providing rich umami and a smooth texture that coats every bite. The ranch seasoning adds a tangy, herby depth that complements the earthy mushrooms and savory cheese.
The cream cheese and Parmesan melt together, creating a velvety, luscious sauce that clings to the turkey and soaks into your side dishes. Because the ingredients are simply layered and not stirred, the flavors have time to meld and develop as they cook. This hands-off method ensures a foolproof, deeply flavorful meal with minimal cleanup.
Notes and substitutions
Turkey cutlets are thin slices of turkey breast that cook quickly and stay moist in the slow cooker. If you can't find cutlets, you can slice boneless, skinless turkey breast into 1/2-inch thick pieces. The condensed cream of mushroom soup is essential—don't substitute with a creamy soup that's already diluted, as it will make the sauce too thin.
For the best texture, use full-fat cream cheese and freshly grated Parmesan. Pre-shredded Parmesan contains anti-caking agents that can prevent smooth melting.
This recipe is naturally low in carbs, but you can also serve it over rice or pasta for a heartier meal. If you prefer a lighter sauce, you can use reduced-fat cream cheese, but the sauce may be slightly less creamy.
- boneless turkey breast cutlets: boneless chicken breast cutlets (adjust cook time to 3-4 hours on low, or until chicken reaches 165°F)
- cream of mushroom soup: cream of chicken soup (use if not avoiding chicken, but note the recipe is no longer vegetarian)
- dry buttermilk ranch seasoning mix: 2 tablespoons homemade ranch seasoning (1 tbsp dried dill, 1 tbsp dried parsley, 1 tsp garlic powder, 1 tsp onion powder, 1/2 tsp black pepper)
- freshly grated Parmesan: shredded Parmesan from a bag (may not melt as smoothly, but works in a pinch)
Equipment
- 6-quart or larger slow cooker
- Mixing spoon
- Measuring cups and spoons
- Serving spoon
Up next · Part 2 of 3
6 steps · 4 h of cooking · what to look for at each stage
Step-by-step instructions (Part 2)