Dinner · Part 1 of 3: Ingredients
One-Pan Oven-Baked Chicken and Rice with Crispy Skin
- Prep
- Cook
- Total
- Serves
- 4
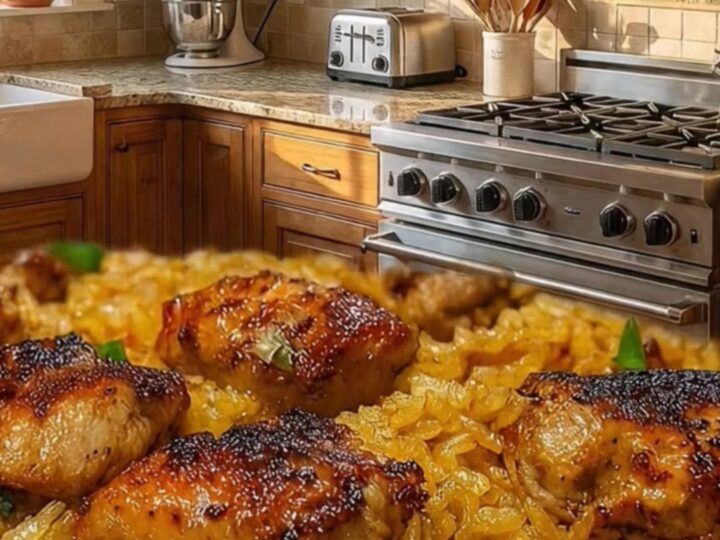
This one-pan oven-baked chicken and rice is the kind of dinner that feels both effortless and special. Golden-brown chicken thighs with crackling skin sit on a bed of tender rice that has soaked up all the savory broth and chicken juices.
It’s a complete meal in a single skillet, perfect for busy weeknights or a comforting Sunday supper. The method is simple: brown the chicken, toast the rice, add broth, and let the oven do the work.
Imagine a dish where juicy, crispy-skinned chicken thighs rest on a bed of rice that has absorbed every drop of savory broth, fragrant with garlic, onion, and thyme.
That’s exactly what this oven-baked chicken and rice delivers. The technique is straightforward: you brown the chicken to render its fat and create a golden crust, then toast the rice in the same pan to add a nutty depth.
A pour of broth and a stint in the oven transform everything into a comforting, one-pan meal. The rice comes out perfectly tender, each grain separate and infused with flavor, while the chicken skin stays shatteringly crisp. It’s a foolproof recipe that looks impressive with minimal effort.
Ingredients
- 8 bone-in, skin-on chicken thighs
- 1 1/2 tsp kosher salt, divided
- 1/2 tsp black pepper
- 2 tbsp olive oil
- 1 medium onion, finely chopped
- 3 cloves garlic, minced
- 1 1/2 cups long-grain white rice
- 3 cups chicken broth
- 4 sprigs fresh thyme
- 2 tbsp fresh parsley, chopped
Why this recipe works
Browning the chicken first is the key to this dish. It renders out the fat, which then flavors the rice, and it creates a deep golden crust on the skin that stays crisp even after baking. The rendered fat also helps toast the rice, adding a nutty flavor that you can’t get from simply boiling it.
Baking the casserole covered then uncovered is a two-stage method that ensures perfect texture. The covered phase steams the rice and cooks the chicken gently, while the uncovered phase allows excess moisture to evaporate, letting the rice fluff up and the chicken skin crisp. This balance gives you tender, separate grains and crispy skin every time.
Notes and substitutions
Use bone-in, skin-on chicken thighs for the best flavor and texture. The bone keeps the meat moist during baking, and the skin crisps up beautifully. If you prefer, you can use drumsticks or a cut-up whole chicken, but adjust the cooking time accordingly. Long-grain white rice, such as basmati or jasmine, works best here; avoid short-grain rice, which can become sticky.
A large oven-safe skillet or Dutch oven is ideal for this recipe. It should be wide enough to hold the chicken in a single layer with room for the rice.
If you don’t have an oven-safe skillet, you can transfer the mixture to a baking dish before adding the broth and baking. Good-quality chicken broth makes a difference—use homemade or a low-sodium store-bought version to control the salt level.
- bone-in, skin-on chicken thighs: Bone-in, skin-on chicken drumsticks or a whole chicken cut into pieces; adjust cooking time as needed.
- long-grain white rice: Basmati or jasmine rice; reduce broth to 2 1/2 cups if using jasmine.
- chicken broth: Vegetable broth for a lighter flavor, or use water with an extra pinch of salt.
- fresh thyme: 1 tsp dried thyme, added with the broth.
Equipment
- Large oven-safe skillet or Dutch oven
- Measuring cups and spoons
- Chef's knife
- Cutting board
- Fork
- Aluminum foil (optional)
Up next · Part 2 of 3
6 steps · 55 min of cooking · what to look for at each stage
Step-by-step instructions (Part 2)