Dinner · Part 1 of 3: Ingredients
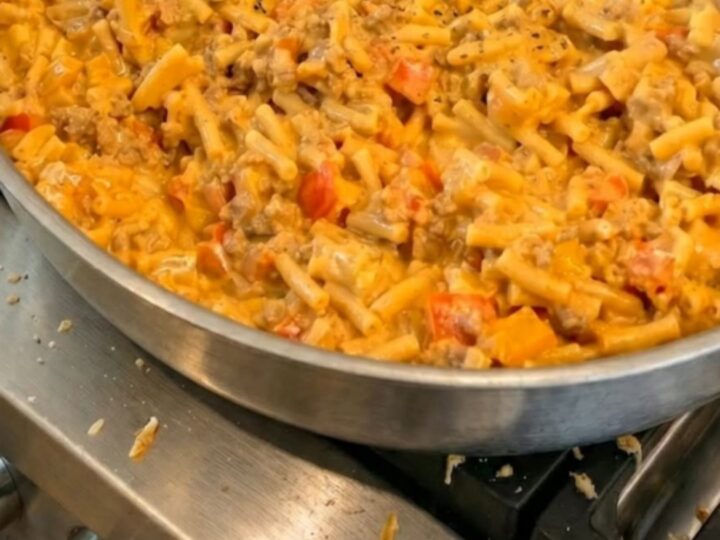
One-Pan Cheesy Taco Mac
- Prep
- Cook
- Total
- Serves
- 4
Looking for the ultimate weeknight comfort food that comes together in a single pan? This cheesy taco mac combines the bold, savory spices of classic beef tacos with the rich, creamy goodness of macaroni and cheese. It is a crowd-pleasing dinner that requires minimal cleanup and delivers maximum satisfaction in every single bite.
This one-pan cheesy taco mac is the perfect solution for busy weeknights when time is short but cravings for comfort food are high. By cooking the pasta directly in the same skillet as the seasoned ground beef and tomatoes, the macaroni absorbs all the rich, savory flavors of the taco spices.
There is no need to boil water separately or drain pasta, making this a truly efficient and delicious meal. Finish it off with a generous amount of shredded cheese that melts into a velvety, luxurious sauce that coats every single noodle perfectly.
Ingredients
- 1 lb lean ground beef
- 1 oz taco seasoning packet
- 14.5 oz canned diced tomatoes
- 2 cups beef broth
- 8 oz elbow macaroni
- 2 cups shredded cheddar cheese
Why this recipe works
The one-pot cooking method is highly effective because it utilizes the natural starches released by the pasta as it simmers. In traditional cooking, pasta water is drained away, taking valuable starch with it. In this recipe, that starch remains in the skillet, acting as a natural binder and thickener.
When the shredded cheese is folded in at the very end, this starchy liquid emulsifies with the dairy fat, creating an incredibly smooth, velvety cheese sauce without the need for a flour-based roux or heavy cream.
Cooking the ground beef first creates a deeply flavorful fond on the bottom of the skillet. Deglazing the pan with the diced tomatoes and broth lifts these caramelized bits, distributing the savory beef flavor throughout the entire dish. As the macaroni absorbs this seasoned liquid, every individual noodle is infused with taco flavor from the inside out, resulting in a cohesive and intensely savory dish that far surpasses any boxed alternative in both taste and texture.
Notes and substitutions
For the best results, select a high-quality ground beef, such as an 80/20 or 85/15 blend, which provides enough fat to keep the meat tender and flavorful during the initial browning process. If there is excess grease after browning, drain most of it but leave a tablespoon in the pan to carry the spices.
When choosing the cheese, always grate a block of sharp cheddar or Monterey Jack yourself. Pre-shredded packaged cheeses are coated with anti-caking agents like potato starch, which prevent them from melting smoothly and can result in a grainy sauce.
The choice of pasta shape is also important for this dish. Elbow macaroni is classic and features a hollow, curved shape that holds onto the meat and cheese sauce beautifully. If macaroni is unavailable, other short pasta shapes like medium shells, rotini, or penne can be substituted, though cooking times and liquid absorption rates may vary slightly.
Ensure the skillet used is large, deep, and heavy-bottomed, preferably stainless steel or cast iron, to distribute heat evenly and prevent the pasta from sticking to the bottom.
- beef broth: chicken broth or water
- cheddar_cheese: monterey jack or pepper jack cheese
Equipment
- Large stainless steel skillet
- Wooden spoon
- Measuring cups
- Measuring spoons
- Cheese grater
Up next · Part 2 of 3
4 steps · 20 min of cooking · what to look for at each stage
Step-by-step instructions (Part 2)